To make lye soap from wood ashes, collect hardwood ashes (hickory, oak, maple work best), build a leaching barrel with drainage holes, and pour rainwater through to extract lye. Test the solution's strength using the egg float method. Render animal fat by melting and straining it, then combine with your lye solution to trigger saponification. Let your soap cure for 4-6 weeks in a well-ventilated area. With the right techniques, you'll transform simple ashes into valuable, handcrafted soap.
Selecting the Best Woods for Lye Production
When making lye soap from scratch, your choice of wood greatly influences the quality of your final product. Hardwoods consistently outperform softwoods because they contain less resin and produce higher concentrations of potassium hydroxide.
For premium lye, select hickory, beech, or buckeye—these hardwoods are renowned for their exceptional lye-making properties. Oak and maple also deliver excellent results. Broad-leaved hardwoods generally yield better quality lye than conifers.
You'll want to avoid softwoods whenever possible, as their higher resin content can compromise your soap. If you're using wood from your property, identify your trees first—proper species selection will save you disappointment later.
For balanced lye suitable for soap making, you can't go wrong with a mixture of hardwoods burned completely to guarantee uniform ash quality. When handling the resulting ash, always wear rubber gloves to protect your skin from the caustic properties of lye that forms when mixed with water.
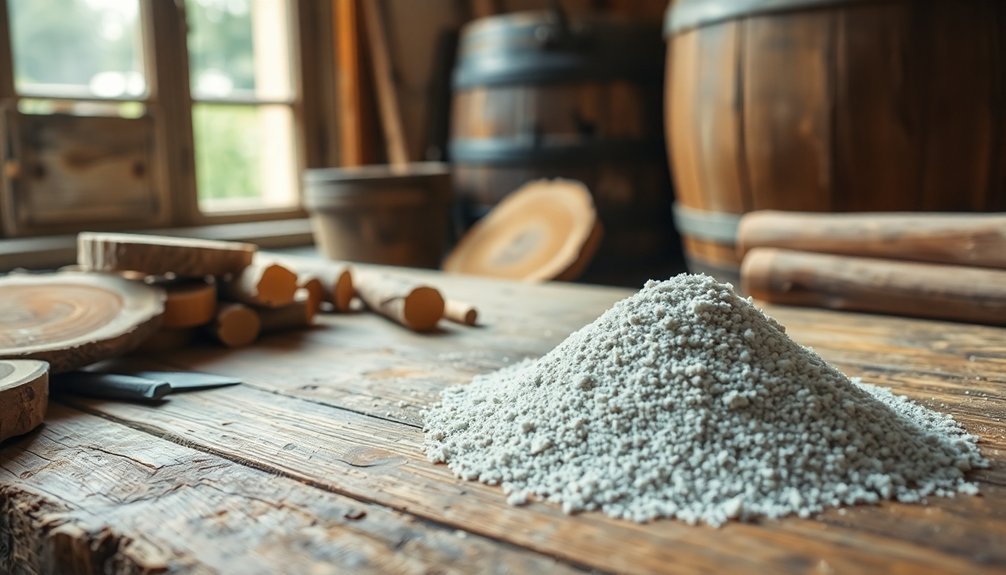
Building a Proper Ash Leaching Barrel
With your wood selection complete, it's time to construct the vessel that will transform those ashes into powerful lye. Start with a wooden barrel and drill several small holes near the bottom for drainage.
Layer pebbles and straw inside to create a natural filtration system. Elevate your barrel on a sturdy frame high enough to fit a collection bucket underneath. This setup allows the lye solution to drain efficiently while filtering out impurities.
Ascertain you're using lye-safe materials—never aluminum, which will corrode. Always wear protective gear when handling lye: goggles, rubber gloves, and boots are essential.
For optimal results, use only ashes from hardwood fires, as softwoods like pine will not produce effective lye for soap making.
Regularly test your solution's strength using pH strips or the traditional egg float method. Keep your work area ventilated and store the finished product away from children and pets.
Extracting Potent Lye From Wood Ashes
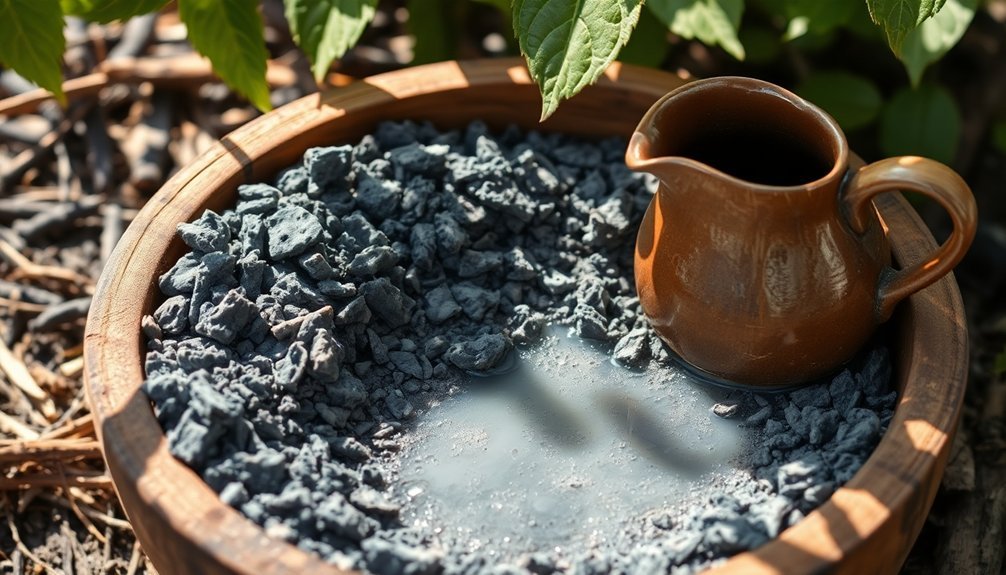
Pour rainwater through your prepared ash barrel to begin the essential lye extraction process. The liquid that drips from the bottom contains potassium hydroxide (KOH), the active ingredient needed for soap making. For maximum potency, collect this initial leachate and pour it through the ashes again. Broad-leaved hardwood ash produces higher quality lye compared to softwoods.
The cascading rainwater dissolves potassium from wood ash, creating liquid lye—the alchemical heart of traditional soap making.
For the strongest lye solution:
- Test concentration with a fresh egg – it should float halfway in properly concentrated lye
- Pass the solution through your ash barrel 3-4 times for increased strength
- Boil the final leachate to evaporate excess water and concentrate further
- Store in glass or ceramic containers, never aluminum which will corrode
Remember to wear rubber gloves and eye protection throughout this process. The resulting lye should appear clear to amber-colored when ready for soap making.
Testing Your Homemade Lye Solution
You'll need to test your homemade lye solution to verify it's strong enough for soap making.
The traditional egg float test provides a simple visual indicator—if an egg floats with a quarter-sized portion exposed above the solution, your lye is ready for soap making. This method works because an egg has a density of 1.03-1.1 g/mL, making it an effective tool for measuring lye concentration.
For more precise results, you can use pH testing methods like red cabbage juice indicator or commercial pH strips to confirm your solution has reached the highly alkaline level necessary for saponification.
Egg Float Test
How do you determine if your homemade lye solution is strong enough for soap making? The egg float test is a time-honored method that uses buoyancy principles to gauge lye concentration without specialized equipment.
To perform this test:
- Select a fresh egg or calibrate a store-bought egg using a 5% salt solution (5g salt per 100g water).
- Mark the boundary where your egg floats in the calibration solution.
- Carefully place your egg in the lye solution while wearing protective gloves and goggles.
- Observe how much of the egg remains above the surface—ideally, about a quarter-sized circle should show.
If your egg floats too high, your lye is too concentrated; if it doesn't float enough, it's too weak. This traditional method was emphasized by Sally Pointer as an alternative to using universal indicator paper for testing lye strength.
Ph Testing Methods
While the egg float test provides a traditional way to gauge lye concentration, many soap makers prefer more precise measurements for safety and consistency. You'll need reliable testing methods to guarantee your homemade lye soap falls within the safe pH range of 8-10. Always wear protective gloves when handling and testing lye solutions to prevent chemical burns.
| Testing Method | How to Use | Accuracy | Best For |
|---|---|---|---|
| pH Strips | Test soap lather or distilled water paste | Moderate | Quick checks |
| pH Meters | Calibrate first, then test solution | High | Precision work |
| Phenolphthalein | Add drops to liquid soap solution | Good | Liquid soap |
| Distilled Water Method | Mix paste of soap with distilled water | Good | Solid soaps |
Never use the dangerous tongue test method. Regular testing throughout the curing process helps monitor how carbon dioxide naturally neutralizes excess alkali, guaranteeing your final soap is safe for skin.
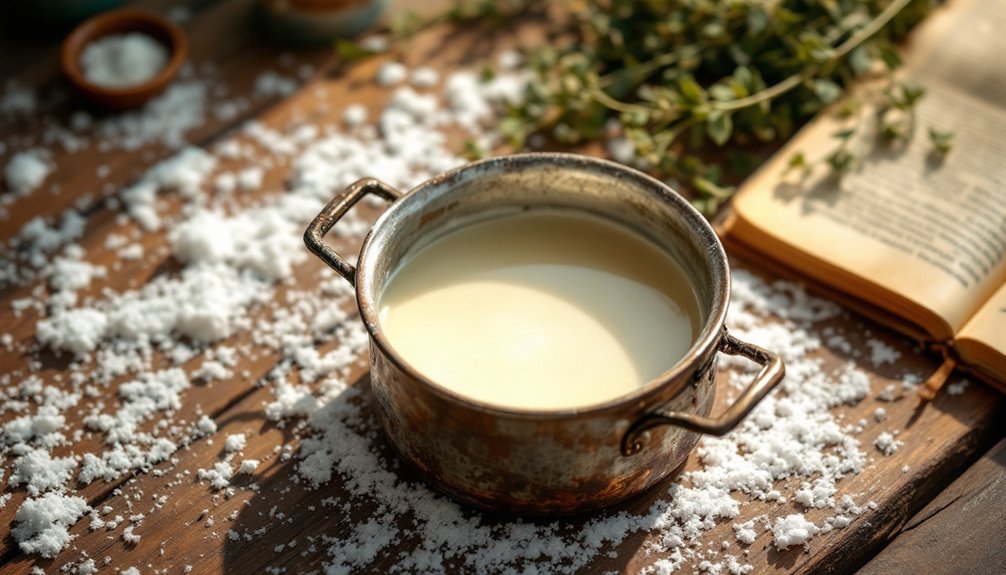
Rendering and Preparing Fats for Soap Making
Before diving into soap creation, properly rendered and cleaned fat forms the foundation of quality homemade lye soap. You'll need animal fats like tallow or lard, which must be cleaned of impurities through rendering.
For the best results, follow these key steps:
- Melt raw fat in a crockpot on low heat for about 24 hours, or process cooked fat by adding hot water.
- Add twice as much water as fat, allowing impurities to settle at the bottom.
- Strain the melted mixture through cheesecloth to remove particulates.
- For deodorizing, add sea salt during the rendering process.
A family of four can produce enough soap for an entire year with extra animal fat from butchering or meat processing.
Store your rendered fat in the freezer until you're ready for soap making.
This careful preparation guarantees your homemade soap will have the creamy lather and moisturizing properties that make it superior to commercial alternatives.
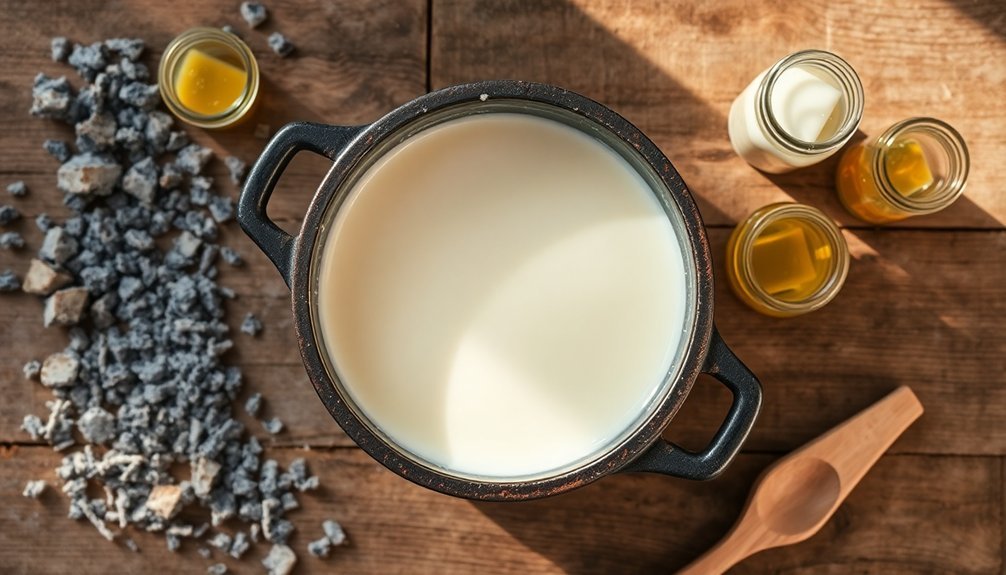
The Traditional Soap Making Process
You'll transform simple ingredients into powerful cleaners as you follow the ancient soap-making traditions passed down through generations.
The magical process of saponification begins when you combine your carefully prepared lye solution with rendered fats, creating a chemical reaction that turns these raw materials into soap.
Remember to wear proper safety gear including gloves, goggles, and an apron to protect yourself from the caustic lye.
After blending until the mixture reaches trace, you'll pour your creation into molds and patiently wait through the essential curing period that transforms your mixture into hardened, usable bars.
Ancestral Cleansing Techniques
Since ancient times, our ancestors have relied on a remarkably sustainable process to create their cleansing agents from readily available materials.
The art of soap-making dates back to Babylonian times around 2800 BC, evolving through centuries of regional specialization.
Traditional methods typically followed these fundamental steps:
- Producing alkali by leaching hardwood ashes (hickory, maple, beech) with rainwater in special barrels
- Boiling the resulting lye solution until concentrated enough to float an egg
- Combining the lye with animal fats or olive oil through a process called saponification
- Allowing the mixture to mature before cutting into usable bars
These techniques preserved the beneficial properties of oils through cold saponification, often incorporating local herbs like lavender and rosemary for both fragrance and antiseptic qualities. This traditional lye and fat combination was particularly effective for cleaning wool and laundry before it became widely used for personal hygiene.
The Saponification Journey
The traditional soap making process, known as saponification, transforms simple ingredients into a valuable household necessity through chemical artistry.
When you combine triglycerides from fats or oils with a strong base like wood ash lye, an exothermic reaction occurs, releasing heat while creating soap and glycerin.
You'll need to collect hardwood ashes and leach them through water in a lye hopper to create your alkaline solution.
Once you've tested your lye strength, combine it with rendered animal fat or plant oils. The mixture requires one molecule of triglyceride for every three molecules of lye for complete saponification.
After mixing thoroughly, allow your soap to cure for four to six weeks in a cool, dry place with good airflow.
This curing period evaporates excess water and creates a harder, longer-lasting bar.
The entire process takes about 24 to 48 hours to complete chemical reaction after initially mixing your lye solution with oils.
From Ashes to Bars
Transforming wood ashes into usable soap bars follows a methodical process that connects us to centuries of practical homesteading knowledge.
Once you've collected cooled hardwood ashes and prepared your safety gear, you'll begin the leaching process—pouring rainwater through the ashes to create lye solution.
The journey from raw materials to finished soap requires:
- Filtering your lye solution through additional ash or cloth to increase concentration and purity
- Testing solution strength with pH strips before combining with fats
- Heating and continuously stirring the mixture until it reaches trace (begins to thicken)
- Pouring into wooden molds and allowing several weeks of curing time
Throughout this process, always wear protective gear and work in well-ventilated areas as lye is highly caustic.
Traditional soap makers used an egg flotation method to determine if the lye water was at proper strength before mixing with fats.
Curing and Storing Your Wood Ash Soap
Proper curing and storage determine whether your homemade wood ash soap becomes a prized cleansing agent or a disappointing experiment.
Allow your soap to cure in a well-ventilated area where temperatures remain between 60°F and 80°F, away from direct sunlight to prevent discoloration.
Your soap needs 4-6 weeks to fully cure. During this time, rotate bars regularly for even drying and test pH levels to verify they've reached a safe 9-10 range before use.
Once cured, store bars in airtight containers in a cool, dry place.
Prevent moisture absorption by wrapping soap in paper or cloth. The type of wood used affects your final product, with hardwood ash producing firmer soap that generally stores better long-term. Consider adding silica gel packets nearby to control humidity.
With proper storage, your wood ash soap will maintain its quality for several months.
Troubleshooting Common Wood Ash Soap Problems
Making your own wood ash soap can present several challenges that might leave you frustrated with unexpected results.
Unlike commercial lye soap made with sodium hydroxide, wood ash lye contains mostly potassium carbonate, which creates softer soap with different properties.
If you're experiencing issues, check these common problems:
- Separation issues – If your soap separates during curing, stir it back together and reduce temperature. The gel phase is essential for even saponification.
- Weak lye solution – Concentrate your lye by repeatedly leaching ash or boiling the solution to remove excess water.
- Incomplete saponification – Confirm thorough mixing with a stick blender and give your soap adequate time (24 hours minimum) to complete the process. For optimal results, weigh ingredients precisely rather than using volume measurements to ensure proper oil-to-lye ratios.
- Impurities – Sift ash thoroughly to remove unburned wood and contaminants before making lye.
Frequently Asked Questions
Can I Use Ashes From My Fireplace or Fire Pit?
Yes, you can use ashes from your fireplace or fire pit, but they must be from hardwood only. Collect cool, white ashes and avoid any black unburnt pieces for proper lye production.
How Long Does Wood Ash Soap Typically Last?
Your wood ash soap typically lasts 3-4 weeks with daily use. You'll get better longevity if you cure it properly, keep it dry between uses, and include hardening oils in your recipe.
Is Wood Ash Lye Soap Safe for Sensitive Skin?
Wood ash lye soap can be risky for sensitive skin. It's often unpredictable in pH levels. You'll need careful superfatting and quality hardwood ashes. Commercial soaps might serve you better if you're particularly sensitive.
Can I Add Essential Oils to Traditional Wood Ash Soap?
Yes, you can add essential oils to traditional wood ash soap. Include them during the cold process for better scent preservation. Use protective gear when mixing lye, and choose oils that offer both fragrance and skincare benefits.
How Does Wood Ash Soap Compare to Commercial Soap Environmentally?
Wood ash soap has a lower carbon footprint than commercial soap. You're reducing waste by using ash byproducts, consuming less energy, and avoiding synthetic chemicals that can harm aquatic ecosystems when washed down drains.
In Summary
You've now mastered the ancestral craft of turning wood ashes into useful soap. Don't forget to let your soap cure for at least 4-6 weeks for best results. While it takes patience, you'll find the finished product well worth the effort. Your homemade lye soap isn't just economical—it's a practical skill connecting you to generations of self-sufficient artisans before modern conveniences existed.


Leave a Reply