When making soap in winter, collect clean snow as a natural liquefier, increase hard oils (5-20%) for better hardening, and maintain temperatures between 120-130°F. Prevent false trace by keeping your workspace warm and preheating tools. Insulate molds thoroughly with towels or Styrofoam to guarantee proper saponification. Use dehumidifiers during curing and select stronger fragrances like Gingerbread Spice for better scent retention. These simple adjustments will transform your cold-weather soap crafting experience.
7 Winter Soap Making Tips for Better Results
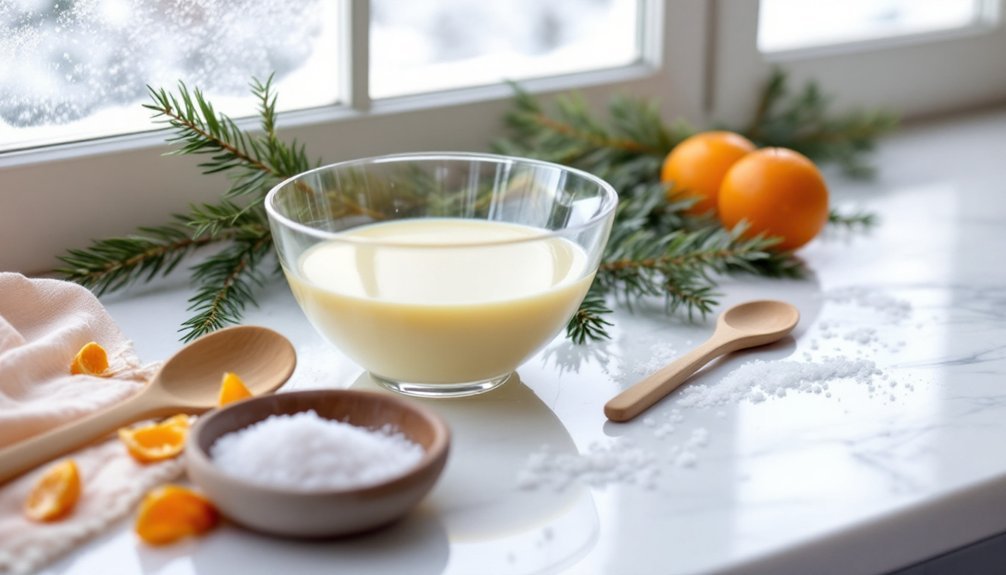
Every successful winter soap batch begins with proper preparation. Start by organizing your workspace and gathering all necessary materials including a digital scale, stainless steel utensils, and appropriate molds for winter-themed designs.
Always prioritize safety by wearing protective gear—goggles, gloves, and closed-toe shoes—when handling lye.
For best results during colder months, try soaping at room temperature to avoid heat-related complications. Select oils like coconut or palm that remain workable in winter conditions. The in-the-pot swirl technique creates beautiful patterns perfect for winter-themed soaps. High water content is essential for slowing trace development when creating intricate swirl designs in cold-process soap.
Consider winter-appropriate fragrances such as peppermint or pine.
Remember to mix lye solutions in well-ventilated areas to reduce inhalation risks, and allow your finished soaps to cure properly in a dry environment.
Using Snow as a Natural Liquefier for Winter Soaps
Fresh snow can be safely collected from clean areas away from roads, salt, and pollutants to replace water in your winter soap recipes.
You'll benefit from snow's natural temperature control when dissolving lye, creating uniquely textured soaps with minimal environmental impact.
Remember to measure your snow by weight rather than volume to maintain the correct ingredient ratios in your formulations.
When working with snow, the recipe calls for 12 ounces of fresh snow to be combined with the lye for proper dissolution.
Snow Collection Safety
While harvesting snow for soap making creates a wonderful winter-themed product, you'll need to prioritize safety throughout the collection process. Always gather snow from clean, uncontaminated areas away from roads, animal paths, and chemical treatments. Use sanitized containers specifically designated for soap making ingredients.
When working with snow and lye, proper safety equipment is non-negotiable:
- Wear chemical-resistant gloves, safety goggles, and protective clothing to shield yourself from both lye splashes and cold temperatures.
- Verify your workspace is well-ventilated to disperse potentially harmful lye fumes.
- Keep a water source nearby for emergency rinses if lye contacts your skin.
This winter-themed soap combines Fresh Snow Fragrance Oil and peppermint essential oil for a refreshing scent that captures the essence of winter.
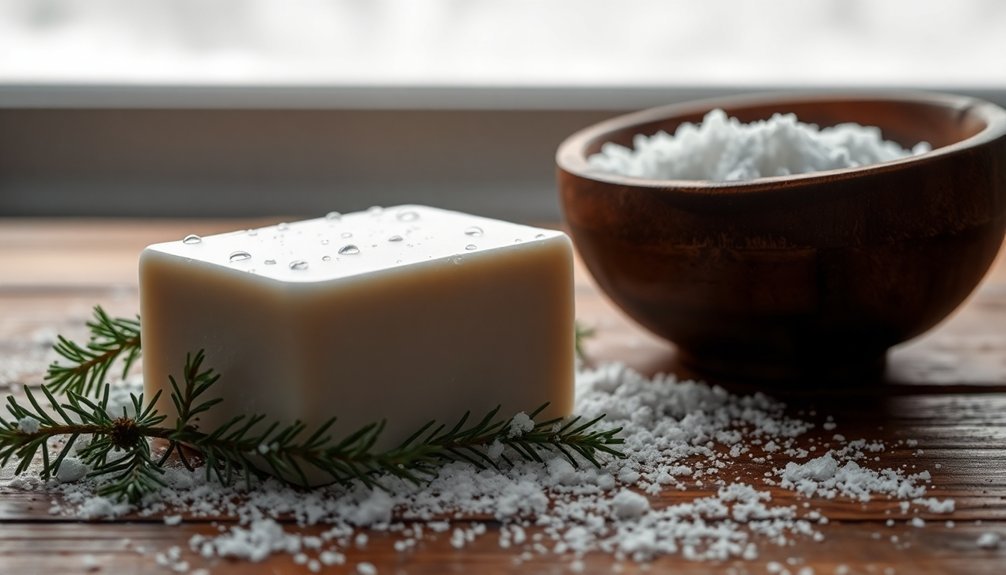
Benefits of Snow Soap
Once you've safely collected your snow, you'll discover it offers unique advantages as a soap-making ingredient.
When melted, snow works exactly like water in your formulations while adding a touch of winter magic to your process.
Snow soap creates beautiful white bars, especially when paired with light-colored oils. For a truly seasonal creation, add indigo powder for blue accents or mica for a sparkly, snow-like shimmer.
Enhance the winter theme with peppermint or spearmint essential oils, which provide invigorating scents and beneficial antioxidants.
Your snow soap can be formulated with nourishing ingredients like olive, coconut, and shea butter oils.
This seasonal approach also creates marketing opportunities—limited-edition winter soaps make excellent holiday gifts and can showcase your creativity while supporting artisanal craftsmanship.
To prevent color changes in your soap, consider placing the finished mixture in the refrigerator to avoid gel phase development that might affect your desired pure white appearance.
Measuring Snow Correctly
Precision matters when incorporating snow into your soap recipes. Always weigh your snow rather than measuring by volume, as 218 grams of snow will melt to exactly 218 grams of water. Use a digital scale for accuracy, ensuring your soap formulation maintains proper lye-to-liquid ratios. Similar to regular cold process soap, the snow method requires proper trace achievement before pouring into molds.
- Collect snow from clean, untouched areas away from roads or other contaminants that could affect your soap quality.
- Add lye to snow slowly (never the reverse), watching as it rapidly melts and heats up the mixture.
- Maintain consistency in your measurement techniques between batches for reproducible results.
When adapting existing recipes, you can substitute snow for water weight-for-weight without additional calculations. The cold starting temperature of snow makes it ideal for soap making, without the scorching risks associated with milk soaps.
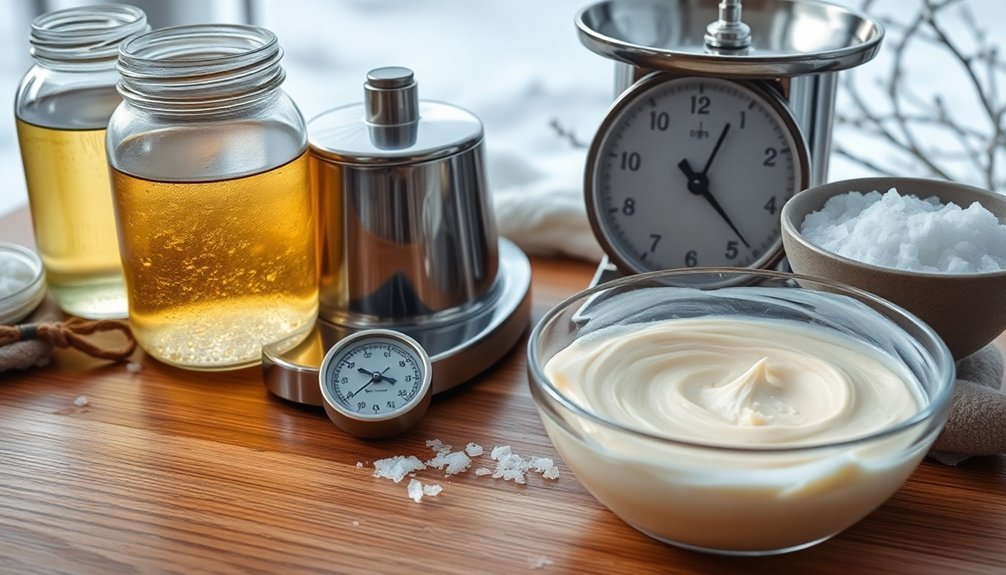
Adjusting Oil Ratios for Cold Temperature Saponification
As temperatures drop during winter months, your soap making process requires thoughtful adjustments to oil ratios for successful saponification.
Keep your lye and oils between 120-130°F to guarantee proper chemical reactions, especially when room temperatures fall below 60°F.
Increase hard oils like cocoa butter (5-20%) and shea butter for better hardening in cold conditions.
Reduce softer oils that may slow setting—limit avocado oil to 20% and jojoba to 10%.
Consider adding 5-7% castor oil to enhance lather quality despite the cold.
For conditioning properties that combat winter dryness, incorporate 5-10% of kukui nut or tamanu oil.
Remember to maintain oil and lye temperatures within 10 degrees of each other for ideal soap formation in chilly environments.
During winter soap making, using babassu oil at up to 33% can effectively replace coconut oil while still providing excellent cleansing properties in colder conditions.
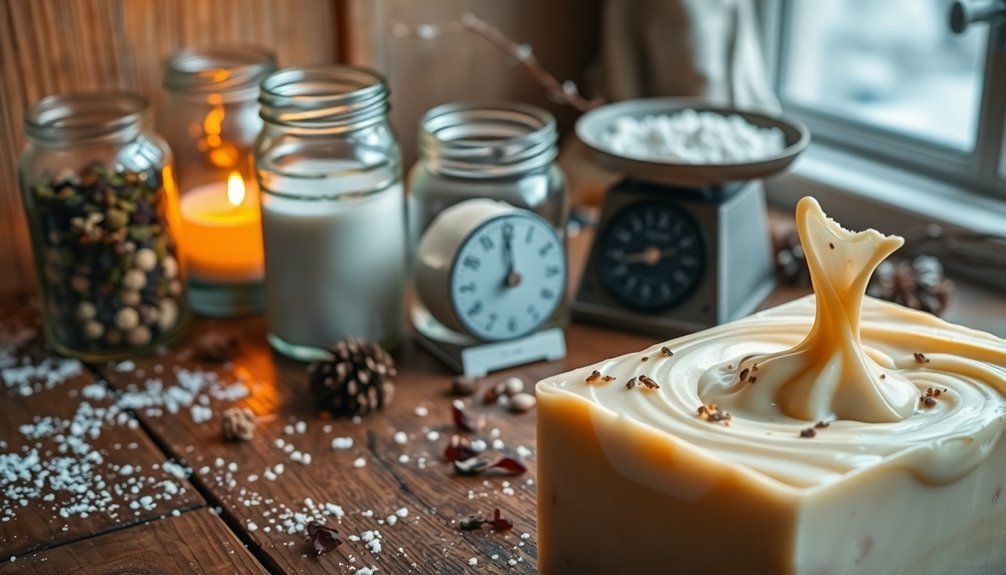
Preventing Temperature Fluctuations During the Trace Stage
Temperature fluctuations during the trace stage can derail even an experienced soap maker's winter batch. During colder months, your soap batter is susceptible to false trace when oils solidify prematurely.
To maintain stable temperatures, keep your workspace consistently warm and monitor both oil and lye solution temperatures, aiming for 100-110°F for oils and 100-130°F for lye.
- Insulate your mixing container with a towel to retain heat and prevent rapid cooling during the critical trace period.
- Use intermittent stick blending rather than continuous mixing to avoid generating excess heat that accelerates saponification.
- Preheat all tools and molds to room temperature or slightly warmer to prevent cold surfaces from shocking your soap batter.
Consistent temperature management gives you more control over trace development and ultimately yields better winter soap results. Remember that saponification is an exothermic reaction that inherently generates heat, so balancing this natural process with the cooler winter environment is essential.
Insulating Soap Molds in Chilly Environments
During winter months, proper insulation of soap molds becomes critical to successful saponification. Cold temperatures can prevent proper gel phase and lead to soda ash formation on your soap's surface.
Layer your insulation strategically—start with cardboard covering the top, then wrap the entire mold with towels or blankets. For maximum heat retention, place your wrapped mold inside a Styrofoam cooler.
Layer insulation like a winter coat for your soap—cardboard first, then blankets, finished with a Styrofoam sanctuary for perfect gel phase.
Don't forget to insulate the bottom of your mold to prevent uneven cooling. Choose heat-retaining molds like silicone or wood for better results. The ideal soap making condition aims to maintain temperatures between 120-130 °F throughout the entire process.
Be careful not to overinsulate when using fragrance oils with spicy notes, as they naturally increase soap temperature and could cause "volcanoing."
Monitor temperatures regularly, especially in extremely cold environments, and adjust your insulation methods accordingly.
Curing Strategies for High Humidity Winter Days
Why do winter soap makers often struggle with humidity during curing?
While winter typically brings dry air, heated homes can trap moisture, slowing down your soap's curing process. This excess humidity prevents proper water evaporation, potentially leaving you with soft bars that degrade quickly.
To combat winter humidity and guarantee proper curing:
- Use dehumidifiers near your curing area to reduce ambient moisture, greatly accelerating water evaporation from soap bars.
- Maximize air circulation with fans while avoiding direct heat sources that could damage your soap.
- Consider water discounting in your recipes—reducing initial water content gives you a head start on the curing process.
- Place zeolite rocks near your curing racks to absorb excess moisture from the environment without affecting the soap itself.
Regularly monitor soap weight to track moisture loss—when weight stabilizes, your bars have likely completed curing, even in challenging winter conditions.
Creating Seasonal Scent Blends That Hold in Cold Weather
Winter soap making presents a unique challenge when it comes to fragrance retention, as the cold weather can significantly affect how scents develop and persist in your soap.
To combat this, consider using stronger aromatic options like the Winter Forest Blend of clary sage, cedarwood, pine, and black spruce that performs well in colder temperatures.
For greater stability, fragrance oils like Gingerbread Spice or Winter Wonderland offer reliable alternatives to essential oils that might fade quickly.
You'll find that spiced warmth blends featuring cinnamon and clove not only evoke cozy winter feelings but also maintain their scent profile longer. The popular Spiced Orange blend with 3 drops of orange and 1 drop of clove creates a festive fragrance reminiscent of traditional pomander balls.
When designing your winter soaps, pair these robust fragrances with complementary earthy tones or festive colors to create visually appealing products that smell as good as they look.
Frequently Asked Questions
How Do Winter Soaps Differ From Summer Soaps in Shelf Life?
Your winter soaps don't inherently have longer shelf lives than summer ones. However, they'll typically last longer due to cooler storage conditions that slow oxidation, while summer's heat and humidity can accelerate soap degradation.
Can I Substitute Snow With Crushed Ice for Soap Making?
Yes, you can substitute snow with crushed ice in soap making. They're both frozen water and will melt identically when mixed with lye. Just make certain your crushed ice is clean and properly measured by weight.
What Natural Colorants Work Best for Winter-Themed Soap Designs?
For winter-themed soap designs, you'll get great results with spirulina for blue-green hues, alkanet root for purples, French green clay for minty tones, and layer white, brown and green to create textured winter landscapes.
How Does Altitude Affect Winter Soap Curing Times?
At higher altitude, your soap may cure faster due to lower humidity and air pressure. You'll notice quicker water evaporation, especially in winter when air is already drier. Monitor and adjust curing times accordingly.
Are There Specific Essential Oils That Accelerate Trace in Cold Weather?
Yes, certain essential oils accelerate trace even in cold weather. You'll notice spice oils like cinnamon, clove, and bay laurel, along with floral oils like ylang-ylang, can considerably speed up your trace despite cooler temperatures.
In Summary
Winter soap making doesn't have to be challenging. You'll find greater success when you adjust your techniques to accommodate colder temperatures and changing humidity levels. Remember to insulate properly, modify your oil ratios, and protect your scent profiles. With these seven seasonal tips in your crafting arsenal, you're well-equipped to create beautiful, high-quality soaps throughout the winter months. Happy soaping, even when the snow falls!


Leave a Reply