To cure soap successfully in your basement, maintain temperatures between 60-70°F and humidity levels of 30-50% using dehumidifiers. Set up proper ventilation with fans for consistent air circulation. Place soaps on metal-coated racks with adequate spacing, and keep them in low light conditions. Regularly monitor curing progress by weighing bars and testing lather quality. These five essential adjustments transform your basement into the perfect environment for creating premium, long-lasting soap.
Create an Ideal Basement Environment for Effective Soap Curing
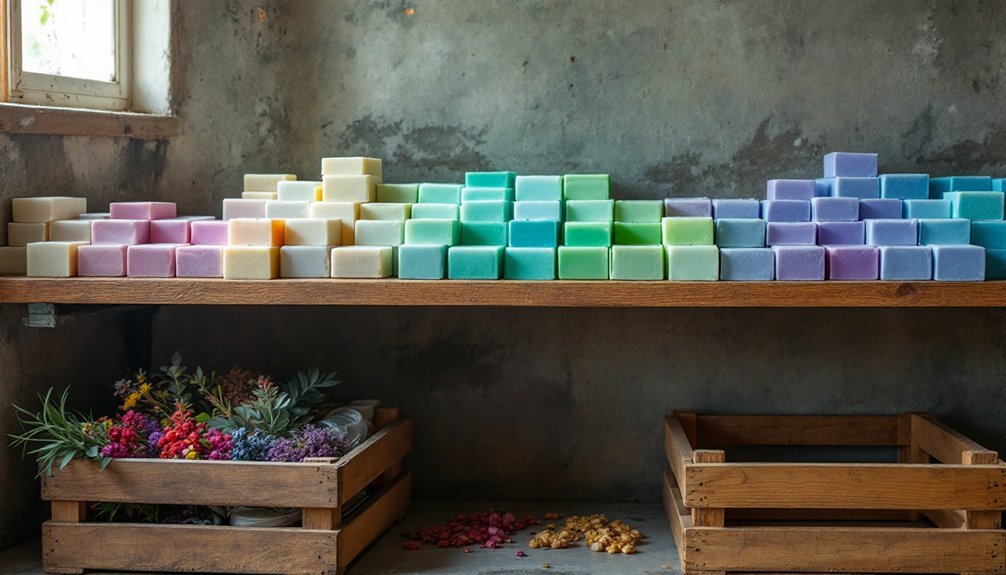
Your basement offers an ideal setting for soap curing when properly optimized. The naturally cool temperatures prevent soap from softening or unexpectedly entering the gel phase, which is perfect for maintaining shape and texture during curing.
Set up metal-coated racks or bookshelves to store your soap bars, avoiding uncoated metal that might rust and compromise quality. Arrange bars with sufficient space between them to guarantee even air circulation around each piece. For best results, cure cold process soap for four to six weeks after unmolding before packaging.
Store soaps on coated metal racks with adequate spacing to ensure proper airflow and prevent quality issues from rust exposure.
Don't insulate your soap—basements already provide the cooler, less heated environment you need. If your basement tends to be humid, consider using a dehumidifier to prevent rancidity and orange spots.
Take advantage of the basement's naturally low light conditions, which help preserve soap colors and fragrances without the risk of sunlight degradation.
Setting Up Proper Ventilation to Combat Basement Humidity
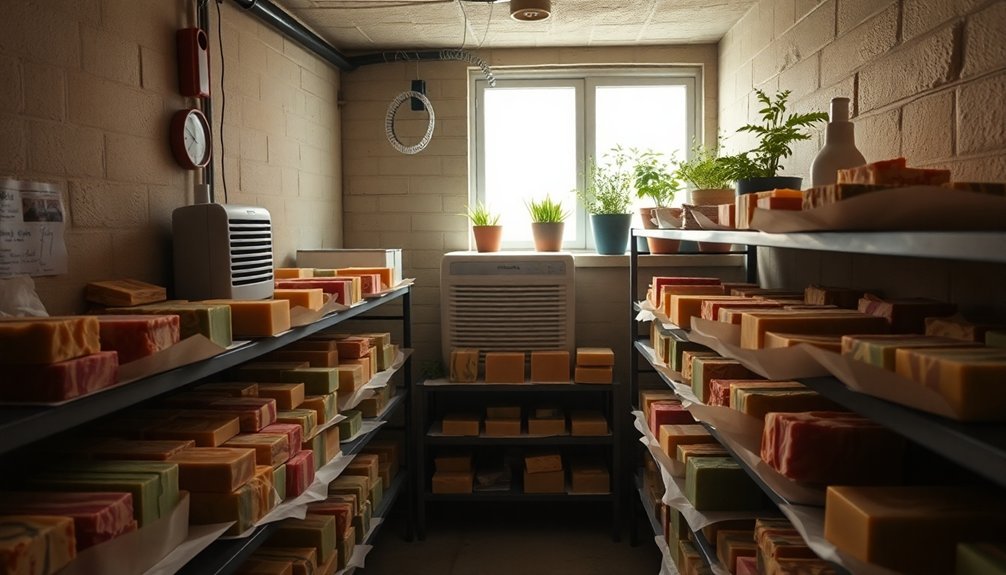
Proper ventilation stands as the cornerstone of successful soap curing in basements, where excess humidity can quickly compromise your handcrafted bars.
Install fans to guarantee continuous air circulation throughout your curing space, positioning them strategically to eliminate stagnant air pockets.
Consider both mechanical and natural ventilation methods. You'll need to integrate dehumidifiers to maintain humidity between 30-50%, adjusting settings seasonally as external conditions change.
For natural airflow, strategically open windows to create cross-ventilation without introducing excessive moisture. Maintaining airflow 24/7 is essential for proper soap curing in basement environments.
Regularly check your hygrometer readings and clean ventilation system filters to maintain peak performance.
Don't forget to position your soap with adequate spacing between bars to maximize air exposure.
With these measures, you'll transform your basement into an ideal curing environment despite its inherent humidity challenges.
Essential Equipment for Accelerating the Basement Curing Process
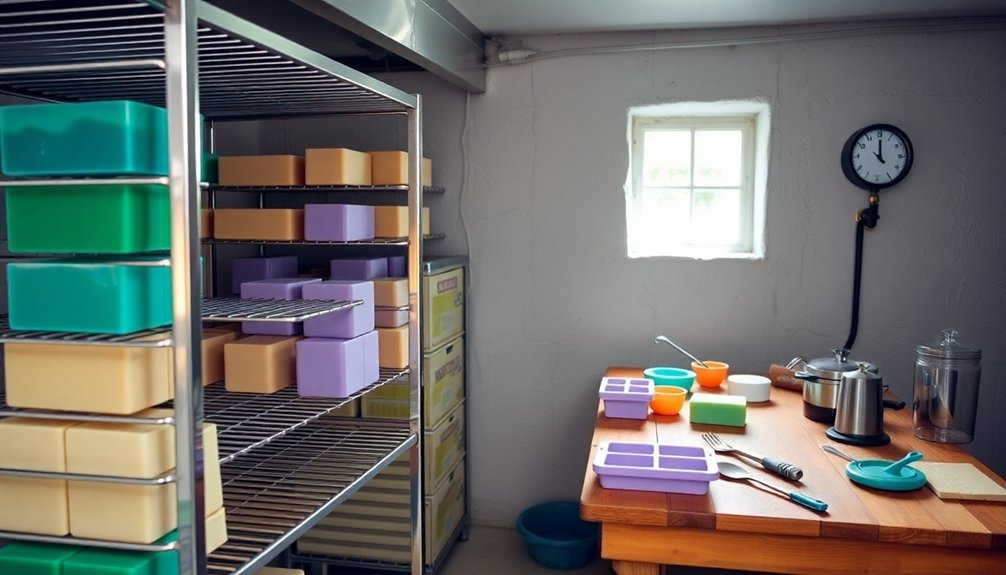
While patience remains essential in soap curing, the right equipment can considerably accelerate the process in challenging basement environments. A quality dehumidifier is your most valuable investment, efficiently removing excess moisture that typically plagues basement spaces.
Install multiple soap racks or curing towers to maximize vertical space while ensuring proper air circulation between bars. Position electric fans strategically to create consistent airflow across your curing area. For precise environmental control, add a thermometer and hygrometer to monitor conditions.
Consider implementing water discounting in your soap recipes to reduce initial moisture content. Curing trays with adequate spacing prevent bars from touching and facilitate even drying. Always ensure any equipment used is not for food as per standard soapmaking safety protocols.
Track your progress by regularly weighing soap bars—this objective measurement helps you determine when your soap has properly cured.
Preventing Common Basement Issues: Mold, Pests, and Dust Control
Basements present unique challenges for soap makers due to their propensity for moisture retention, pest infiltration, and dust accumulation—all of which can compromise the quality of curing soap.
Maintaining proper humidity levels below 60% with dehumidifiers is essential for preventing mold growth while creating ideal curing conditions for your soap.
- Install proper drainage systems and fix leaks promptly to minimize moisture that attracts both mold and pests.
- Use HEPA air purifiers to control airborne dust and spores that could settle on curing soap.
- Store soap on elevated racks, not directly on basement floors, to improve air circulation.
- Seal entry points around pipes and vents to prevent pest contamination.
- Implement regular cleaning routines and consider mold-resistant products for shelving and storage.
Different types of mold present varying levels of risk, but all are potentially harmful to both your health and your soap products.
Monitoring and Adjusting Your Soap's Curing Progress
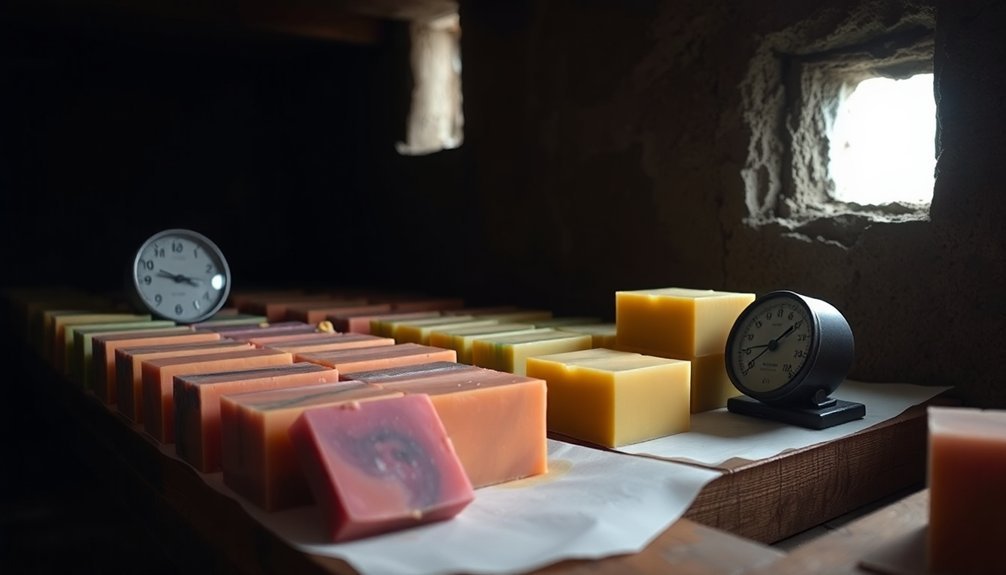
Successfully curing soap in your basement requires vigilant monitoring and timely adjustments to guarantee excellent results. Track your soap's progress through regular weight and hardness tests—significant changes indicate approaching completion.
Maintain temperatures between 60°F-70°F and low humidity for ideal curing. You'll need dehumidifiers or air conditioning if your basement's soil conditions create excess moisture. Good air circulation is essential for faster evaporation.
Test lather quality at different curing stages by evaluating bubble formation, abundance, and rinse-off properties. This indicates when your soap becomes mild enough for use. Remember that while saponification completes within 24 hours, the full curing process takes much longer for optimal soap quality.
While most soaps need 4-6 weeks to cure, you should adjust this timeframe based on your specific basement environment and soap composition.
Regular monitoring helps you make informed decisions about when your soap has reached its peak quality.
Frequently Asked Questions
How Does Basement Curing Affect Soap Scent Retention?
Basement curing can preserve your soap's scent better due to limited UV exposure, but you'll need to control humidity and guarantee good air circulation to prevent moisture-related issues that might affect fragrance retention.
Can I Use UV-C Lights to Prevent Mold During Curing?
Yes, you can use UV-C lights to prevent mold during curing. They're effective when placed about two inches from your soap. Remember to wear protective goggles and gloves when handling the lights for safety.
Does Concrete Flooring Impact Soap Quality Differently Than Wood?
Concrete flooring won't directly impact your soap quality, but it offers better moisture resistance and easier cleaning than wood. You'll face fewer humidity issues with concrete, creating a more stable curing environment for your soaps.
How Do Seasonal Changes Affect Basement Curing Timelines?
Seasonal changes greatly impact your curing timeline. You'll notice slower curing in cold seasons due to reduced evaporation, while warm seasons may accelerate it. You'll need to adjust for humidity fluctuations throughout the year.
Should I Rotate Soap Positions on Shelves During Curing?
Yes, you should rotate your soap bars during curing. This guarantees even hardening, minimizes contact points that cause discoloration, and improves ventilation around each bar, ultimately resulting in more consistent quality soap.
In Summary
You've now got all the tools to transform your basement into a soap curing paradise. Remember, consistently monitor humidity levels, maintain proper air circulation, and use your dehumidifier wisely. Don't skip regular inspections for quality control. With patience and these targeted basement strategies, you'll soon enjoy perfectly cured soaps that rival any professional product. Your basement's limitations won't stand in the way of your soap-making success!


Leave a Reply