For hot process soap making, you'll need: a well-ventilated area to disperse lye fumes, consistent temperature control (165°F-200°F), humidity levels between 40-45%, proper lighting (natural preferred) to monitor trace development, complete safety gear within reach, organized workspace with designated areas for measuring and mixing, and suitable curing racks with good air circulation. Creating these ideal conditions not only guarantees safer soap making but transforms your batches from adequate to exceptional.
7 Perfect Room Conditions For Hot Process Soap
Creating the perfect environment for hot process soap making requires careful attention to several key factors.
You'll need a well-ventilated workspace to prevent inhaling lye fumes while maintaining humidity levels between 40-60% for ideal results.
Ensure your area has consistent air circulation using fans or vents, but avoid direct drafts that could cause uneven cooling.
Always wear proper safety equipment—gloves, goggles, and protective clothing—when handling ingredients.
Keep your workspace clean and organized with all utensils sanitized and molds prepared before starting.
Use stainless steel or heat-resistant glass containers, never aluminum which reacts with lye.
Good lighting, whether natural or artificial, improves visibility during the process and helps with color accuracy when adding dyes to your soap.
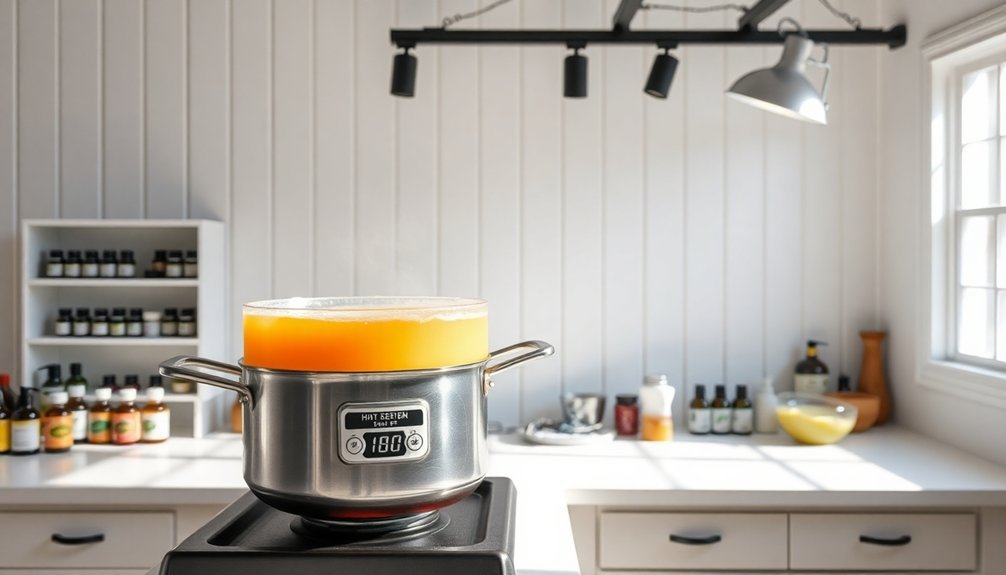
For optimal results, preheat your oven to 170 degrees Fahrenheit before beginning the HPOP soap-making process.
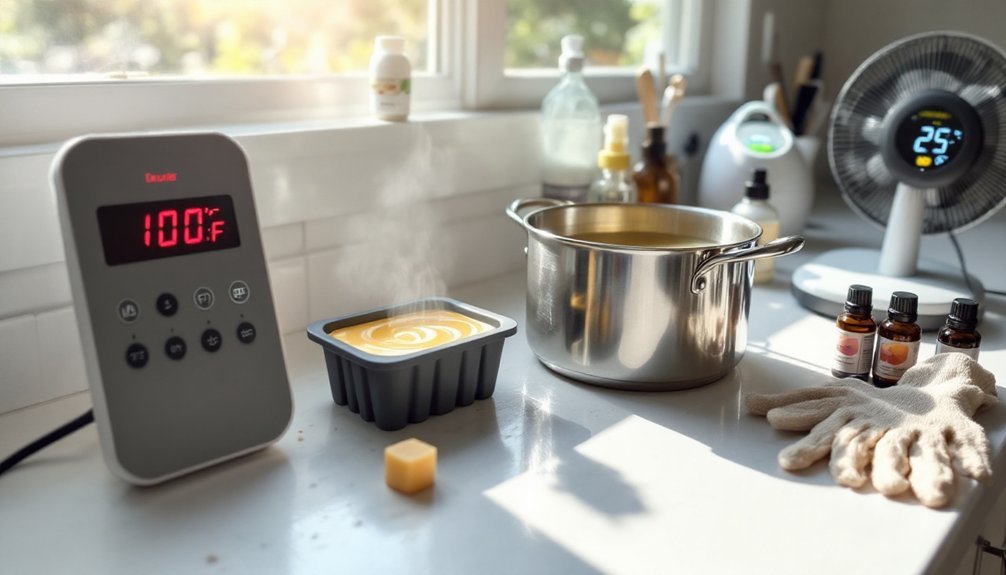
Maintaining Optimal Temperature Range (165°F-200°F)
Maintaining the ideal temperature range between 165°F and 200°F serves as the cornerstone of successful hot process soap making. Your crockpot should be set to low, providing consistent heat that accelerates saponification without scorching your mixture.
Watch for the telltale gelling around the edges of your pot—this visual cue indicates proper progression. Using an infrared thermometer isn't optional; it's vital for monitoring your soap's temperature throughout the process.
You'll need to let your soap cool below 180°F before adding fragrances or colorants to prevent their degradation. This cooling phase is critical but often overlooked by beginners.
Remember that temperature management isn't just about successful saponification—it's also about safety. Overheated soap can volcano out of your container, creating both a mess and potential burn hazards. Keeping oils below 150°F before adding lye solution is crucial for preventing these volcanic eruptions that can ruin your batch.
Creating Proper Ventilation for Lye Safety
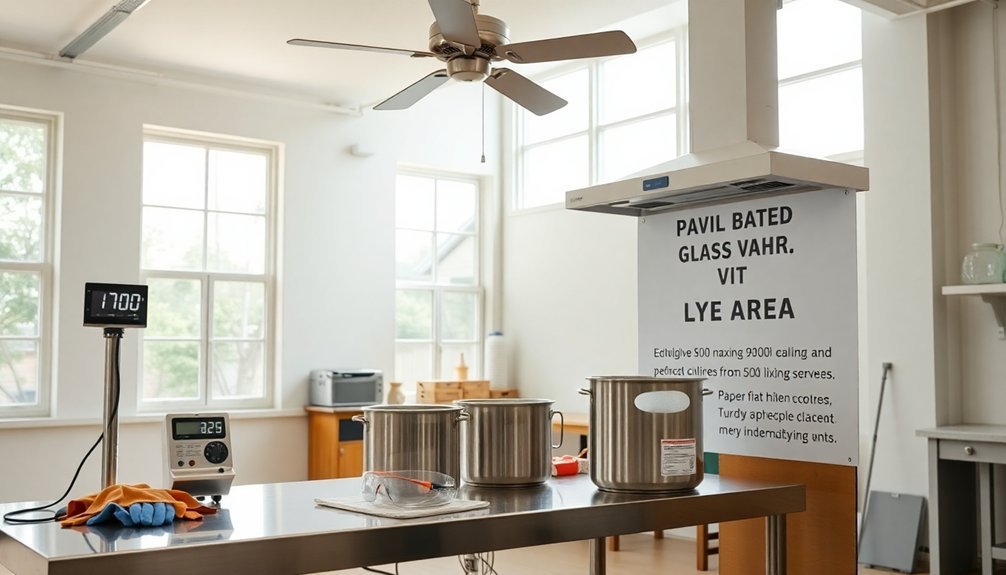
Because lye fumes can severely damage your respiratory system, proper ventilation stands as your first line of defense when making hot process soap.
Always work in well-ventilated areas where air flows freely, ideally outdoors or near open windows.
If you're limited to indoor spaces, position electric fans to direct fumes away from your breathing zone and toward open windows.
For large batches or enclosed spaces, it's crucial to understand that lye produces harmful fumes when dissolved in water, which makes proper protection mandatory.
For large batches or enclosed areas, don't rely on fans alone—wear a proper respirator mask designed for chemical fumes.
Never mix lye in bathrooms, closets, or other confined spaces where fumes can concentrate quickly.
Your ventilation setup should include enough airflow to prevent eye irritation and breathing difficulties.
Setting Up Essential Equipment and Tools
Arrange your heat-resistant tools like stainless steel pots and thermometers in an easily accessible designated work station before mixing any ingredients.
Position your safety equipment—gloves, goggles, and apron—at the entrance of your soap-making area so you'll remember to put them on first.
Your stick blender, spatulas, and molds should be organized based on when you'll need them in the hot process soap-making sequence.
Consider adding a Powder Spray Set to your toolkit for decorating your finished soaps with mica or glitter once they've cooled enough to embellish.
Heat-Resistant Tool Selection
When preparing for hot process soap making, selecting heat-resistant tools becomes essential for both safety and success. You'll need materials that can withstand both high temperatures and lye's corrosive nature. Stainless steel utensils and mixing bowls are ideal due to their 2552°F melting point and resistance to chemical reactions. Commercial crockpots with ceramic oxide coatings provide safe high-temperature processing options.
Avoid aluminum and zinc tools as they react with lye, potentially compromising your soap's quality. Instead, opt for polypropylene containers for mixing lye and water.
| Material | Heat Resistance | Chemical Resistance |
|---|---|---|
| Stainless Steel | Excellent (2552°F+) | Highly resistant to lye |
| Polypropylene | Good (320°F) | Safe with lye |
| Silicone | Very good (500°F+) | Non-reactive |
| Glass | Excellent | Excellent, but fragile |
Always wear protective gear including gloves and goggles during the process to prevent injuries.
Designated Work Stations
Creating three distinct zones in your soap-making workspace will dramatically improve both safety and efficiency.
Establish a preparation area with accurate scales, measuring cups, and heat-resistant containers for precise ingredient measurement. Keep your lye-safe containers, high-heat pitchers, and safety gear here too. Remember to include a sturdy spatula for effective mixing of your lye-water solution and scraping containers.
Your second zone should feature your primary processing equipment—crockpot or heater, thermometer, stick blender, and stainless steel mixing bowls. This is where the actual soap transformation happens and temperature control is critical.
Finally, set up your finishing station with soap molds, cutters, and drying racks.
Don't forget to organize these areas with clear soap-making checklists to maintain workflow consistency. As you scale up operations, you'll appreciate having dedicated spaces that can accommodate larger equipment while maintaining your established process.
Safety Equipment Placement
Strategic placement of safety gear marks the difference between a well-prepared soapmaker and one risking preventable accidents.
Position your rubber gloves, safety goggles, and apron within arm's reach of your main workstation. Never begin mixing lye without first donning these essentials.
Store your respirator or mask near your lye mixing area, as you'll need it immediately when combining lye with water. Prepare to mix in an area with good ventilation to prevent inhaling harmful fumes. Keep a first aid kit and SDS sheets visible and accessible on a nearby shelf or wall. For emergency situations, post contact numbers prominently.
Ensure your safety clothing—long sleeves and pants—is ready before you start. Place closed-toe shoes by your workspace entrance as a reminder to wear them.
Regularly check all equipment for damage and replace worn items immediately to maintain ideal protection.
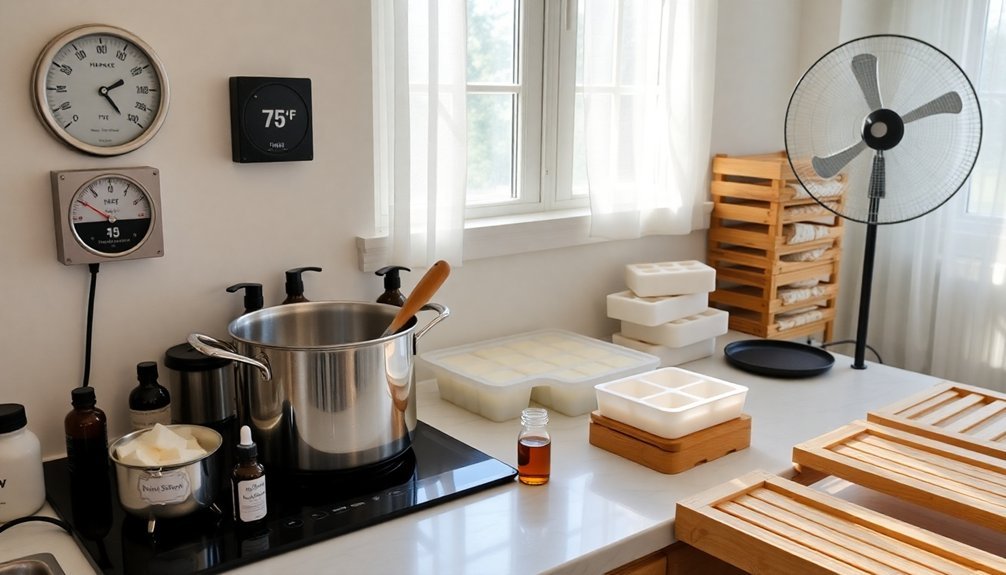
Controlling Humidity Levels for Perfect Curing
The success of your hot process soap depends considerably on how well you manage humidity during the curing phase. For best results, maintain humidity below 45% in your curing area to guarantee efficient drying.
In high humidity environments, your soaps will absorb moisture, causing glycerin to create beads of "sweat" on your bars. Combat this by using dehumidifiers and promoting good ventilation with electric fans for increased airflow. Hot process soaps typically require about 3-4 weeks to cure properly, which is generally faster than cold process methods.
Position your soaps on non-aluminum curing racks that allow air circulation on all sides. You can accelerate curing by discounting water in your recipes or maintaining room temperatures around 68-72°F.
Regularly weigh your soaps to track moisture loss and adjust curing time accordingly. Remember that proper air circulation prevents uneven drying and leads to consistently high-quality soap bars.
Establishing Adequate Lighting for Process Monitoring
Your choice between natural and artificial lighting will greatly impact your ability to monitor the hot process soap stages safely.
While natural light offers the best color rendering for observing trace development, strategic placement of overhead LED fixtures can compensate during evening work or in windowless spaces.
Position your primary light source slightly to your dominant side rather than directly overhead to minimize glare on oils and reduce the chance of missing critical visual cues during saponification.
Adequate lighting is especially important when using the heat transfer method to ensure you can properly observe when oils have completely melted before proceeding to blending.
Natural vs. Artificial
When establishing a soap-making workspace, proper lighting becomes essential for accurately monitoring the color development in hot process soap. Your choice between natural and artificial light sources directly impacts how you perceive colorants during the soap-making process.
Natural daylight provides the most accurate color rendering, helping you distinguish subtle hue variations that artificial lighting might mask. However, artificial lighting offers consistency regardless of weather or time of day. Some soapmakers prefer working at emulsion stage when adding natural colorants for more vibrant and evenly distributed hues.
- Natural light reveals true pigment characteristics of botanical colorants like turmeric and indigo
- LED lighting with high CRI (Color Rendering Index) serves as an excellent alternative to daylight
- Position your work surface perpendicular to windows to minimize shadows
- Test your colorants under different lighting conditions before full production
- Install adjustable lighting fixtures that allow you to modify brightness as needed
Placement Matters Most
Effective lighting placement creates the foundation for successful hot process soap making. Position your overhead lights to minimize shadows over your work area, ensuring you'll catch every subtle change in your soap's consistency and color.
Set up task lighting to focus specifically on your crock pot, making it easier to monitor trace development and temperature indicators. You'll need clear visibility to assess when your soap reaches the proper texture and viscosity.
Arrange your equipment thoughtfully—place your crock pot on a stable, non-reactive surface away from flammable materials but close enough to ventilation. When selecting your crock pot, ensure it has a glass lid option to help retain moisture during the heating process.
Keep all utensils within arm's reach for efficiency. Your workspace should allow room for the soap to expand safely during processing while maintaining electrical safety by keeping cords away from water and moisture.
Organizing Your Workspace for Efficiency and Safety
Setting up a properly organized workspace stands as the foundation of successful hot process soapmaking.
You'll need to arrange your equipment strategically to maximize efficiency while maintaining strict safety protocols. Designate specific areas for measuring, mixing, heating, and curing to create a logical workflow. Consider implementing a production calendar to stay organized with your soapmaking schedule and inventory needs.
- Store your lye and other caustic materials away from food preparation areas and label everything clearly.
- Position your stick blender, spatulas, and measuring tools within easy reach of your work surface.
- Install proper ventilation above your heating station to disperse lye fumes safely.
- Create a vertical storage system with labeled shelves for oils, fragrances, and colorants.
- Establish a dedicated curing area with racks that allow air circulation around your finished soaps.
Frequently Asked Questions
Does Room Altitude Affect Hot Process Soap Making?
No, altitude doesn't considerably impact your hot process soap making. You won't need to make adjustments as the process relies on external heat sources rather than atmospheric pressure affecting saponification time or ingredient stability.
Can I Make Hot Process Soap During Seasonal Weather Changes?
Yes, you can make hot process soap during seasonal weather changes. You'll need to adapt to humidity and temperature variations by controlling ingredient storage, adjusting air circulation, and possibly using additives like sodium lactate for consistent results.
How Do Air Conditioning Systems Affect Soap Curing?
Air conditioning systems speed up your soap curing by reducing humidity and maintaining consistent temperatures. They improve air circulation, prevent mold growth, and help you achieve more reliable soap quality throughout the curing process.
Is Background Noise a Factor in Soap Quality?
No, background noise doesn't affect your soap quality. Unlike in audio recording, soap making is influenced by ingredients, temperature, and humidity—not sound. You'll want to focus on environmental conditions that impact chemical reactions instead.
Should Pets Be Completely Removed From Soap-Making Areas?
Yes, you should keep pets completely out of your soap-making area. They can knock over dangerous chemicals, be harmed by toxic fumes, or become sick if they ingest ingredients or finished soap.
In Summary
By creating ideal room conditions for hot process soap making, you'll achieve consistent, high-quality results every time. Remember to control temperature, maintain proper ventilation, arrange your equipment strategically, manage humidity, guarantee good lighting, and keep your workspace organized. With these six key elements in place, you're well-equipped to create beautiful hot process soaps safely and efficiently in your dedicated soap making environment.


Leave a Reply