Artisan makers rely on time-tested emulsion methods for quality products. You'll find success with techniques like traditional hot process stirring, cold-stirred emulsification, rhythmic hand-folding, and the figure-eight pattern that prevents bubbles. Try alternating direction stirring for stability, slow-cooling temperature control, and continuous pour-and-mix for consistent results. Proper tool selection and visual monitoring of "trace" guarantee perfect consistency. Master these historical techniques to connect with centuries of craftsmanship wisdom.
10 Time-Tested Emulsion Methods For Artisan Makers
While modern manufacturing often relies on industrial equipment, artisan makers can achieve exceptional results through time-tested emulsion techniques that balance simplicity with effectiveness.
Cold process emulsification preserves sensitive ingredients while operating at room temperature, making it ideal for small-batch production.
For more stable results, you'll find the hot-cold process combines heating and cooling phases to create resilient emulsions without compromising heat-sensitive components.
Understanding Hydrophilic-Lipophilic Balance (HLB) is essential when selecting emulsifiers—it determines whether you'll create water-in-oil or oil-in-water emulsions.
Your emulsion quality depends heavily on achieving proper droplet size through controlled shear forces.
Consider investing in a Silverson mixer for small operations; it provides high shear without requiring additional homogenizing equipment, simplifying your production while maintaining professional quality standards.
Environmental impact should be considered when choosing your method, as cold process techniques significantly reduce energy usage compared to traditional hot methods.
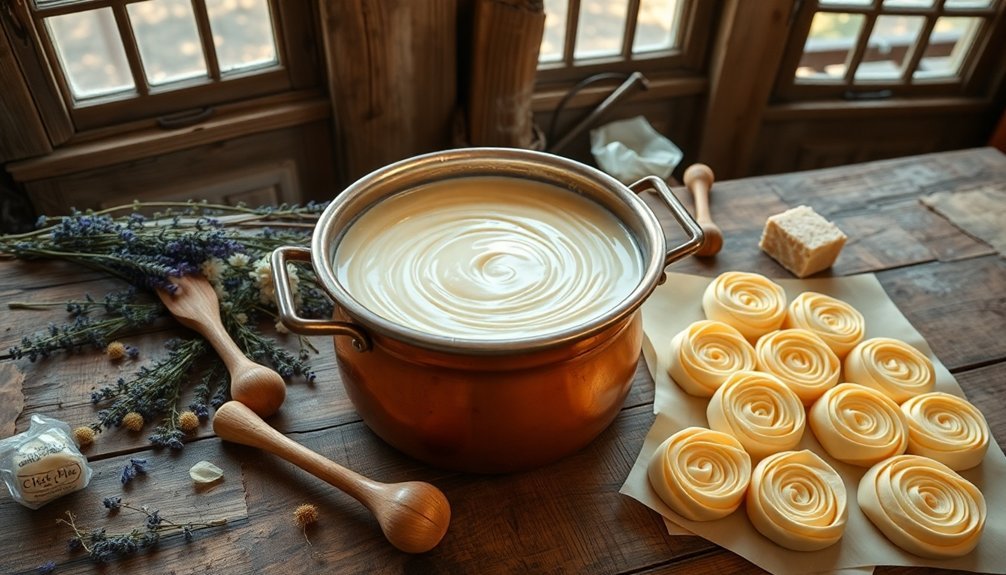
The Traditional Hot Process Stirring Technique
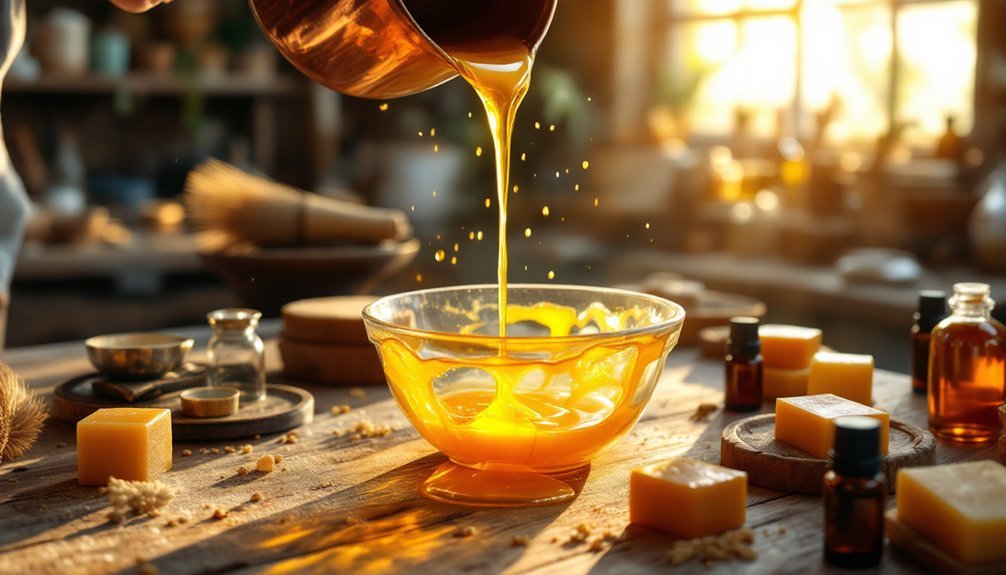
Moving beyond basic emulsion methods, the hot process stirring technique offers artisan makers a time-honored approach to soap creation that accelerates saponification through controlled heat application.
You'll need to maintain temperatures between 165°F and 200°F throughout the process, typically using a crockpot for consistent heat.
Start by carefully adding lye to water, then blend with melted oils until reaching a pudding-like trace.
Cook the mixture, stirring occasionally to prevent hot spots and guarantee even saponification.
Once cooked, briefly cool a sample to test for lye presence before introducing fragrances and colorants.
For successful swirls, keep all tools and molds warm.
Consider adding sodium lactate to enhance hardness and fluidity.
Though the soap is usable after setting, it'll develop better lather with additional curing time. The entire process can be completed in about 90 minutes with modern appliances, making it significantly more efficient than traditional methods.
Cold-Stirred Soap Emulsification for Botanical Preservation
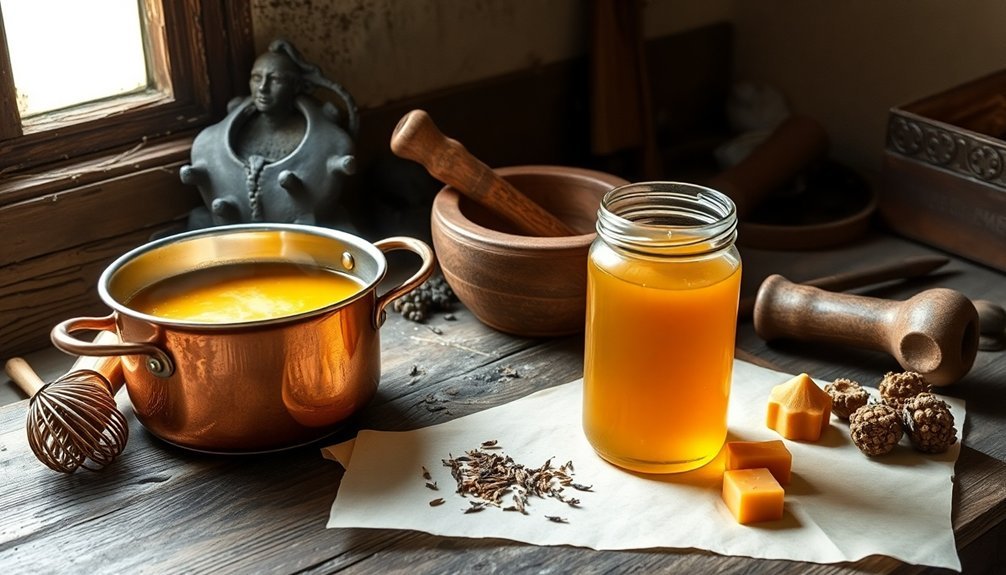
Have you ever wondered why certain botanical ingredients lose their beneficial properties in traditional soap making? The answer lies in excessive heat, which can destroy the delicate compounds found in herbs and essential oils.
Cold-stirred emulsification offers a solution by combining oils and lye at lower temperatures. You'll achieve proper emulsification by using an immersion blender with a pulsing technique to reach "trace" – the point where oils and lye begin to combine. This method preserves the integrity of your botanicals while creating a stable emulsion. The saponification reaction occurs naturally without additional heat, converting oils and sodium hydroxide into soap and glycerin.
The benefits extend beyond preservation. Your soaps will retain more moisturizing properties through the natural surgras (excess oils), require less energy to produce, and allow greater creative freedom with customizable botanical combinations suited for different skin types.
Rhythmic Hand-Folding: The Craftsman's Secret
Unlike machine-mixed emulsions, rhythmic hand-folding offers artisans precise control over texture development and emulsification.
You'll achieve superior ingredient distribution while preventing unwanted air pockets that compromise your final product's smooth finish.
The key lies in maintaining consistent folding rhythm during your soap's critical "trace" window. This technique excels at preserving delicate designs and colorants that might otherwise be destroyed by mechanical mixing.
By adjusting your folding cadence, you'll control the rate of emulsification perfectly.
You can apply this versatile method across various products from soaps to lotions.
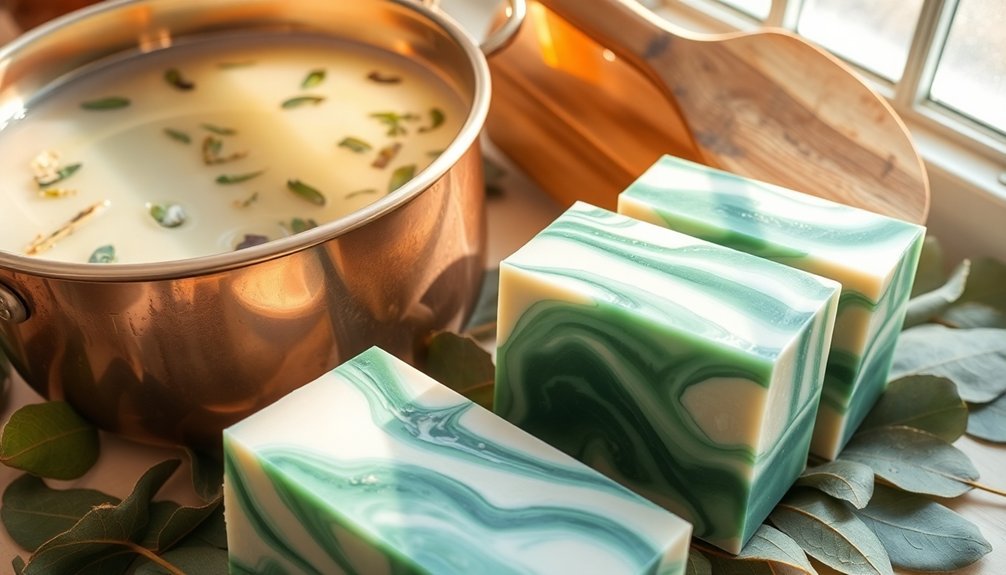
Whether creating intricate swirls, layered effects, or honeycomb textures, hand-folding gives you the flexibility to customize your creations while ensuring proper temperature control and ingredient safety throughout the process. Working with soap at lower temperatures (80-90°F) helps maintain a thinner batter that's ideal for creating beautiful swirl patterns.
Wooden Spoon Trace Method for Perfect Consistency
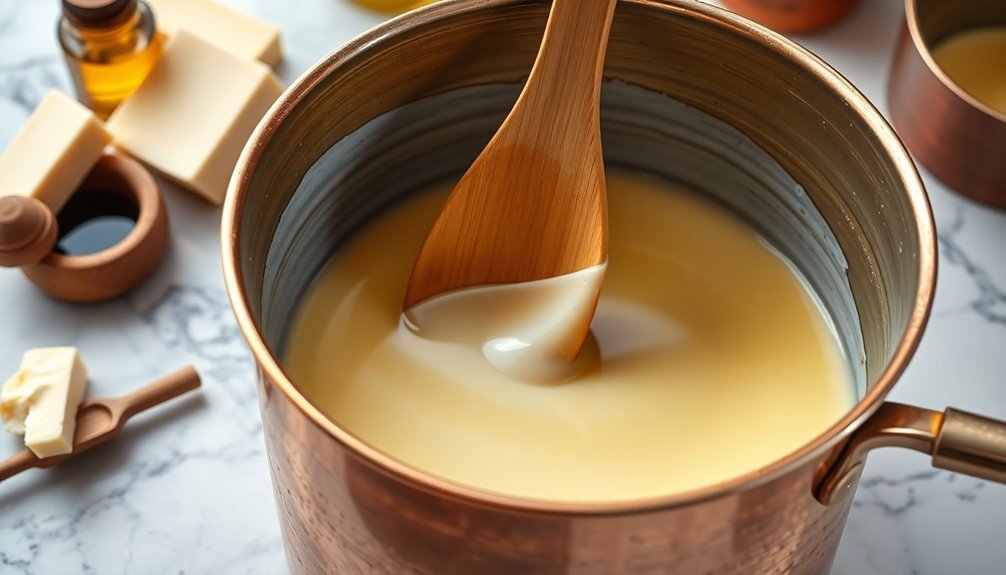
The wooden spoon trace method stands as the cornerstone technique for artisans seeking authentic emulsion consistency without electrical tools. When you're creating soaps or other emulsions, this traditional approach offers direct tactile feedback that modern equipment simply can't provide. Similar to the silver gelatin process, maintaining proper stirring technique is essential for achieving proper chemical binding in photographic emulsions.
| Aspect | Benefit |
|---|---|
| Temperature | Control stability of your emulsion |
| Rhythm | Develop personalized stirring pattern |
| Observation | Witness true trace without false positives |
| Economy | Craft quality products with minimal investment |
While more time-consuming than electric alternatives, you'll gain invaluable knowledge about your ingredients' behavior. The method's strength lies in its simplicity—watch carefully for the mixture to thicken enough that it leaves a visible trail or "trace" across the surface when drizzled from your spoon. This patience-rewarding approach connects you directly to centuries of craft tradition.
Ancestral Whisk Emulsion: Creating Air-Light Textures
Artisans seeking ethereal textures in their soaps often rediscover the ancestral whisk emulsion technique, a method that infuses microscopic air bubbles throughout your mixture. This time-consuming process requires patience but yields uniquely delicate results impossible to achieve with modern equipment.
For ideal results, maintain temperatures between 135°F-145°F and select recipes with higher saturated fats like coconut or palm oil to speed up tracing. Traditional recipes using lard and coconut oil create excellent stability when hand whisking. You'll need a stainless steel whisk (never aluminum, which reacts with lye) and consistent, vigorous stirring to prevent separation.
While whisking demands considerably more time than using a stick blender, you'll gain superior control over additives like sodium lactate, carrot puree, and essential oils.
Watch carefully for false trace, where the mixture appears thick but hasn't fully emulsified—a common pitfall requiring additional mixing.
The Figure-Eight Pattern: Medieval Soap Guild Technique
Medieval soap guilds perfected the figure-eight stirring pattern as a technique to create consistent emulsions without trapped air bubbles.
You'll notice immediate improvement in your soap's texture when you adopt this rhythmic wrist motion that evenly distributes oils and lye.
This historical mixing method prevents separation while ensuring your handcrafted soaps maintain a smooth, professional finish that guild masters would recognize and approve. The skills and specialized knowledge were typically closely guarded secrets passed down from master to apprentice to prevent easy replication by competitors.
Historical Mixing Tradition
During the height of the 12th century, guild artisans developed what we now call the "figure-eight" pattern for mixing soap emulsions—a technique that's still valued today. This method required continuous motion in a figure-eight pattern, allowing proper integration of lye and tallow while minimizing caustic splashing.
You'll find that medieval soap makers used sturdy oak stirring sticks, moving deliberately through their mixtures in large brazen pans. According to The Trinity Encyclopedia, this stirring needed to be done continuously with pot-sticks to ensure proper soap formation. The guilds strictly regulated this technique, ensuring consistent quality across batches. Their meticulous approach prevented separation of ingredients and promoted proper saponification.
When you adopt this historical stirring method in your own craft, you're connecting with centuries of artisanal wisdom. The figure-eight motion remains effective for creating stable emulsions, demonstrating how these medieval innovations continue to influence modern artisan practices.
Consistent Emulsion Formation
To create a stable emulsion in soap making, you'll need to master both rhythm and consistency in your stirring technique. While medieval soap makers didn't document a specific "figure-eight pattern," they recognized that effective mixing was essential for properly combining oil and water.
Skilled artisans developed techniques through observation and guild-based knowledge transfer.
- Mix ingredients thoroughly using continuous, deliberate motions to guarantee proper integration
- Monitor visual consistency as you stir – the mixture should gradually thicken to "trace"
- Maintain appropriate temperature throughout the process to support emulsion formation
- Test your soap's quality using traditional methods like hardness and water resistance
If you encounter issues during mixing, you may need to refresh your approach as persistent issues suggest more fundamental complications with your ingredients or technique.
You'll find that adapting these time-tested principles with modern measurement precision will yield consistently excellent results in your artisanal soap making practice.
Bubble Prevention Technique
The figure-eight swirling pattern stands as one of the most effective bubble prevention techniques passed down from medieval soap guilds.
When you insert your tool—whether a chopstick or wire hanger—ensure it reaches the bottom of your mold for thorough distribution.
Move the tool in a consistent figure-eight motion, touching the sides of your mold with both the tops and bottoms of your pattern.
Apply gentle pressure to prevent tearing while maintaining smooth movement through your soap batter.
For best results, work with properly traced soap and in a well-ventilated area while wearing protective gear.
You'll find this technique especially valuable in both cold process and melt-and-pour methods.
The result? Beautifully smooth soap surfaces free from unsightly air bubbles that could compromise your artisan creation's appearance.
After pouring your three soap batters simultaneously into the mold, wait until you've removed any cardboard dividers carefully before beginning your figure-eight swirling.
Slow-Cooling Temperature Control Method
You'll achieve more stable emulsions by controlling your cooling rate, especially when working with temperature-sensitive ingredients like beeswax and cocoa butter.
Keep your mixture above the phase inversion temperature during initial blending, then gradually reduce heat to prevent droplet coalescence. Aim for a cooling rate of approximately 0.2 K min^-1 to promote spontaneous droplet rupture and optimal size distribution.
Don't rush the cool-down process—maintain consistent stirring throughout to guarantee uniform distribution of oil droplets within your water phase.
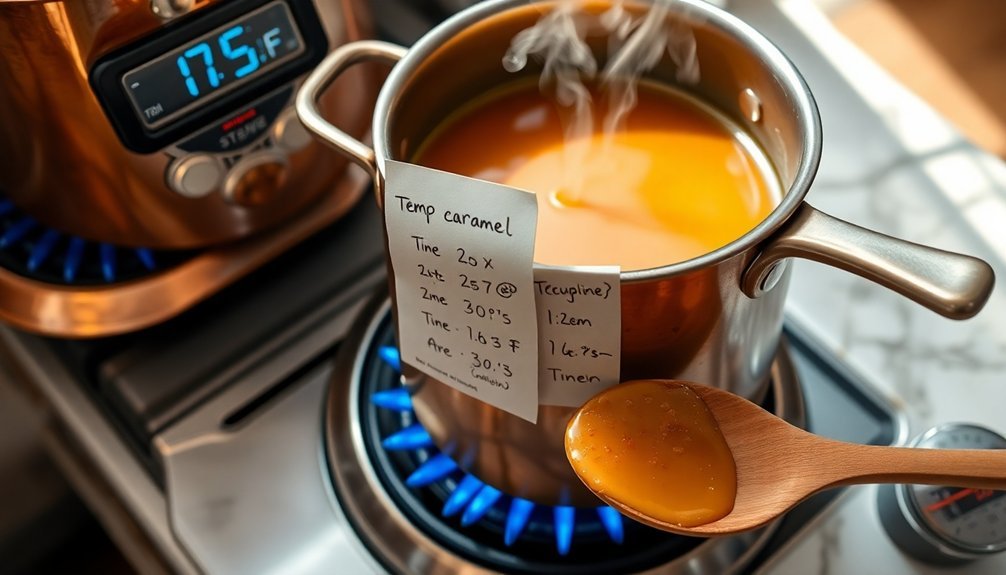
Temperature-Sensitive Success Tips
Mastering the slow-cooling technique represents one of the most critical steps for artisan makers seeking stable, high-quality emulsions.
You'll achieve better results by gradually reducing temperature at 1-2°C per minute, allowing droplets to properly organize and stabilize. Your cooling rate directly impacts the final product's texture, shelf life, and appearance. W/O emulsions typically require a more controlled cooling process due to their higher temperature needs during the initial emulsification stage.
- Use a digital thermometer with 0.5°C accuracy to monitor precise temperature changes during cooling phases
- Maintain your workspace at a consistent ambient temperature (20-22°C) to prevent unexpected fluctuations
- Create a double-boiler setup with warm water that slowly cools for gentle temperature reduction
- Document your cooling curve for each successful batch to replicate precise conditions in future productions
Master The Cool-Down
Contrary to what many artisanal makers believe, slow-cooling methods often outperform rapid cooling techniques for creating stable, high-quality emulsions.
By allowing your mixture to cool gradually, you're giving the emulsion time to properly stabilize while preventing sudden phase separation.
When working with wax-based formulations, consider your ingredient melting points—beeswax at 63°C and cocoa butter at 34-38°C—to determine ideal cooling rates.
Maintain consistent mixing throughout the cool-down process to guarantee uniform temperature distribution across your batch. The slow-cooling approach helps prevent phase inversion which can completely change your emulsion type from o/w to w/o or vice versa.
Your equipment choice matters considerably.
While large-scale production requires sophisticated temperature control systems like LNEYA's, small-batch artisans can achieve excellent results using simple methods.
Monitor viscosity changes as temperature decreases, adjusting your mixing speed accordingly.
This approach enhances texture consistency and extends shelf stability of your final product.
Alternating Direction Stirring for Stable Emulsions
While traditional stirring methods typically follow a single direction, alternating direction stirring has emerged as a superior technique for creating stable emulsions.
By changing your stirring direction at regular intervals, you'll prevent droplet coalescence and create a more uniform particle distribution. This technique is particularly valuable when working with oil-in-water or water-in-oil formulations where stability is essential. Research has shown that stirring speed is a critical factor in determining both particle size and morphology during emulsification processes.
- Disrupts forming patterns that can lead to separation or uneven mixing
- Creates more consistent particle sizes throughout your emulsion
- Helps manage phase inversion points when combining ingredients
- Reduces the formation of unwanted air bubbles that can destabilize your mixture
Your stirring speed and timing between directional changes should be adjusted based on your emulsifier type, HLB value, and the specific phase ratio in your formulation.
The Continuous Pour-and-Mix Approach
You'll achieve more consistent droplet formation by mastering the continuous pour-and-mix technique, where you maintain a steady stream while mixing at a controlled speed.
Your pour speed determines how quickly the phases integrate, with slower pouring typically creating finer emulsions that resist separation.
Choosing the right tool—whether a silicone spatula for gentle folding or a wire whisk for more vigorous incorporation—significantly impacts your emulsion's final texture and stability. The recommended emulsification time of approximately 15 minutes allows for proper phase distribution and optimal stability in your handcrafted products.
Consistent Droplet Formation
When creating stable emulsions, maintaining consistent droplet size stands as the cornerstone of quality production. You'll need to control your flow rate carefully—higher rates typically produce larger droplets, while slower, steady flows create more uniform results.
Keep your continuous phase viscosity consistent, as this directly impacts droplet stability and prevents premature coalescence.
- Monitor surface tension with proper emulsifier concentrations—too little leads to droplet merger
- Maintain a consistent contact angle (ideally below 120°) to stay in the dripping regime
- Use high-speed imaging when possible to verify droplet uniformity
- Adjust temperature as needed to fine-tune viscosity and surface properties
The shift between dripping and jetting regimes is critical; stay within the dripping zone for monodisperse droplets that will maintain your emulsion's integrity over time.
Managing Pour Speed
As artisans move beyond basic emulsification, the continuous pour-and-mix approach becomes essential for achieving professional results. You'll need to maintain a controlled, steady pour while continuously mixing to prevent coalescence and phase separation.
| Pour Speed | Viscosity Type | Recommended Mixing Tool |
|---|---|---|
| Very Slow | High Viscosity | Paddle Mixer |
| Slow | Medium-High | Propeller Mixer |
| Moderate | Medium | High-Shear Mixer |
| Fast | Low-Medium | Homogenizer |
| Variable | Multi-phase | Automated Systems |
Your pour speed directly impacts droplet uniformity and emulsion stability. For thicker formulations, you'll need slower pouring rates. Consider temperature sensitivity and emulsifier compatibility when determining your approach. High-shear mixers offer the best results for most cosmetic applications, ensuring the even dispersion that's critical for product consistency.
Tool Selection Matters
Three critical factors determine the success of your emulsion: mixer type, shear capability, and adaptability to viscosity changes.
When working with the continuous pour-and-mix approach, your tool selection directly impacts droplet size, stability, and overall quality. Choose high-shear mixers like rotor-stators for complex formulations where fine dispersion is essential.
- In-line static mixers offer efficiency for continuous production while maintaining consistent recirculation.
- Your mixer's geometry must accommodate viscosity changes that occur during emulsification.
- Real-time monitoring of pressure and flow rates helps maintain ideal mixing conditions.
- Consider scaling requirements—your laboratory process should reproduce reliably at production scale.
Remember that proper tool maintenance prevents equipment failure and guarantees your artisanal emulsions maintain the quality and stability your customers expect.
Frequently Asked Questions
How Do Emulsion Particle Sizes Affect Product Shelf Life?
Smaller emulsion particles extend your product's shelf life by reducing separation and creaming. They're less likely to flocculate or coalesce, giving you more stable products that won't separate during storage.
Can Equipment Materials Impact Emulsion Stability?
Yes, your equipment materials directly impact emulsion stability. Non-compatible materials can cause chemical reactions, corrosion may introduce contaminants, and rough surfaces can trigger phase separation, all compromising your emulsion's integrity and shelf life.
How Do Seasonal Temperature Variations Affect Emulsion Preparation?
Seasonal temperatures directly impact your emulsion preparation. You'll need to adjust formulations as summer heat can destabilize emulsions and cause rapid drying, while winter cold slows emulsification and drying processes considerably.
What Safety Precautions Are Needed When Working With Emulsifiers?
When working with emulsifiers, you'll need protective gear, proper ventilation, and regular hand-washing. Don't let contaminated clothing leave your workspace. Be aware of potential allergic reactions and environmental impacts when handling and disposing.
Are Specific Stirring Speeds Necessary for Different Emulsion Types?
Yes, you'll need different stirring speeds for various emulsion types. Use slow speeds for W/O emulsions, medium speeds for O/W cosmetic formulations, and higher speeds for thicker mixtures requiring more shear force.
In Summary
You've now discovered ten traditional emulsification techniques that have stood the test of time. Whether you're whipping up soaps, creams, or lotions, these methods will guarantee your artisanal products achieve perfect stability and texture. Don't underestimate the power of these time-honored practices—they've been perfected over centuries. Trust your hands, be patient with the process, and you'll create beautiful emulsions that would make any craftsperson proud.


Leave a Reply