To test soap trace visually, you can use the drizzle test (observing how lines sit on the surface), spoon trail method (checking persistence of drizzle patterns), ribbon test (evaluating flow thickness), light reflection (looking for sheen changes), stick blender peaks (examining texture development), surface impression test (watching flow off tools), and finger tracing (feeling consistency with gloved hand). Each technique reveals different aspects of your soap's emulsification stage, helping you achieve the perfect consistency for your design goals.
7 Best Ways To Test Soap Trace Visually
While creating handmade soap requires precision in many areas, recognizing trace stands as one of the most critical skills to master. You'll want to identify trace through its distinctive appearance and consistency changes.
Look for light trace when your mixture resembles thin cake batter with no oil streaks. It should leave a slight pattern on the surface when drizzled.
For medium trace, your soap will thicken to resemble heavy cream or thick batter, supporting additives well.
Thick trace presents like pudding – perfect for layering but difficult to pour.
Always guarantee proper emulsification before evaluating trace. Watch for disappearing oil streaks as confirmation.
Remember that factors like oil types, temperature, and blending technique greatly impact trace development. Using a stick blender can dramatically reduce trace time compared to hand stirring, which may take hours.
Avoid the common pitfall of false trace, where premature thickening occurs due to temperature issues rather than saponification.
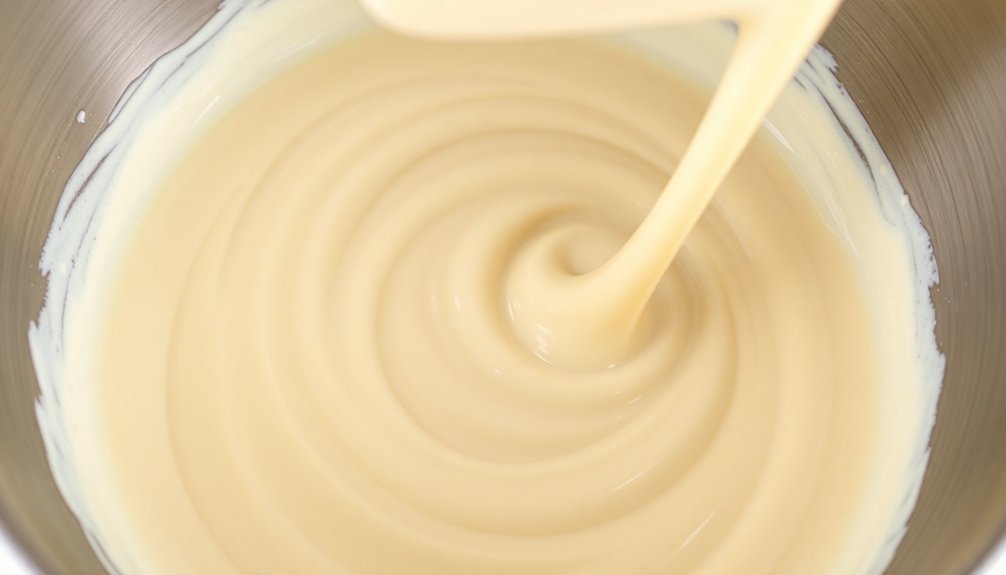
The Drizzle Test: Reading Surface Patterns
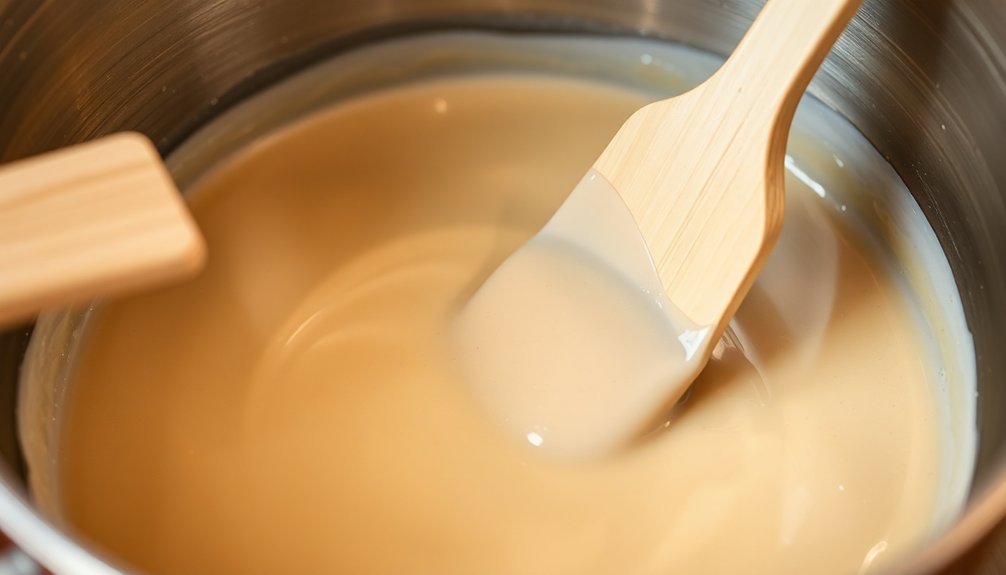
The drizzle test offers a straightforward visual method to assess your soap's trace development accurately. Simply lift your stick blender or spatula and allow batter to drizzle onto the surface, then observe how it behaves.
At light trace, you'll notice the batter leaves temporary lines before sinking back into the mixture—perfect for intricate swirl designs.
Medium trace shows more defined patterns that remain visible longer, ideal for suspending additives like poppy seeds.
Thick trace resembles pudding, with batter sitting prominently on the surface—best for textured tops. Using a different mixing technique like manual stirring instead of a stick blender can give you better control over reaching your desired trace level.
Watch for false trace, where oils appear emulsified but haven't truly combined. This separation differs from genuine trace and requires additional mixing.
Always confirm proper emulsification before pouring into molds to avoid separation issues later.
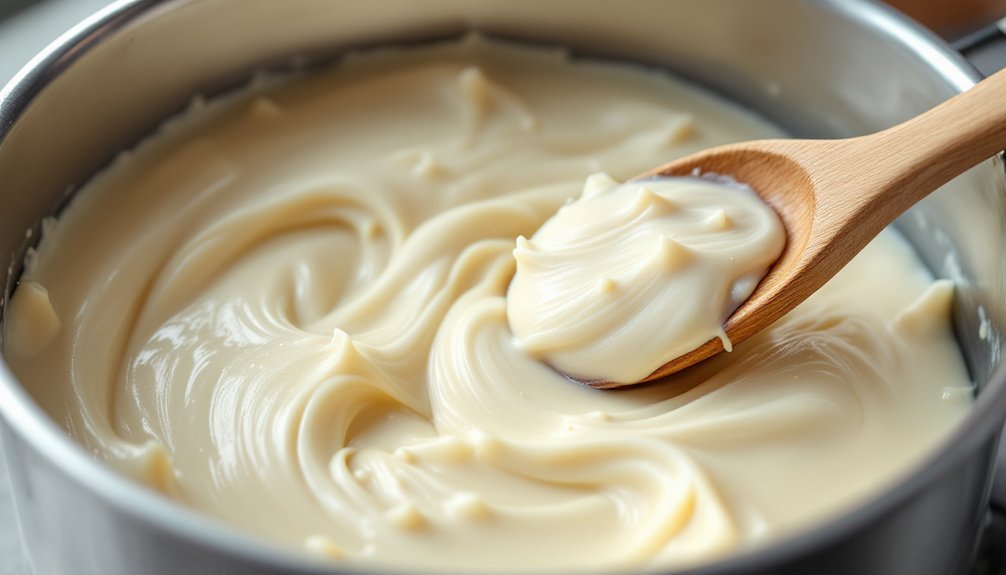
Spoon Trail Method: Analyzing Persistence
Among the most reliable techniques for confirming soap trace, the spoon trail method offers soapmakers a precise visual indication of emulsification progress.
By drizzling soap from a spoon onto the batch's surface, you'll see how quickly it sinks in or persists—a clear trail that remains visible indicates you've reached proper trace.
- Oil composition matters – Recipes high in olive oil will take longer to reach trace due to slower saponification rates.
- Temperature control is essential – Cooler temperatures typically extend trace time, while warmer batches trace faster.
- Short blending intervals – Use intermittent bursts of blending to maintain control and prevent unexpected seizing.
Always wear protective gear when testing trace, and be ready to pour quickly once you've reached your desired consistency. Proper trace can range from pudding-like medium trace to smooth, white thick trace consistency depending on your desired soap texture and design.
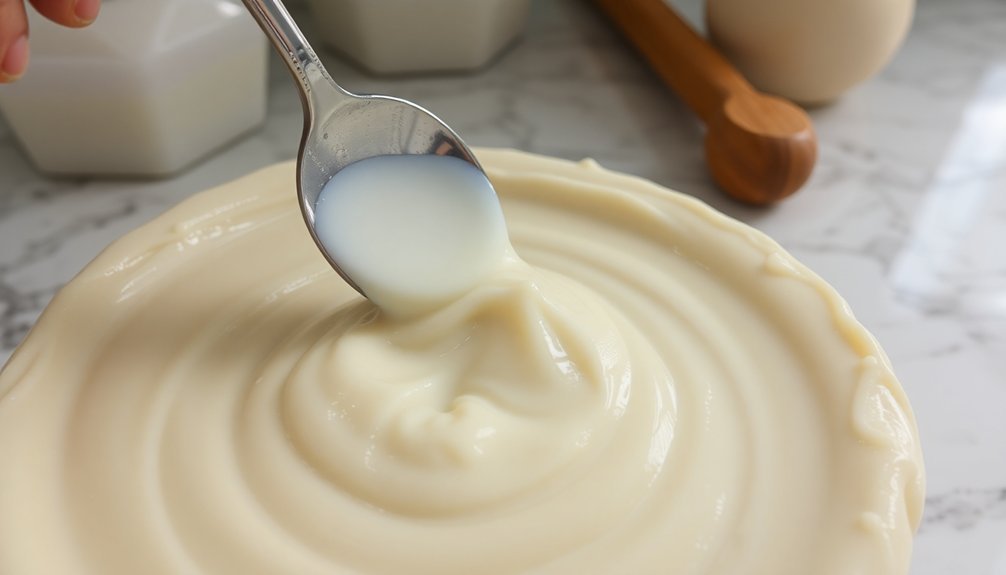
Ribbon Test: Evaluating Thickness and Flow
The ribbon test reveals your soap's thickness by examining how it flows when drizzled from a height—thinner trace soap will quickly sink into the batch while medium trace forms temporary ribbons on the surface.
You'll notice distinctive flow patterns at different trace stages: thin trace drizzles like cake batter, medium trace holds shape briefly like pudding, and thick trace resembles cake frosting. Testing your soap's trace visually helps ensure it reaches the proper pH balance before molding, which is critical for creating skin-friendly products.
When evaluating surface impressions, drag your spatula or spoon through the soap's surface and watch how quickly the indentation fills—faster filling indicates thinner trace while persistent marks signal you've reached medium or thick trace.
Drizzle Height Indicators
Four critical height indicators help you determine if your soap mixture has reached proper trace during the ribbon test.
When drizzling soap batter from your spatula, watch for a slight mound that retains its shape momentarily before melting back into the mixture. This pattern retention signifies proper consistency for pouring into molds.
The height at which your drizzle maintains visual distinction is directly related to your soap's thickness. Similar to how droplet size affects image resolution in astrophotography, the visual characteristics of your drizzle pattern provide important quality indicators. You'll need to adjust based on your specific recipe and desired design complexity.
- 2-3 inches – Light trace suitable for intricate swirls
- 1-2 inches – Medium trace perfect for layered designs
- Less than 1 inch – Heavy trace ideal for textured tops
Temperature greatly impacts drizzle performance, so test repeatedly as your mixture cools to identify the best pouring moment.
Flow Pattern Recognition
Recognizing flow patterns during the ribbon test provides essential visual feedback about your soap's consistency and readiness for molding. As you lift your spatula or stick blender from the mixture, observe how the batter falls back into the container.
At thin trace, you'll notice the soap barely holds together, creating quickly disappearing trails. Medium trace produces ribbons that sit momentarily on the surface before sinking, indicating proper emulsification. Thick trace forms persistent patterns that maintain their shape longer – ideal for intricate designs.
To evaluate effectively, tilt your container slightly and watch the flow characteristics. Different recipes reach trace stages at varying rates, so visual inspection combined with tactile feedback from your blending tool offers the most accurate assessment. Recipes containing coconut oil will typically thicken more rapidly than others, requiring closer monitoring during the blending process.
With practice, you'll instinctively recognize the perfect consistency for your specific soap design.
Surface Impression Test
Mastering the Surface Impression Test gives you essential feedback about your soap's trace stage and readiness for molding.
Also known as the Ribbon Test, this technique involves lifting soap with your spatula and observing how it flows off the tool.
To perform this test effectively:
- Pour a small amount of soap mixture onto your spatula.
- Tilt the spatula slightly to observe the flow pattern and thickness.
- Evaluate whether the consistency matches your project needs.
Wear protective gear and maintain a controlled temperature environment for consistent results.
If the soap flows too easily, it's too thin; if it forms a thick ribbon-like line, it's reached a heavier trace.
For intricate designs using a silicone impression mat, you'll want to achieve medium trace that holds its shape while still pouring smoothly.
Document your findings to improve future batches and guarantee your soap achieves the perfect consistency for adding designs or using impression mats.
Light Reflection: Identifying Surface Changes
When light interacts with soap at trace, it reveals subtle changes that your naked eye might otherwise miss. Soap films reflect light through thin-layer interference, creating visible color bands that indicate thickness variations.
As your soap reaches light trace, you'll notice a metallic sheen and possibly blue hues where the mixture is thinnest. The phenomenon results from cancellation and reinforcement of specific light wavelengths as they interact with the soap film surfaces.
When soap thickens to medium trace, reflection patterns shift, showing different colors—often progressing toward reds in thicker areas. These color changes serve as reliable indicators of trace development.
To use this method effectively, observe your batch from different angles. The changing reflection patterns will help you determine when you've reached the perfect consistency for adding ingredients.
Remember that gravity constantly affects film thickness, so surface changes occur naturally over time.
Stick Blender Peaks: Understanding Texture Development
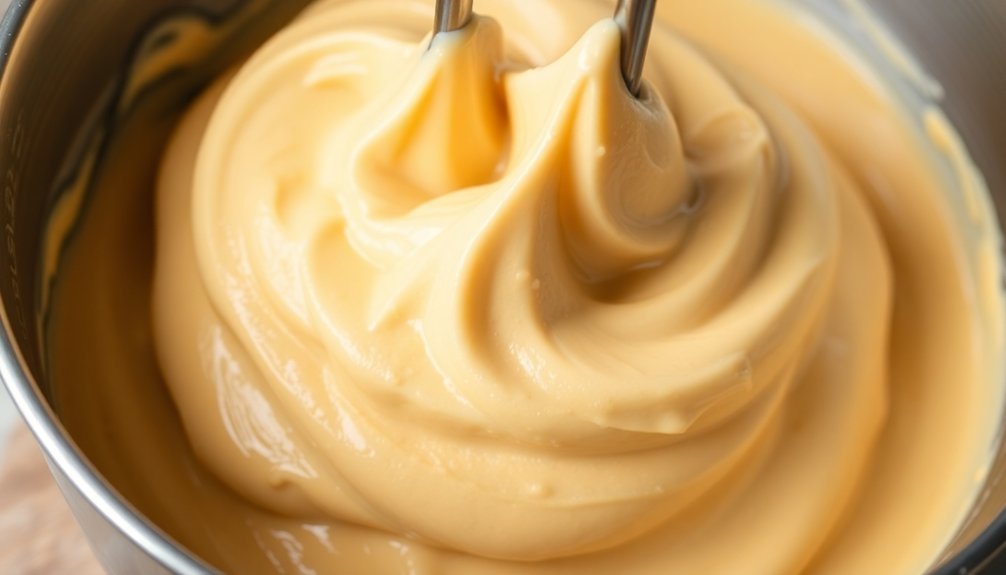
When you lift your stick blender from your soap mixture, the resulting peaks offer clear visual cues about trace development.
You'll notice thin trace creates small, quickly disappearing mounds, while medium trace holds more defined peaks that slowly sink back into the batter.
At thick trace, your stick blender will leave pronounced, stiff peaks that maintain their shape—perfect for textured soap tops or layered designs. Always remember to add lye to water when preparing your solution to ensure safety and proper chemical reaction during the saponification process.
Stick Blender Peaks: Understanding Texture Development
Creating beautiful peaks in your soap requires a delicate balance between blending technique and timing. Your stick blender is essential for achieving the perfect consistency needed for dramatic textural elements. By controlling your blending speed and duration, you'll develop soap batter that holds its shape while remaining workable.
- Use short bursts with your stick blender on the lowest setting, followed by hand stirring to prevent overheating and maintain control over the developing texture. The slower emulsification process creates a smoother, more uniform soap that's perfect for detailed designs and prevents graininess.
- Aim for a medium to thick trace (pudding consistency) when creating peaks—the soap should hold its shape but still be fluid enough to manipulate.
- Work quickly once you've reached the desired consistency, as some fragrance oils can accelerate trace and limit your working time.
Surface Pattern Retention
The ability to create and retain surface patterns serves as a key indicator of proper soap trace development. When your soap batter holds a drizzled pattern on the surface without immediately sinking, you've reached the appropriate trace for decorative work.
| Trace Level | Surface Pattern | Best For |
|---|---|---|
| Thin | Disappears quickly | Swirls, intricate designs |
| Medium | Sits briefly before sinking | Most designs, additives |
| Thick | Holds shape completely | Textured tops, layers |
| False | Appears thick but separates | Requires correction |
Different recipes behave uniquely—butters and certain oils accelerate trace, while equipment efficiency impacts development time. Watch for signs of full emulsification without separation to guarantee you're not dealing with false trace, which can occur when additives like clay artificially thicken your batter. When working with fragrance oils, mix them with an equal amount of liquid oil and heat briefly to help prevent rapid acceleration that can interfere with proper trace development.
Drizzle Height Test
One of the most reliable visual methods for evaluating soap trace involves examining how your batter behaves when drizzled from a height. As you blend your oils and lye solution, lift your stick blender or spoon about 6-12 inches above your mixture and observe how the batter falls back into the pot.
- Light trace – Resembles pancake batter with minimal texture, leaving only momentary trails that quickly disappear.
- Medium trace – Forms a small peak that slowly sinks back into the mixture, perfect for color swirling.
- Thick trace – Creates a robust peak that holds its shape without sinking, ideal for textured designs.
Environmental conditions like temperature and humidity can affect your results, so adjust your technique accordingly. Using tall, skinny containers for your soap batches during testing makes it easier to fully submerge your immersion blender and observe trace development accurately.
Tracing With Your Finger: The Touch Technique
Most experienced soapmakers eventually develop a tactile intuition for soap trace, though this technique requires proper safety precautions.
While not traditionally recommended due to potential lye exposure, some advanced crafters do develop a sense for trace through touch—but only while wearing chemical-resistant gloves.
If you're considering this approach, verify your gloves are intact before gently touching the surface of your mixture. You're looking for a pudding-like consistency that holds its shape briefly. The soap should feel noticeably thicker than when you started.
Remember that visual tests like the drizzle method remain safer and more reliable, especially for beginners.
Touch techniques should only complement—never replace—visual confirmation of proper emulsification, as they introduce unnecessary risk if used as your primary testing method.
The more reliable approach is to look for a stable emulsion that prevents separation of ingredients before attempting any touch techniques.
Frequently Asked Questions
Can I Achieve Trace Without Using a Stick Blender?
Yes, you can achieve trace without a stick blender. Use warm temperatures, high-saponification oils like coconut, and reduced water content. Vigorous manual stirring with whisks or spatulas works, but you'll need more time and effort.
How Does Fragrance Oil Affect Soap Trace Timing?
Fragrance oils can dramatically accelerate your soap's trace timing. Some oils, especially those with alcohol content, heat up your batter chemically. You'll need to adjust your technique—consider adding fragrance later or using simpler designs when working with accelerating scents.
Does Room Humidity Impact Soap Tracing Speed?
Room humidity has minimal direct impact on your soap tracing speed. While it may slightly affect temperature stability, you'll find that oil composition, temperature, and additives are far more influential factors in controlling trace timing.
Can I Rescue a Batch That's Traced Too Quickly?
Yes, you can rescue a quickly traced batch. Stop blending immediately, pour into your mold quickly, and consider simplifying your design. For future batches, adjust your recipe and technique to slow trace speed.
Is Trace Different When Making Hot Process Versus Cold Process?
Yes, trace is different between processes. In hot process, you'll see a thicker, jelly-like consistency develop rapidly due to heat. Cold process offers more fluid trace stages, giving you greater design flexibility.
In Summary
Learning to recognize trace takes practice, but it's an essential skill for successful soapmaking. Whether you're checking surface patterns with the drizzle test or evaluating texture with your fingertip, these visual techniques will help you identify the perfect trace for your recipe. Trust your observations, and you'll soon develop an intuitive sense of when your soap batter has reached exactly the right consistency for your project.


Leave a Reply