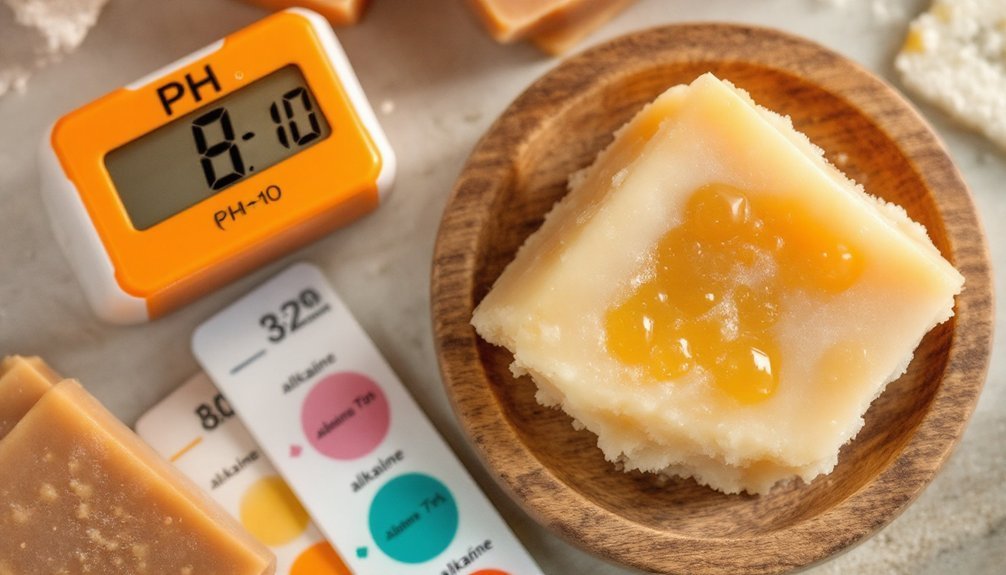
Properly cured soap should have a pH between 8 and 10, with 9 being ideal for most formulations. You'll want to avoid anything above 11 (too harsh for skin) or below 8 (ineffective cleaning). Always test your soap after complete curing—4-6 weeks for cold process and about a week for hot process soap. Using a digital pH meter with a 1% soap solution provides the most accurate assessment. Continue exploring the various testing methods to guarantee consistently safe products.
What Is the Correct Ph for Cured Soap?
When examining properly cured handmade soap, you'll find its pH typically falls between 8 and 10. This pH range guarantees your soap maintains effective cleansing power while remaining gentle on your skin.
A pH level around 9 represents the sweet spot for handmade soap performance. If your cured soap tests above 11, it's likely too harsh and may cause skin irritation. Conversely, soap with a pH below 8 won't clean effectively.
Testing pH after the full curing period is essential—4 to 6 weeks for cold process and about a week for hot process soap.
For accurate readings, skip unreliable pH strips and opt for a calibrated pH meter or Red Cabbage Liquid pH Indicator. These methods guarantee you're creating safe, effective soap that properly balances cleansing ability with skin-friendly properties.
Understanding the Ph Scale and Its Relevance to Handmade Soaps
The pH scale provides a critical framework for understanding why your handmade soap works the way it does. Ranging from 0-14, this scale helps you determine if your soap will clean effectively without irritating skin. Through the saponification process involving lye, handmade soaps are naturally alkaline with an ideal pH around 9.
| pH Range | Classification | Effect on Skin | Soap Performance |
|---|---|---|---|
| Below 7 | Acidic | Natural to skin | Poor cleansing |
| 7 | Neutral | Comfortable | Inadequate |
| 8-10 | Mildly Alkaline | Generally safe | Best cleansing |
| Above 11 | Strongly Alkaline | Irritating | Harsh, damaging |
Proper pH measurement guarantees skin compatibility while maintaining effective cleansing properties. Remember, your soap won't become neutral during curing—it must remain slightly alkaline to function properly.
The Ideal Ph Range for Safe and Effective Cured Soap
Finding the correct pH balance for your cured soap creates the foundation for a product that cleans effectively without harming skin. The ideal pH range for properly cured soap falls between 8 and 10, with 9 being the best target for most formulations.
Soap makers should prioritize regular pH testing throughout the curing process. If your soap tests above 11, you've created a lye-heavy soap that can cause significant skin irritation or burns—making it unsafe for use.
Conversely, a pH below 8 won't provide effective cleansing power, rendering your product ineffective.
Maintaining your soap within the recommended range guarantees both safety and quality. By monitoring pH levels, you'll confidently create products that clean thoroughly while remaining gentle enough for daily use.
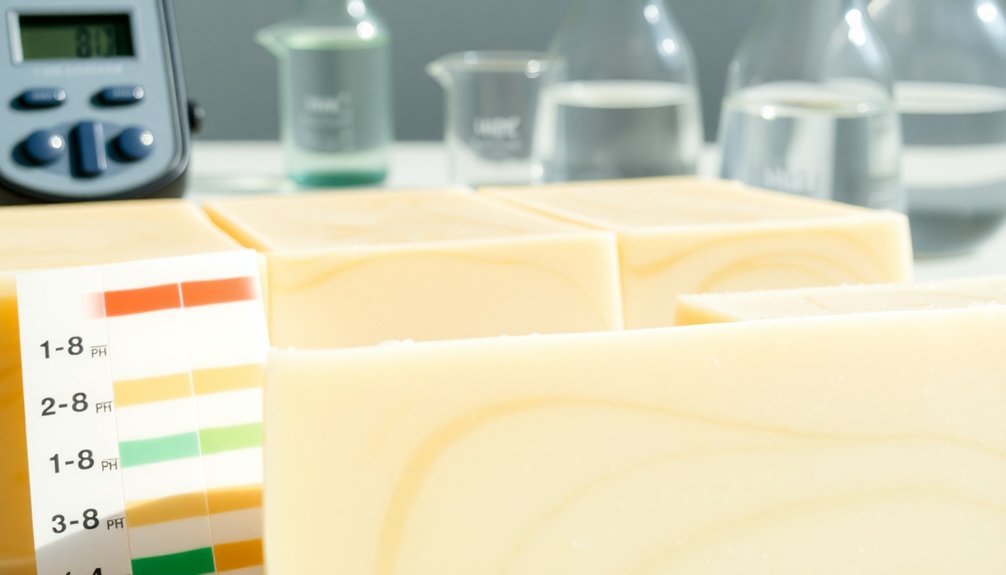
Different Methods for Testing Soap Ph After Curing
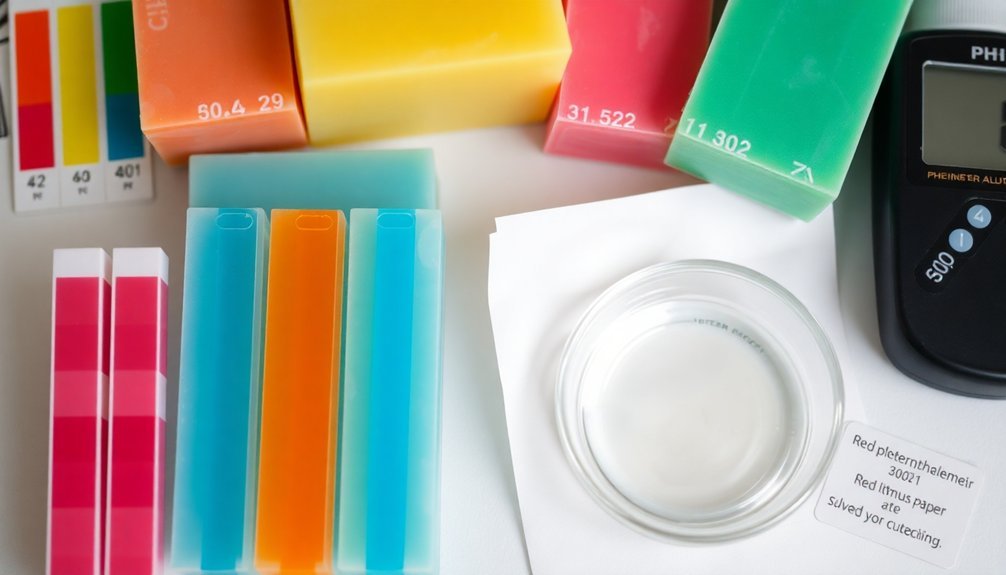
Reliable pH testing becomes essential after your soap has fully cured, guaranteeing your final product falls within the safe 8-10 range.
Wait 4-6 weeks for cold process soap to complete saponification before testing.
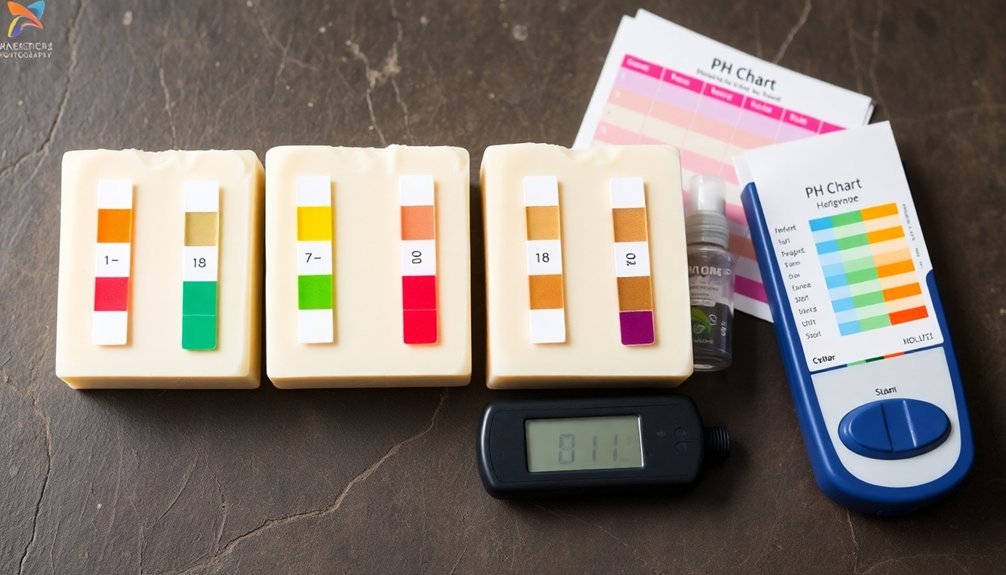
pH strips offer immediate readings while digital meters provide greater precision but require proper calibration.
For accurate reading, create a 1% soap solution by dissolving 1 gram of cured soap in 99 grams of distilled water, which minimizes the colloidal nature of soap that can skew results.
If you prefer eco-friendly testing, Red Cabbage indicator (RCI) changes color based on your soap solution's pH level.
This natural alternative works similarly to commercial strips but without synthetic chemicals.
Whichever method you choose, consistent testing helps maintain quality across batches and guarantees your soap remains skin-safe.
Common Ph Testing Mistakes and How to Avoid Them

Testing your soap's pH accurately requires the right equipment, proper technique, and attention to timing details.
You'll get misleading results if you use uncalibrated meters, contaminated samples, or test too soon after making your batch.
Avoiding these common mistakes will guarantee you're creating safe, skin-friendly soap with the correct pH balance.
Improper Testing Equipment
The accuracy of your soap's pH measurement hinges critically on the equipment you choose. Using inadequate testing methods can lead to misleading results that compromise your product's safety.
Digital pH meters offer precise readings but require regular calibration with buffer solutions, making them more complex than basic pH strips.
When testing your soap's pH, remember:
- pH strips alone often provide inaccurate readings for thick, viscous soap products
- Always create a proper dilution (10% soap, 90% distilled water) for reliable measurements
- Avoid subjective tests like the "tongue test" which pose unnecessary safety risks
- Regularly calibrate your digital pH meter to guarantee accurate readings
- Low-quality testing equipment can cause you to misjudge your soap's safety and quality
Timing Errors Matter
When you test your soap's pH prematurely, you risk collecting data that doesn't reflect your final product's true acidity level.
Cold process soap requires 4-6 weeks of curing before accurate pH reading can be obtained, as the saponification process continues well after your soap is molded.
Timing errors in testing pH are common among soap makers who are enthusiastic to determine if their batch is successful.
However, checking too early will capture the soap during its chemical changes, often showing higher alkalinity than the fully saponified end product.
This misleading data might cause you to discard perfectly good soap or make unnecessary adjustments to your recipe.
Always respect the curing period before testing—patience guarantees your pH measurements accurately represent your finished soap's true characteristics, not its intermediate state.
Sample Contamination Issues
Beyond timing errors, your pH testing accuracy depends heavily on maintaining uncontaminated samples.
When testing your soap's pH, seemingly minor details can greatly impact your results. Ensuring proper sample preparation and clean equipment will help you avoid these common contamination pitfalls:
- Always use distilled water instead of tap water, as tap water impurities can skew your pH testing results.
- Properly lather and dissolve your soap in water (1% soap to 99% distilled water ratio) for accurate pH measurement.
- Clean your pH testing equipment between different soap batches to prevent cross-contamination.
- Keep your pH strips in a clean, dry container and handle them with clean hands to avoid false readings.
- Maintain a clean testing area, free from soap residue or other substances that might affect your results.
Adjusting Ph Levels in Soap: When and How to Intervene
When your soap's pH rises above 10, you'll need to test it properly using litmus paper or a digital pH meter before attempting any adjustments.
You can neutralize high-alkalinity soap by carefully incorporating small amounts of citric acid solution (1-2% concentration) or other acidifying agents while monitoring changes after each addition.
Remember that the safety threshold for skin-friendly soap remains between 8-10 pH, with anything higher potentially causing irritation and anything below 7 risking soap destabilization.
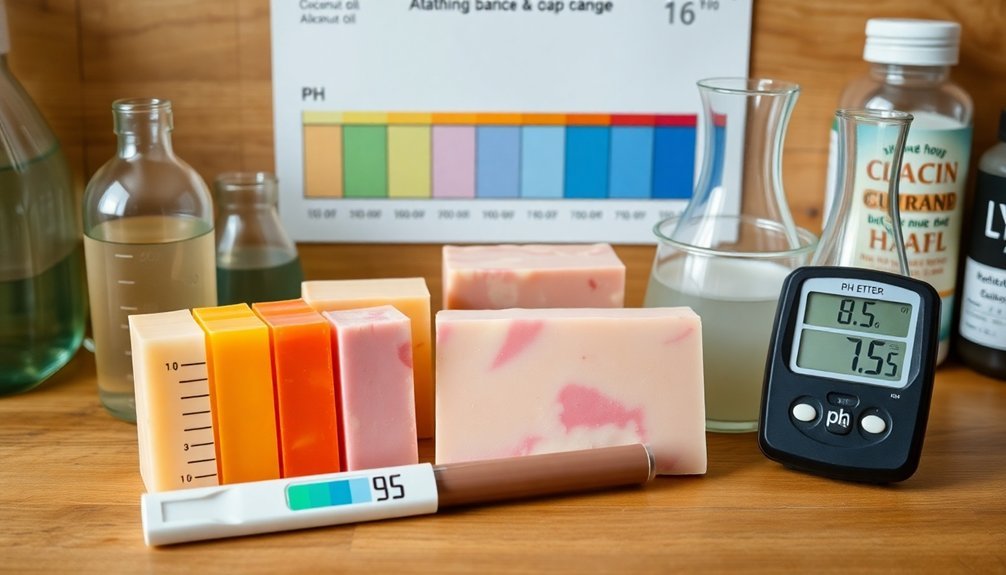
Ph Testing Methods
Accurately measuring your soap's pH presents an essential step in determining whether your creation falls within the ideal range of 8-10.
Remember to test only after the proper curing period—4-6 weeks for cold process and less than 7 days for hot process soaps.
You've got several reliable testing methods to choose from:
- pH Test Strips offer a quick, affordable option though they may provide less precise readings
- Digital pH meters deliver the most accurate results but require proper calibration before use
- Red Cabbage Liquid pH Indicator serves as a natural alternative that changes color based on pH level
- Diluted soap solutions (1:10 ratio with distilled water) improve testing accuracy
- Visual assessment should complement pH testing—a gentle feel and good lather may indicate acceptable soap despite higher readings
Neutralization Techniques
Although most properly formulated soaps will naturally fall within the ideal pH range after curing, you'll occasionally encounter batches that remain too alkaline for safe skin use. For these lye-heavy soap situations, neutralization techniques can help lower the pH to a safe level between 8 and 10.
Start by conducting proper pH testing with pH strips or a digital meter to establish your baseline. Then add acidic ingredients like citric acid or vinegar in small, gradual amounts after complete saponification.
Always wait until your soap has fully completed the curing process before making adjustments, as premature intervention can yield inaccurate results.
Be cautious with citric acid amounts—excessive use can revert your soap back to fatty acids, compromising its cleansing properties.
Remember to wear protective gloves and goggles throughout this process to maintain skin safety.
Safety Threshold Values
Now that you understand neutralization methods, let's explore specific pH thresholds that require intervention. Your handmade soaps should maintain a pH between 8 and 10, with pH 9 being ideal for optimal skin compatibility. When testing reveals values outside this range, immediate action is necessary.
- pH above 11 indicates lye-heavy soaps that can cause skin irritation or burns
- pH below 8 suggests incomplete saponification, requiring re-batching
- Uneven saponification can create "hot spots" with higher alkalinity
- Regular pH testing throughout curing helps identify problems early
- Adding more oils or fats can help balance excessive alkalinity
Remember that consistent testing is vital, as saponification continues during curing. Your soap's final pH directly impacts its safety and gentleness on skin, making these threshold values important quality control indicators.
Frequently Asked Questions
What Is the Ph of Cured Soap?
Your cured soap's pH should be between 8 and 10, with 9 being ideal for your skin's safety and cleansing effectiveness. You'll want to avoid levels above 11, which can irritate your skin.
What Is the Best Ph Level for Soap?
The best pH level for your soap is around 9, though anything between 8-10 is acceptable. You'll want to avoid pH above 10 (too harsh) or below 8 (insufficient cleaning power) for safe, effective cleansing.
How Do You Test if Soap Is Cured?
To test if your soap is cured, you can perform a pH test aiming for 8-10, conduct a zap test on your tongue, check for smooth texture, or simply wait the recommended curing time.
Is 9.5 Ph Soap Good?
Yes, a 9.5 pH soap is good. You'll find it effectively cleans while being gentle on your skin. It falls within the ideal 8-10 pH range for handmade soap that balances cleansing power and skin safety.
In Summary
Your properly cured soap should have a pH between 8-10, with 9-9.5 being the sweet spot for most skin types. You'll need accurate testing methods like pH strips or meters to confirm your soap's safety. Remember that natural soap will never reach neutral pH, and that's okay—it's the gentle alkalinity that makes your soap effective. If your pH is too high, more curing time is usually the best solution.


Leave a Reply