Restore antique soap making tools by first authenticating their origins through craftsmanship, maker's marks, and appropriate patina. Clean wooden molds with mild soap and protect with food-safe mineral oil. Remove rust from metal cutters using brass wire brushes, then apply quality sealant. Repair loose joints in drying racks with wood glue and gentle clamping. Always maintain the item's historical integrity by using period-appropriate restoration methods. This collector's guide will transform your vintage soap making treasures into preserved historical artifacts.
Identifying Authentic Antique Soap Making Equipment
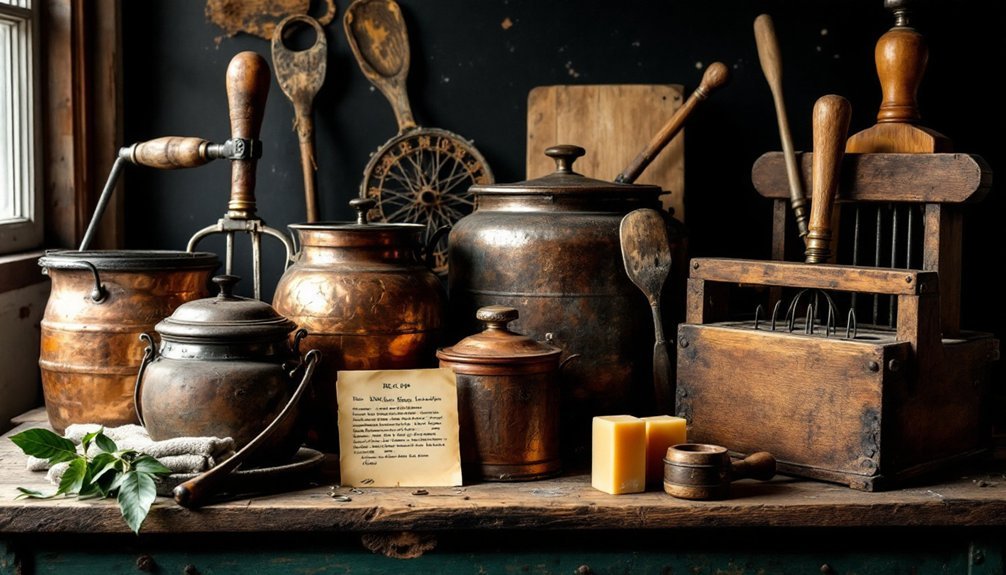
Five key indicators can help you distinguish genuine antique soap making tools from modern reproductions.
First, examine the craftsmanship—authentic antique tools typically feature hand-forged metal parts and wooden handles with distinct 19th or early 20th century design elements.
Second, look for maker's marks or stamps that provide provenance and verification.
Third, inspect the materials; genuine pieces often use cast iron, brass, and heavy-duty wood that have developed natural patina over time.
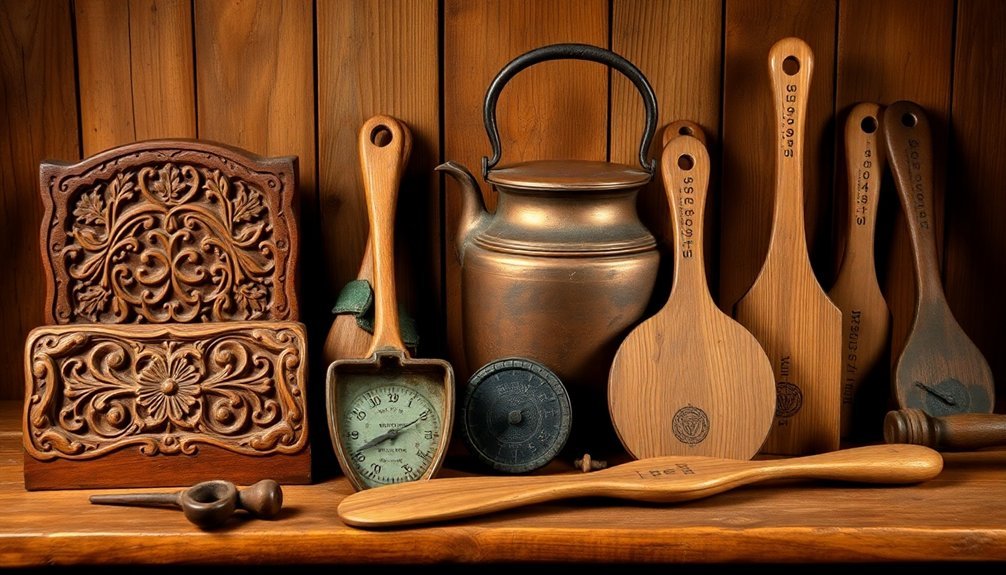
When starting your restoration project, pay close attention to soap molds, which should display period-appropriate shapes and intricate carvings.
Finally, assess wear patterns—authentic antique tools show consistent aging that's nearly impossible to replicate. Modern reproductions typically lack these natural imperfections that make each antique tool a unique historical artifact.
Essential Preservation Techniques for Wooden Soap Molds
Because wooden soap molds represent some of the most delicate and valuable pieces in any serious collection, proper preservation requires meticulous attention to detail.
Your wooden soap molds will remain pristine for years when you implement these essential preservation techniques.
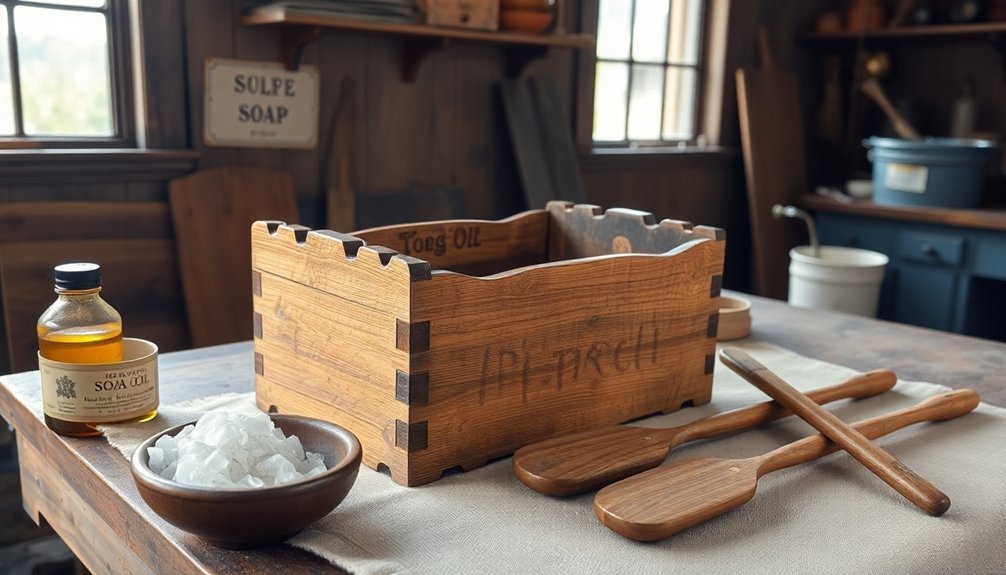
- Clean your molds with mild soap and a soft cloth, avoiding excess moisture that leads to warping, and repair any minor splits with wood glue immediately.
- Apply a thin protective layer of food-safe mineral oil or hemp oil to shield the wood from moisture absorption and prevent splintering.
- Store your treasured molds in cool, dry environments away from direct sunlight, and inspect them regularly for signs of wear or mold growth.
Don't underestimate the importance of proper maintenance—it's what separates deteriorating artifacts from cherished collectibles.
Removing Rust From Metal Soap Cutters and Stampers
While collectors cherish the patina that comes with age, rust can seriously damage your valuable metal soap making tools if left unchecked.
Begin removing rust by cleaning your cutters and stampers with a brass wire brush or fine steel wool, which effectively eliminates surface corrosion without harming the underlying metal.
For lighter rust spots, gently sand affected areas with fine sandpaper, working along the metal's grain to maintain its integrity.
After treatment, thoroughly wipe down your tools with paper towels and verify they're completely dry.
To protect the metal from future oxidation, apply a quality sealant like those from The Real Milk Paint Co.
Don't neglect regular maintenance—clean your tools after use and reapply protective coatings periodically.
This consistent care will extend the lifespan of your restored soap making treasures.
Recreating Historical Lye Calculators and Measuring Tools
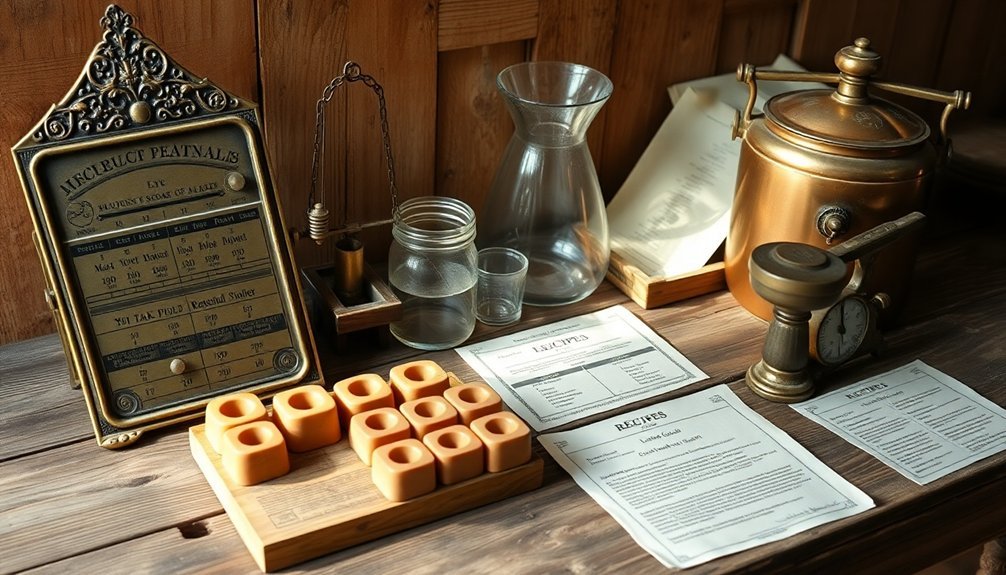
You'll find recreating wooden density gauges remarkably satisfying, as these instruments provide tangible connections to traditional saponification methods.
Cast iron titration devices offer greater challenges for reproduction, requiring precise metalwork to match their historical accuracy in measuring alkali strength.
Pre-electric formula tables, with their sliding calculation mechanisms, represent the ingenious mathematics soap makers used before modern technology simplified the lye calculation process.
Wooden Density Gauges
The humble wooden density gauge stands as a tribute to our ancestors' ingenuity in soap making. These graduated tools calculated lye concentration through specific gravity measurements, essential for successful saponification.
When restoring these historical calculators, you'll want to preserve their authenticity while making them serviceable again.
- Begin with gentle cleaning using mild soap and water, avoiding harsh chemicals that might damage the original finish or erase valuable graduations.
- Address any rust removal on metal components by applying a light oil, then carefully wiping away residue to prevent further degradation.
- Finish by applying a thin protective coating that maintains the natural patina while ensuring the gauge remains readable and functional.
Your restored wooden density gauge will serve as both a collectible artifact and a window into traditional soap making techniques.
Cast Iron Titration Devices
Moving from wood to metal, cast iron titration devices represent the industrial evolution of soap making precision.
These late 19th to early 20th century tools feature graduated markings that enabled soap makers to calculate exact lye concentrations, ensuring consistent quality products.
When restoring old tools like these historical lye calculators, you'll need to carefully remove rust using fine abrasives.
Don't strip away the authentic patina—it adds value and historical significance collectors prize.
After cleaning, season the cast iron to prevent future corrosion while maintaining functionality.
These old hand tools reflect the craftsmanship of their era while documenting the science behind traditional soap making.
Their precise measurements revolutionized the saponification process, allowing artisans to perfect the balance between lye and fats that determines soap quality.
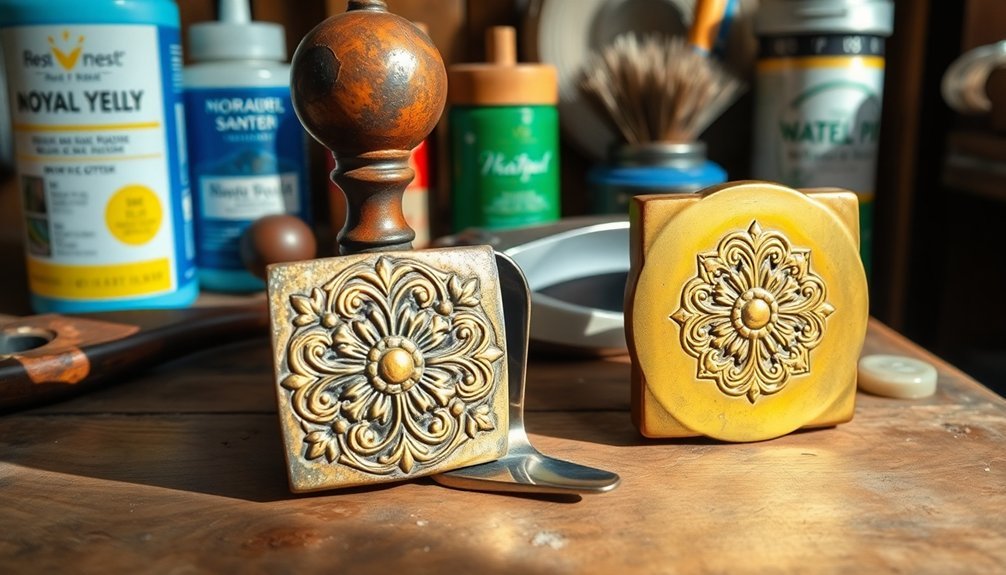
Pre-Electric Formula Tables
Before digital innovations transformed the soap making craft, artisans relied on meticulously crafted formula tables to calculate precise ingredient ratios.
These essential vintage tools, often made from hardwood or brass, featured carefully engraved measurements that guaranteed consistent saponification results when working with various fats and oils.
When restoring or recreating these historical lye calculators, you'll need to:
- Source authentic materials like brass for measuring devices and period-appropriate hardwoods for table construction
- Study original markings to understand the calculation methodology used by soap makers of the era
- Preserve the original calibration systems while making sure the tools remain functional for modern demonstration
Understanding the precise purpose of each measurement marking helps you maintain both the functionality and historical significance of these irreplaceable tools in your collection.
Restoring Wooden Soap Drying Racks and Curing Shelves
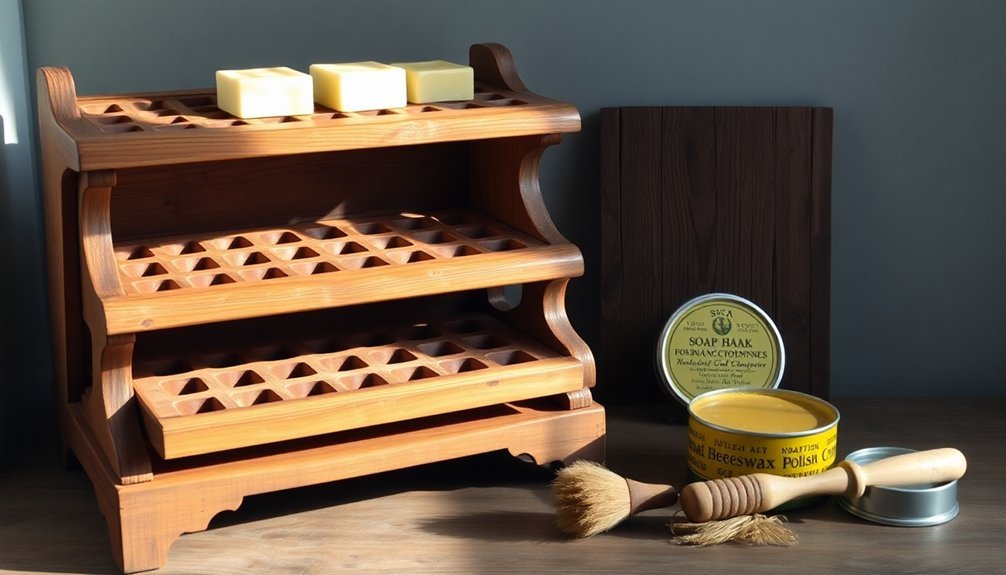
You'll want to begin your wooden drying rack restoration with gentle cleaning methods, using mild soap solutions that won't damage the aged surfaces.
For antique curing shelves, carefully remove accumulated grime and residue by hand rather than with aggressive power tools that might destroy historical patina.
When addressing loose or deteriorating joints, apply targeted wood glue applications and gentle clamping techniques to preserve the original construction methods while ensuring structural stability.
Gentle Cleaning Methods
Most wooden soap drying racks and curing shelves require delicate handling to preserve their historical value and functionality.
Begin with a soft cloth dampened in mild soap solution to remove surface dust and residue. For persistent soap buildup, scrub the affected areas using a soft-bristled toothbrush, working gently to avoid damaging the wood grain.
- Always wipe in the direction of the wood grain to prevent scratching the surface
- Thoroughly dry with a lint-free cloth to prevent moisture retention that can lead to mold
- Apply a thin coat of mineral oil or natural wood conditioner to nourish the wood and create a protective barrier
Regular maintenance through light dusting and periodic conditioning will extend the life of your antique soap making tools while maintaining their authentic character.
Repairing Aged Joints
Proper joint repair stands as the cornerstone of successful wooden soap rack restoration, often determining whether your antique piece remains a functional tool or becomes merely decorative.
Begin by carefully inspecting joints for signs of wear, splitting, or looseness that can compromise stability.
For repairing aged joints, apply wood glue to loose connections, clamping them firmly for 24 hours to guarantee proper bonding.
When dealing with more severely damaged areas, reinforcing with wooden dowels provides exceptional strength, transforming a weakened piece of furniture into a sturdy soap-making asset.
After repairs, sand any rough edges around joints to prevent splinters.
Finish your restoration by applying hemp oil or pure tung oil as a protective coating, enhancing moisture resistance without compromising the authenticity of your historical soap-making equipment.
Ethical Considerations When Refurbishing Pioneer Soap Presses
While the allure of transforming a weathered soap press into a gleaming showpiece might be tempting, ethical restoration demands a more thoughtful approach.
Preserving an old soap press's authenticity requires less aggressive cleaning methods that maintain its original patina and historical character.
When restoring your pioneer soap press, consider these essential practices:
- Document the entire restoration process with photographs and detailed notes to maintain transparency.
- Use original parts whenever possible rather than modern replacements that diminish authenticity.
- Consult with historical societies or collector groups for period-specific guidance.
Displaying Your Restored Collection: Storage and Exhibition Methods
After investing time in ethical restoration practices, your soap making treasures deserve a thoughtful presentation strategy. Consider shadow boxes or glass display cases to protect your collection while showcasing its historical significance. Label each piece with its history and purpose to enhance educational value.
Wall-mounted racks or pegboards not only save space but transform your tools into decorative elements. For items requiring a flat surface, arrange by type or era to create a cohesive narrative of soap making evolution.
| Display Method | Benefits | Best For |
|---|---|---|
| Shadow Box | Dust protection | Fragile items |
| Glass Case | Visibility | Valuable pieces |
| Pegboard | Accessibility | Daily use tools |
| Open Shelving | Easy arrangement | Durable items |
| Labeled Storage | Educational value | Tools still used for useful products |
Ensure all pieces are properly cleaned before display to preserve their appearance and historical integrity.
Frequently Asked Questions
How to Restore Antique Tools?
Clean your tools with a wire brush to remove rust. Dry completely with paper towels. Apply protective finish to metal parts and oils to wooden handles. Allow 5-7 days for curing before use.
Should You Clean Antique Tools?
You should clean antique tools if they're dirty or rusty, but use gentle methods to preserve patina and value. Always test cleaners on a small area first and consider the tool's historical significance before proceeding.
How to Clean Antique Wooden Tools?
First, brush off dust with a soft cloth. Then, wipe with a mild soap solution, but don't soak the wood. After cleaning, apply mineral or hemp oil to nourish the wood, and let it dry completely.
In Summary
Your restored soap making antiques aren't just decorative pieces—they're tangible connections to our domestic history. You've now mastered identifying authentic tools, preserving wooden components, removing rust, recreating measuring devices, and restoring functional equipment. Remember to balance restoration with historical integrity, and display your collection thoughtfully. You're not just a collector; you're a custodian of craftsmanship that tells the story of everyday ingenuity across generations.


Leave a Reply