Pioneer wooden mold crafting relied on seven time-tested secrets: selecting dense hardwoods like maple and oak, air-drying to 6-8% moisture content, applying natural protectants such as beeswax, carving at precise 45-degree angles, incorporating meaningful family symbols, using local tree resins as sealants, and storing in cool, dry spaces. You'll discover how these techniques created durable, functional art pieces that preserved family heritage while transforming everyday items into treasured heirlooms that still inspire craftspeople today.
7 Timeless Wooden Mold Secrets From Pioneer Days
Five remarkable traditions shaped our ancestors' approach to wooden mold crafting. When creating these essential household items, pioneers spent a lot of time selecting the right locally sourced timber, ensuring durability and function.
They'd carve with precision, transforming raw wood into intricately designed molds for special occasions. You'll notice these weren't just practical tools—they embodied family heritage through patterns passed down generations.
The creation process was communal; family members shared carving skills and decorative techniques, strengthening community bonds through collaborative craftsmanship.
To make sure wooden molds lasted decades, pioneers established rigorous maintenance routines. They'd clean and oil their molds regularly, preserving both utility and artistry.
This resourcefulness reflects a deeper connection to materials and craft that's largely missing from our modern, disposable culture.
The Art of Carving Intricately Patterned Soap Molds
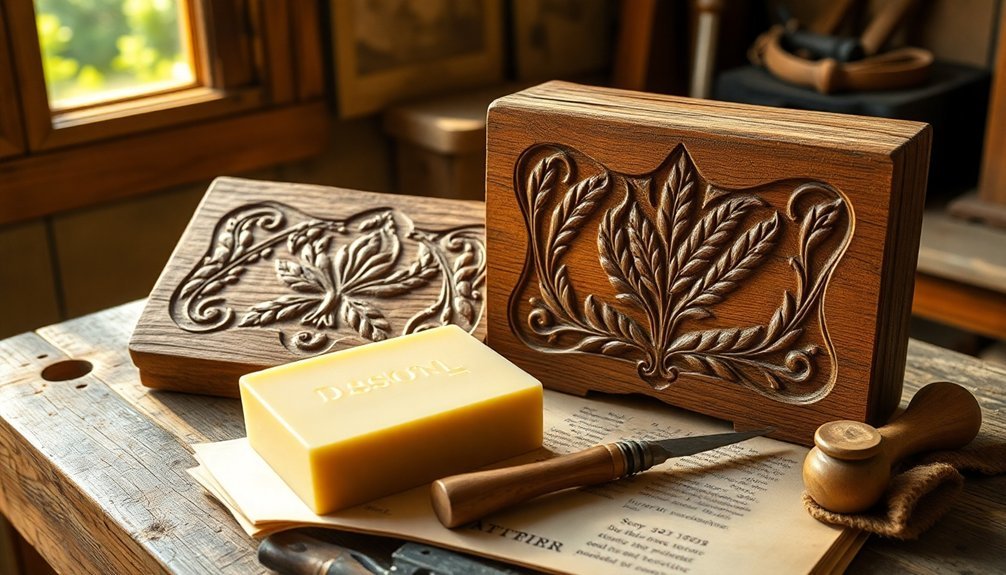
You'll need to select hardwoods like maple or cherry for your pioneer-style soap molds, as their tight grain patterns resist soap's moisture while showcasing intricate carving details.
When whittling precise designs, angle your knife at 45 degrees for clean, deep cuts that will transfer crisp impressions to your finished soap.
Start with simple geometric patterns before advancing to more complex floral motifs, remembering that negative space is just as important as the raised design elements for creating truly functional art.
Whittling Precise Designs
While modern soap molds come in pre-fabricated shapes, the pioneer art of whittling intricate soap molds required remarkable patience and vision. You'd need to mentally visualize your finished design before making that first cut into softwoods like pine or cedar—materials preferred for their workability and ability to capture fine details.
Before beginning, you'd sketch your pattern directly onto the wood, creating a roadmap for your knife and gouges. Even pioneer children participated in this craft, learning fundamental carving techniques from their parents while developing their own creative expression.
You'll find your skills improving with consistent practice. Experimenting with different wood types and carving methods was how pioneers refined their technique, eventually producing uniquely decorative molds that transformed ordinary soap into personalized works of functional art.
Natural Wood Selection
Pioneer craftsmen knew that creating a lasting soap mold began with selecting the perfect wood. You'll find they favored hardwoods like maple and walnut, prized for their durability and fine grain structure that allowed for intricate detailing in soap designs.
Timing mattered greatly in their selection process. Freshly cut wood offered easier carving, but required proper drying to prevent cracks during the soap curing process. Your ancestors understood this delicate balance intimately.
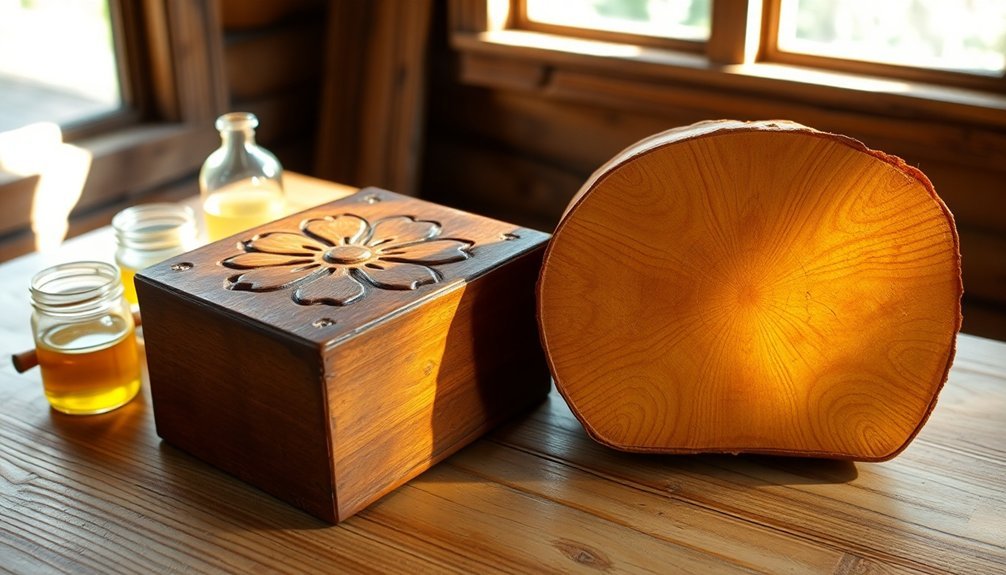
After completing their detailed carvings with sharp chisels and specialty knives, craftsmen often treated the finished molds with natural oils or wax.
This essential final step served two purposes: extending the mold's lifespan through multiple uses and ensuring the finished soap released cleanly, preserving those nature-inspired patterns they'd worked so diligently to create.
Selecting and Seasoning Wood for Durable Soap Containers
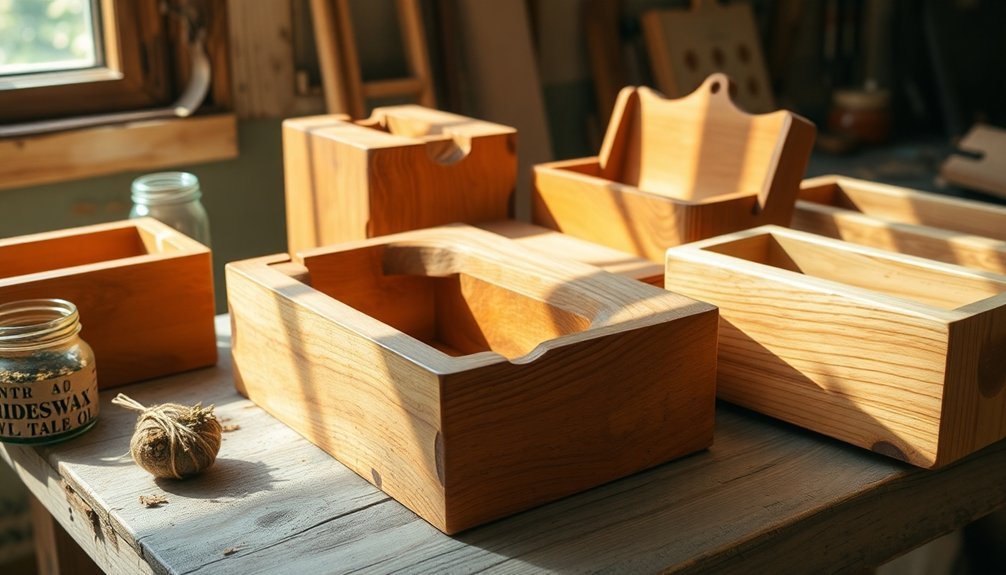
The foundation of any enduring wooden soap mold begins with careful wood selection and proper seasoning techniques.
You'll want to choose dense hardwoods like maple or oak that naturally resist moisture and provide lasting durability for your soap containers.
Once you've selected your wood, proper seasoning is essential. Air-dry your pieces for several months using the stickered drying method, where you stack wood with small spacers between each piece to promote airflow.
Your goal is to achieve 6-8% moisture content, which prevents warping and cracking when exposed to soap.
After seasoning, don't skip finishing your mold with natural protectants like beeswax or mineral oil.
This creates a barrier that prevents soap absorption and extends your wooden container's life—a practice that's stood the test of time.
Natural Preservation Techniques for Extending Mold Lifespan
Throughout centuries of woodworking tradition, preserving wooden soap molds has relied on techniques that harness nature's own protective properties.
You'll find remarkable longevity by applying traditional chinking—a mixture of clay and animal fur—to fill gaps that might otherwise invite moisture damage.
Create a protective barrier by regularly applying natural oils or waxes to your wooden molds. This simple maintenance ritual shields against environmental elements while enhancing the wood's natural beauty.
Store your molds in cool, dry spaces with proper air circulation to prevent the silent destroyer of wood—moisture buildup.
For additional protection, consider applying local tree resins as natural sealants. These sticky substances form an effective barrier against insects and fungi that could compromise your mold's integrity.
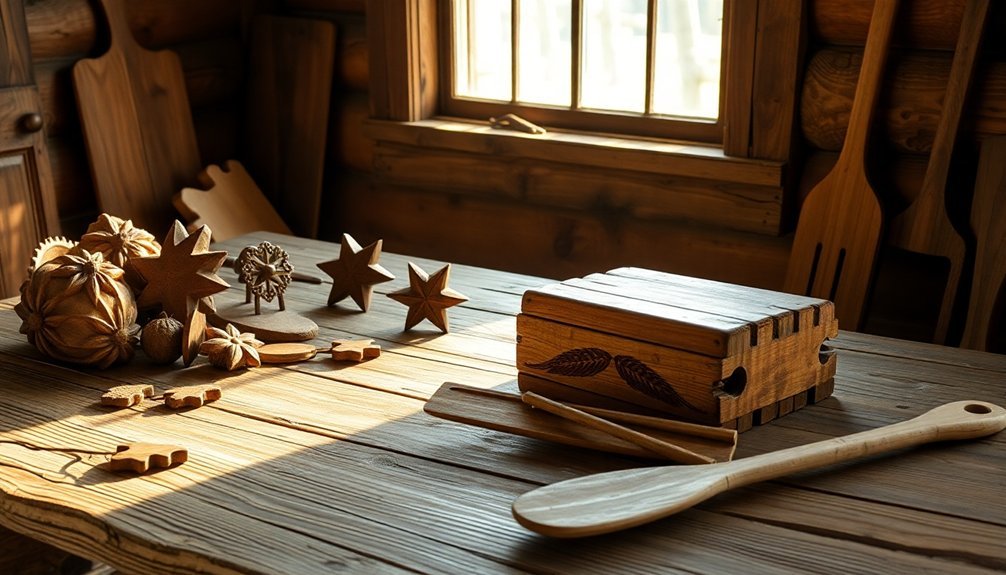
Multi-Purpose Designs: Beyond Simple Soap Making
While preservation techniques extend the life of your wooden molds, their remarkable versatility represents a cornerstone of traditional craftwork.
You'll find that pioneers ingeniously repurposed these tools far beyond soap making—creating candles, cheese, and butter with the same carefully crafted molds.
These multi-functional designs weren't merely practical; they often featured intricate carvings that transformed everyday items into works of art.
You're continuing a rich tradition when you use these molds, as families once passed them through generations as both tools and heirlooms.
The precision of wooden molds guaranteed consistent sizing and uniform shapes, critical for proper curing and storage.
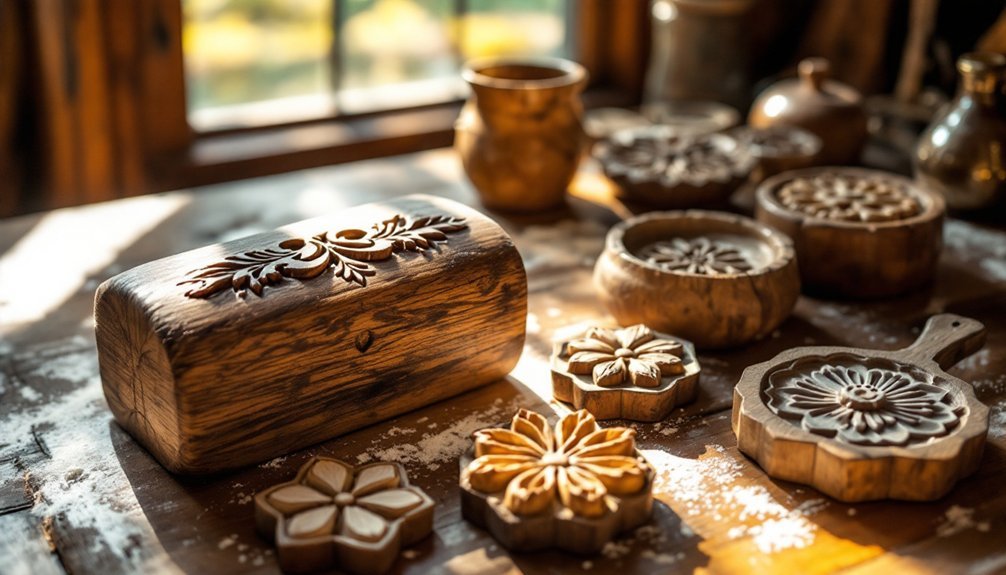
Heritage Symbols and Family Crests in Wooden Mold Decoration
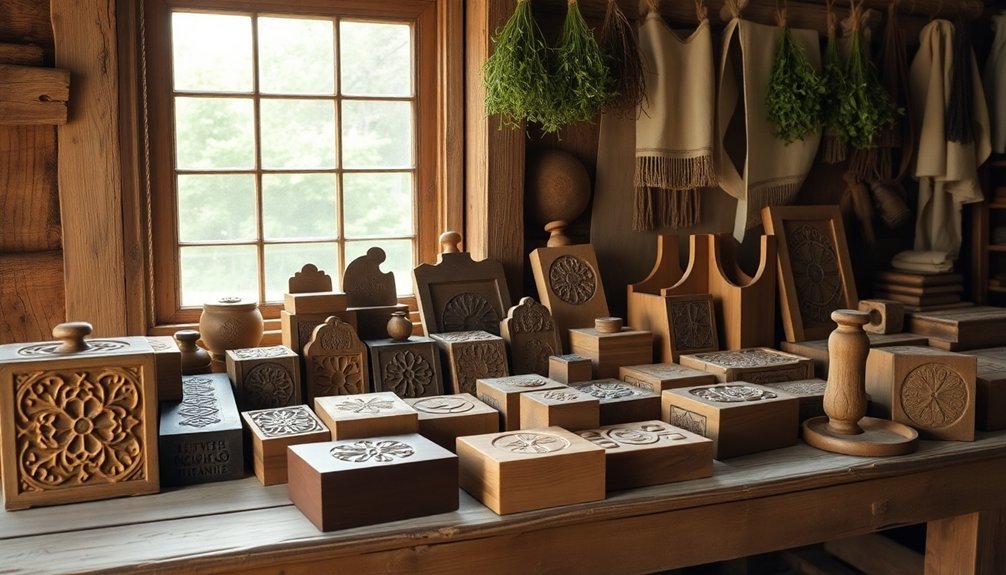
You'll notice pioneer wooden molds featured intricate family crests carved using specialized techniques that varied dramatically from New England's geometric patterns to the Appalachian region's flowing natural motifs.
When pressing these molds into butter, families created symbolic impressions that represented their lineage through carefully chosen elements like eagles for strength or wheat for prosperity.
These decorated wooden tools weren't merely practical items but treasured family heirlooms that silently told stories of heritage as they passed from one generation to the next.
Family Crest Carving Techniques
As families settled in new territories, they brought with them the meaningful tradition of carving family crests into wooden molds.
You'll find these carvings weren't merely decorative—they told the story of your lineage and preserved your family's values for future generations.
When creating your own family crest, you'd first select locally sourced wood that connected you to your new homeland.
Using sharp carving tools, you'd carefully etch the symbols representing your family's heritage—perhaps a lion for courage or wheat for prosperity.
The process demanded patience and precision, often requiring hours of meticulous work to achieve the intricate details.
These wooden molds served dual purposes: practical kitchen implements and cherished heirlooms that carried your family's history forward through the generations.
Regional Design Variations
Beyond the basic family crest carving technique, wooden molds showcased remarkable regional diversity across pioneer settlements.
You'll notice how settlers incorporated distinctive motifs reflecting their cultural heritage—some areas favored elaborate floral patterns while others employed geometric designs or animal imagery.
These weren't merely decorative choices. When you examine these wooden artifacts closely, you'll discover that each carved symbol tells a story. Families intentionally integrated their lineage symbols and personal identifiers into these practical tools, creating everyday items that preserved their identity and history.
The regional variations in these wooden molds offer you a window into pioneer communities' social dynamics.
Symbolic Butter Impressions
Heritage symbols transformed simple butter into meaningful family expressions through wooden molds. You'll find these intricately carved pieces weren't just kitchen tools—they were storytellers of family identity and values.
Crafted from durable woods, these molds created decorative impressions that carried deep significance. Families often incorporated animals, plants, and other elements connected to their lineage, making each butter design uniquely personal.
When you brought these adorned butter blocks to community gatherings, you weren't just serving food—you were displaying your craftsmanship and heritage with pride.
These symbolic molds became treasured heirlooms, passing through generations as tangible connections to ancestral traditions. The artistry preserved in each wooden carving demonstrates how pioneer families elevated everyday items into lasting cultural artifacts.
The Buffalo River Craftsmen's Unique Mold-Making Approach
While many traditions have faded with time, the Buffalo River craftsmen's distinctive mold-making techniques continue to captivate modern artisans. Their ingenious use of local woods reveals a deep understanding of natural resources that you can still appreciate today.
When you examine their hand-carved molds, you'll notice the meticulous attention paid to wood grain and texture. These artisans selected specific tree varieties based on their unique properties, ensuring molds would withstand seasonal humidity and temperature changes typical of the region.
You'll find evidence of community collaboration in their designs—intricate patterns that couldn't have evolved in isolation. Craftsmen shared knowledge, refining techniques across generations.
Their approach wasn't merely practical; it represented a harmonious relationship with the surrounding environment that defined Buffalo River craftsmanship.
Frequently Asked Questions
How Did Pioneers Adapt Molds During Seasonal Temperature Changes?
You'd adjust your molds seasonally by adding insulation during winter, placing them in cooler cellars in summer, and modifying water content based on humidity. You'll also use different wood types for temperature stability.
Can Antique Wooden Molds Be Restored to Working Condition?
Yes, you can restore antique wooden molds to working condition. Clean them gently, repair cracks with food-safe glue, rehydrate the wood with mineral oil, and seal surfaces with beeswax for safe, functional use again.
Did Pioneer Children Learn Mold-Making as Part of Their Education?
You'll find that pioneer children often learned mold-making through informal apprenticeships rather than formal education. They'd watch parents craft candles, butter, or sugar molds as part of their essential household skill training.
Were Specialized Tools Required for Intricate Pioneer Mold Designs?
You'd need simple hand tools for intricate mold designs – chisels, small knives, awls, and fine gouges. Pioneers often repurposed everyday items, modifying them to achieve delicate details in their wooden molds.
How Did Communities Share or Trade Mold Designs?
You'd find communities traded mold patterns during gatherings like barn raisings and quilting bees. They'd share designs through family connections, traveling craftsmen, and seasonal markets where successful patterns became valuable community assets.
In Summary
You've now uncovered the pioneer secrets of wooden mold craftsmanship. By embracing these traditional techniques, you'll create heirlooms that tell your family's story while serving practical purposes. Don't underestimate the value of properly seasoned wood and natural preservatives. Whether you're making soap or decorative pieces, these time-tested methods from the Buffalo River craftsmen will guarantee your wooden molds remain functional and beautiful for generations to come.


Leave a Reply