Mastering soap temperature control starts with keeping lye and oils within 10°F of each other, ideally between 120-130°F. Invest in an infrared thermometer, prepare lye solutions in advance, and understand each oil's unique melting point. Monitor your workspace temperature, as it impacts saponification speed. Control gel phase (180-200°F) for vibrant colors, avoid false trace by maintaining proper heat, and adjust techniques based on your recipe's specific needs. These temperature strategies transform amateur batches into professional-quality soap.
10 Ways to Master Your Soap Temperature Control
While many soapmakers develop their own preferences for temperature control, maintaining your lye and oil temperatures within 10 degrees of each other is crucial for successful batches. Aim for 120-130°F to prevent false trace and guarantee proper saponification.
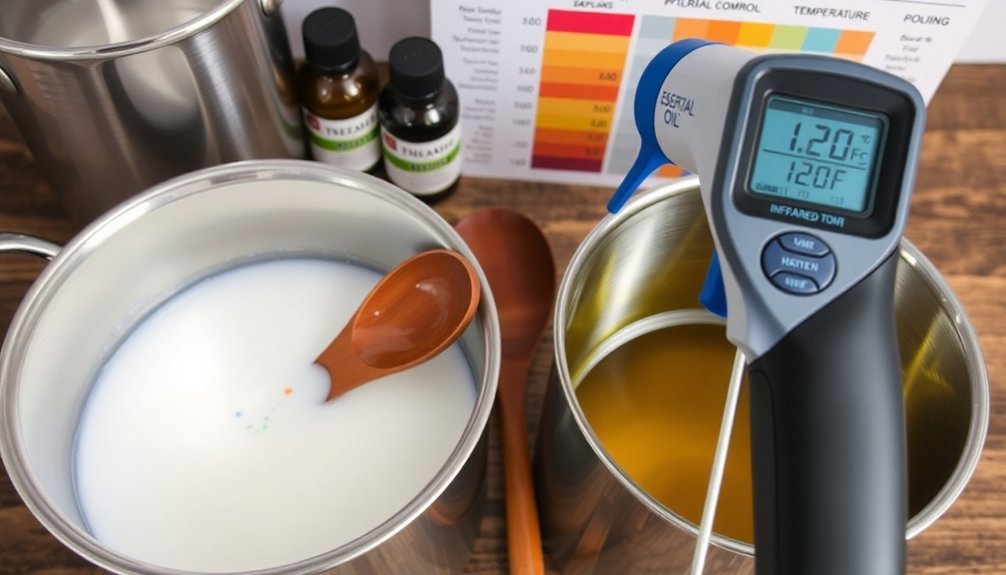
An infrared thermometer is your best ally for monitoring lye temperatures, oils, and soap batter throughout the process.
For recipes with high solid fat content, chop hard butters into smaller pieces when using the Heat Transfer Method to achieve quicker, more uniform melting.
Consider preparing your lye solution 1-3 hours ahead, allowing it to cool to the target temperature range.
Don't overlook your workspace environment—warmer rooms accelerate saponification, while cooler conditions may cause glycerin rivers or soda ash formation.
Understanding the Science Behind Soap Temperature
Temperature directly influences your saponification rate, with higher temperatures accelerating the chemical reaction between lye and oils.
You'll find each oil has its own melting point, which explains why some formulations solidify prematurely when worked too cool.
The gel phase, occurring when soap reaches 180-200°F during curing, isn't mandatory but can enhance color vibrancy and create a more translucent finished product.
Heat Affects Saponification Rates
Because heat serves as a catalyst in soapmaking, understanding how it influences saponification rates is crucial for attaining consistent results.
When your lye solution and oils meet at the ideal temperature range of 120-130°F, you'll experience a balanced saponification process that's neither too slow nor too fast.
Higher temperatures above 130°F will accelerate saponification, pushing your soap into gel phase more quickly. This enhances colors and reduces soda ash but risks creating glycerin rivers if you're not careful.
Conversely, working below 110°F slows the reaction, potentially causing false trace or soda ash formation as unsaponified lye reacts with carbon dioxide in the air.
Remember to cool your lye solution from its initial 200°F and use fully melted, clear oils to prevent premature solidification and promote proper saponification.
Oil Melt Point Variations
Each oil in your soap recipe brings its own unique melting point to the mixing bowl, creating a complex thermal landscape you'll need to navigate for successful saponification.
Hard oils like tallow (90-95°F) and cocoa butter (93-101°F) require careful temperature monitoring to prevent false trace. Maintaining your oils between 120-130°F guarantees proper emulsification while preventing solidification during the critical mixing phase.
For recipes dominated by liquid oils such as olive or sunflower, you'll find room temperature often suffices.
Understanding oil melt point variations allows you to leverage the heat transfer method effectively. When your lye solution reaches temperatures exceeding 200°F, you can use this heat strategically to melt solid fats.
This knowledge gives you precise control over your soap's consistency and helps you anticipate how different oil combinations will behave during the saponification process.
Gel Phase Fundamentals
While many soap makers focus on trace and curing, the gel phase represents a vital thermal transformation that dramatically affects your final product's quality. This stage occurs when your soap batter reaches 130°F-150°F, enabling a more complete saponification reaction.
During gel phase, the exothermic saponification process naturally elevates internal temperatures, helping dissolve remaining lye particles and solid fats. You'll achieve clearer, more vibrant soaps and reduce issues like soda ash formation when you properly manage this phase.
To encourage gel phase, insulate your molds or increase your soaping temperatures. Conversely, if your soap stays too cool and misses this phase, you risk uneven texture, visible lye pockets, or graininess.
Effective temperature management becomes particularly essential when working with additives like fragrance oils and colorants, whose performance depends heavily on proper gel phase completion.
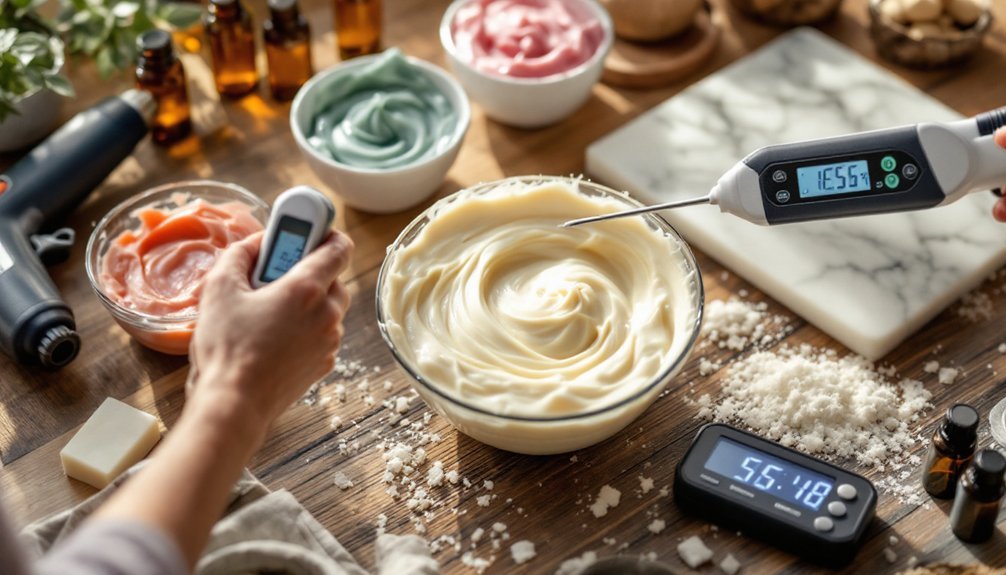
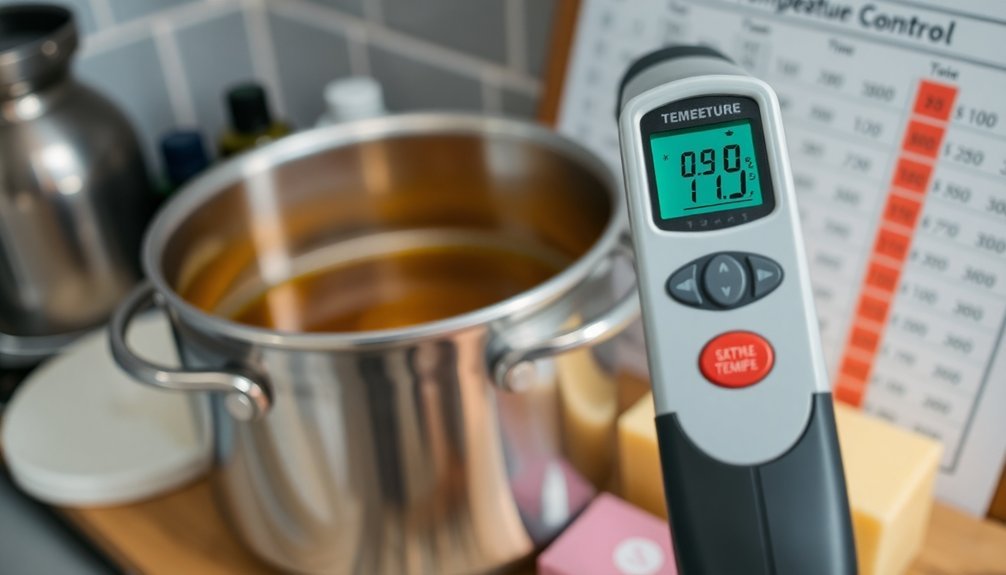
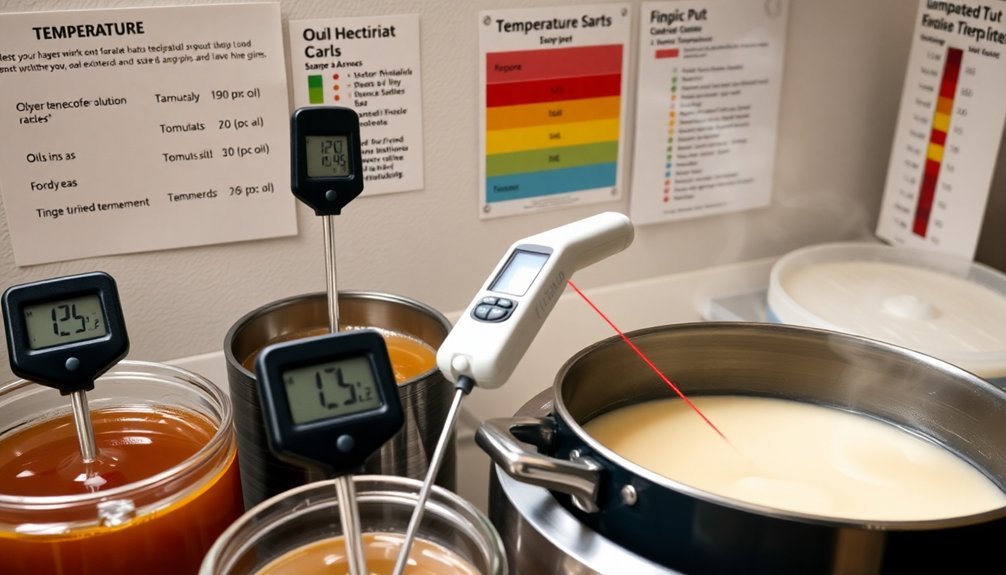
Essential Tools for Accurate Temperature Monitoring
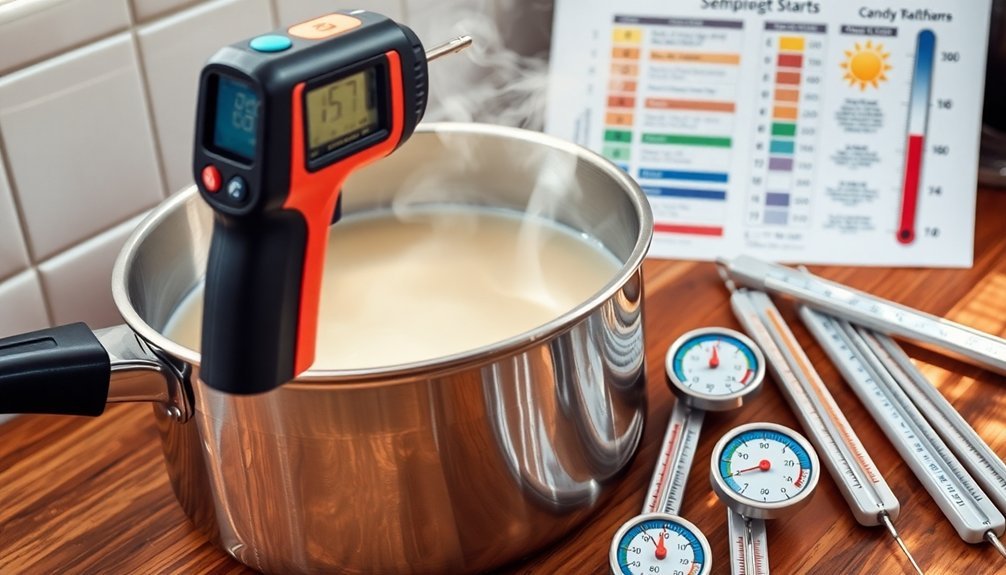
Precision tools form the backbone of successful soap making, enabling you to monitor temperatures with confidence and consistency. Invest in a digital infrared thermometer gun for quick, non-contact readings of your oils and lye solutions without disrupting the process.
This tool pairs perfectly with a reliable digital scale, ensuring your ingredients are measured precisely—a critical factor for temperature stability.
Consider adding a Yacumama digital water thermometer to your toolkit for its clear display and accuracy when tracking lye and oil temperatures.
For advanced preparation, try masterbatching your lye solutions, which allows you to prepare and store them at ideal temperatures beforehand.
Finally, maintain a temperature log of previous batches to identify patterns and make informed adjustments to your soap recipes over time.
The Ideal Temperature Range for Cold Process Soap
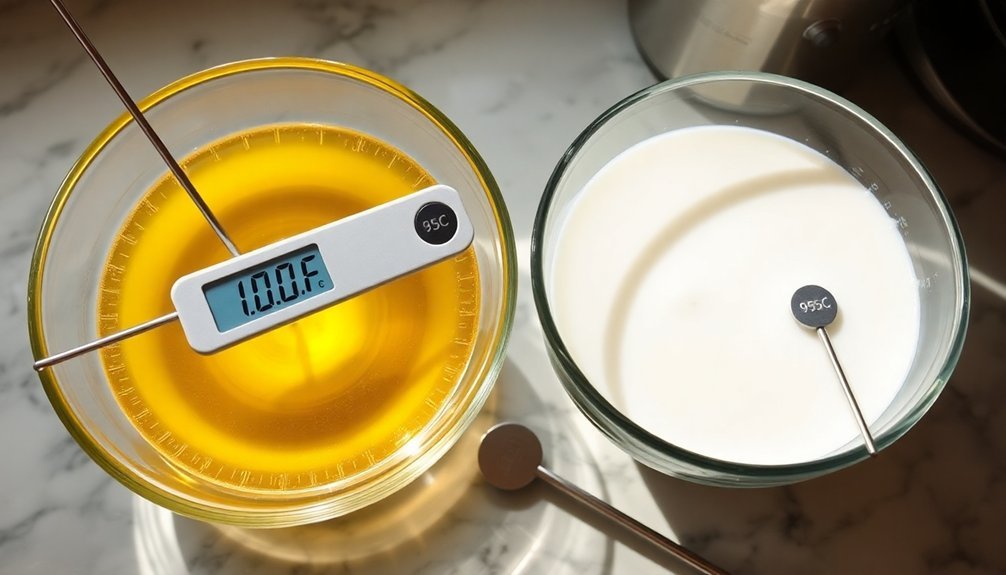
Now that you've gathered your monitoring tools, let's focus on the temperatures that will make or break your soap batch. For successful cold process soap, aim for 120-130°F for both your oils and lye solution. This sweet spot guarantees proper saponification while preventing false trace issues.
Your oils should be clear—any cloudiness signals solidified fatty acids that can compromise your soap. Remember to keep your lye solution and oils within 10 degrees of each other for ideal mixing.
- Thoroughly melt all solid oils and butters to avoid complications
- Cool your lye solution to 120-130°F before combining with oils
- Check that all oils remain clear and liquid at your soaping temperature
Following this ideal temperature range creates consistent, high-quality soap with predictable trace development and proper curing.
Mastering the Heat Transfer Method for Beginners
The heat transfer method offers a simpler approach for beginners who want to streamline their soapmaking process. By combining hot lye solution with solid fats, you'll effectively melt everything in one step.
First, break your solid fats into small chunks or use wafers for faster melting. Pour your hot lye solution (above 200°F) over these fats, then monitor with a temperature gun until fully melted. Stir manually before switching to a hand blender.
| Step | Action | Target Temperature |
|---|---|---|
| 1 | Prepare lye solution | Above 200°F |
| 2 | Break solid fats | Room temperature |
| 3 | Combine and stir | Monitor with temp gun |
| 4 | Blend when ready | 99-113°F |
Your final batter should reach 99-113°F for ideal saponification, preventing false trace issues that occur at improper temperatures.
Preventing False Trace Through Temperature Management
False trace, a common frustration among soapmakers, occurs when your soap batter appears to have reached trace but has actually just experienced premature solidification of fats.
To prevent this issue, maintain both your oils and lye solution between 120-130°F for proper saponification. Always keep these temperatures within 10 degrees of each other to avoid complications.
- Check your oils for clarity at soaping temperature—cloudiness signals solidified fatty acids that can trigger false trace.
- Continue mixing if your batter thickens prematurely, as additional stirring generates heat to properly complete saponification.
- Aim for a lye solution around body temperature (98.6°F) or slightly higher to effectively melt solid fats.
Working With Hard Oils and Butters: Temperature Guidelines
Working with hard oils and butters requires careful attention to their melting points to avoid false trace in your soap making process.
You'll need to completely melt coconut oil above 76°F and cocoa butter between 93-101°F, while high stearic ingredients like kokum and illipe butters demand even higher temperatures of 120-130°F for proper incorporation.
Chopping your solid fats into smaller pieces or using wafers will speed up melting and guarantee they blend smoothly with your lye solution when both components reach the ideal working temperature.
Melting Point Considerations
Understanding various melting points of hard oils and butters forms the foundation of successful soap making. Each oil behaves differently when heated—coconut oil liquefies at 76°F, while cocoa and shea butters require temperatures between 89-101°F.
You'll need to maintain your oil mixture at 120-130°F for ideal saponification and to prevent false trace issues.
When working with solid fats like tallow (90-95°F) or PKO flakes, consider these practical approaches:
- Pre-chop harder butters into smaller pieces to accelerate the melting process
- Use a warm lye solution when incorporating high-melting-point fats to maintain temperature control
- Monitor your thermometer closely when blending oils with different melting points to guarantee complete liquefaction
Mastering these melting point variations helps you create consistently smooth, professional-quality soap batches.
Preventing False Trace
When soaping with hard oils and butters, preventing false trace becomes critical to achieving a properly emulsified batch.
Maintain both oils and lye solution at 120-130°F to guarantee all fatty acids remain fully melted during mixing.
Check your oils for clarity before adding lye—cloudiness indicates solidified fats that will likely cause false trace.
Your lye solution should be around body temperature or slightly higher to prevent immediate solidification when it contacts the oils.
For recipes high in solid fats, aim for temperatures closer to the upper end of the recommended range.
If you notice premature thickening, continue stirring persistently as the saponification process generates heat that will eventually remelt any solidified components.
This patient approach guarantees you'll avoid mistaking false trace for true saponification.
Hot Process Temperature Strategies for Perfect Results
Although many soap makers find temperature management challenging, mastering hot process temperature control isn't difficult once you understand the key principles.
Unlike cold process, you'll want to add your hot lye solution directly to warm oils (120-130°F) to jumpstart saponification. This temperature range guarantees fats won't solidify while promoting peak chemical reactions between your oil mixture and the lye.
- Maintain oils and lye around 120-130°F for ideal mixing conditions and smooth incorporation
- Embrace higher temperatures (131-160°F) during gel phase for more vibrant colors and reduced soda ash
- Monitor carefully as higher temperatures accelerate reactions, preventing soap volcanoes or alien brain formation
The key advantage of hot process is controlling how heat affects your soap.
How Room Temperature Affects Your Soap Making Success
The environment in which you create your soap plays a surprisingly significant role in the quality of your final product. When working with liquid oils like olive or sunflower, standard room temperature is typically sufficient, as these oils remain fluid naturally.
However, if your space is too cold, fatty acids may solidify, creating a grainy soap batter that thickens prematurely—a condition known as false trace. Maintaining your soaping area between 120-130°F guarantees smooth mixtures and proper saponification.
Conversely, in warmer environments, consider soaping at cooler temperatures (100-110°F) to prevent overheating and defects like glycerin rivers.
For best results, you might need to insulate molds or adjust ambient temperature control to promote the gel phase, which enhances color vibrancy during curing.
Troubleshooting Common Temperature-Related Soap Defects
When your soap appears to thicken prematurely with a grainy texture, you're likely experiencing false trace—prevent this by ensuring your oils are fully melted and maintaining temperatures around 110-115°F.
Overheating soap can trigger the dreaded gel phase too rapidly, causing alien brain formations and soap volcanoes that ruin your batch's appearance, so keep your temperatures below 130°F during mixing.
To combat soda ash—that whitish powder on your soap's surface—you'll need to manage temperature effectively, as cold soap encourages unsaponified lye to react with air and create this harmless but unsightly defect.
False Trace Prevention
Many soapmakers confuse false trace with true saponification, leading to frustrating results in the finished product.
False trace appears when your batter prematurely thickens due to cooler temperatures causing hard fats to solidify. This grainy texture isn't true trace but rather a temperature issue that's completely preventable.
To avoid false trace in your soaps:
- Fully melt all oils and maintain them at 120-130°F, ensuring complete homogenization before adding your lye solution
- Keep your lye solution around body temperature (98.6°F) to prevent shocking and solidifying your oils on contact
- Maintain temperatures of lye and oils within 10 degrees of each other for proper emulsion
If you do encounter false trace, don't panic.
Continue mixing until the batter generates enough heat to remelt solidified fats and achieve true saponification.
Overheating Causes Identified
While preventing false trace focuses on temperature minimums, understanding the opposite extreme is equally important for soap artisans.
Overheating your soap can trigger several unwanted defects. When temperatures climb too high, your batch may enter the gel phase prematurely, causing alien brain formations and soap volcanoes—especially in loaf molds which retain more heat than individual cavities.
High temperatures accelerate saponification, making your batter thicken too quickly and ruining intricate design plans. You'll also risk glycerin rivers forming as pockets of glycerin separate during uneven cooling.
Additionally, excessive heat can cause unsaponified lye to react with carbon dioxide, creating soda ash on your soap's surface.
To avoid these issues, maintain your oils and lye solution between 120-130°F. This temperature sweet spot guarantees consistent results without the frustration of heat-related defects.
Soda Ash Solutions
Despite your best efforts, soda ash—that chalky white residue on your soap's surface—can frustrate even experienced artisans. This occurs when unsaponified lye reacts with carbon dioxide, particularly at cooler temperatures. To prevent this common issue, maintain your soap batter above 130°F during critical initial saponification stages.
- Insulate your molds after pouring to maintain warmth and encourage gel phase, which greatly reduces soda ash formation.
- Consider using a higher lye concentration or add heat-generating ingredients to accelerate saponification.
- If soda ash appears despite prevention efforts, gently wipe the cured soap with a soft cloth or mist with alcohol to dissolve the residue.
Temperature control remains your most powerful tool against soda ash. By managing heat properly throughout the process, you'll consistently produce professional-quality soap with beautiful, ash-free surfaces.
Frequently Asked Questions
How to Prevent Soap From Overheating?
You'll prevent soap overheating by keeping oil and lye temperatures between 120-130°F, using individual cavity molds, monitoring your lye solution, adding hard oils gradually, and carefully managing insulation during curing.
What Is the Best Temperature for Soap Making?
You'll get the best results by keeping both your oils and lye solution between 120-130°F. Make sure they're within 10 degrees of each other to achieve smooth mixing and proper saponification during cold process soap making.
What Does Adding Salt to Cold Process Soap Do?
When you add salt to cold process soap, you'll create harder bars that last longer. It also acts as a gentle exfoliant, reduces soda ash formation, and helps stabilize your mixture for a smoother texture.
Why Add Yogurt to Hot Process Soap?
You'll add yogurt to hot process soap for its moisturizing fats and proteins, creamy lather enhancement, and gentle exfoliation from lactic acid. It'll also help prevent soda ash, giving your soap a smoother finish.
In Summary
With these ten temperature control strategies in your toolbox, you're now equipped to create flawless soap batches consistently. Remember that mastering temperature isn't just about following rules—it's about understanding how heat affects your specific recipe and ingredients. As you practice these techniques, you'll develop an intuitive sense for when something feels right. Trust your growing expertise, and you'll soon be creating professional-quality soap with confidence.


Leave a Reply