To prevent soap overheating during saponification, reduce your water ratio to 30-33% of oil weight and maintain mixing temperatures between 85-90°F. Monitor both internal and surface temperatures closely, especially with milk or honey additives. For cooling, use water baths for small batches, cooling pads for medium batches, and refrigeration for large batches. Watch for warning signs like volcanoes, pock marks, or separation. Mastering temperature control guarantees your handcrafted soaps maintain both beauty and quality.
Numeric List of Second-Level Headings
Five critical aspects require attention when preventing heat spikes during saponification:
- Managing Water Content – Reduce high-water formulations that accelerate overheating and volcanic eruptions in your soap batch.
- Controlling the Environment – Implement Cold Process Oven Process (CPOP) technique using a 140°F oven to maintain steady thermal conditions.
- Monitoring Temperature Thresholds – Keep your initial mixing temperature between 85-90°F, especially with heat-sensitive additives, to prevent crossing the gel phase threshold.
- Strategic Mold Insulation – Insulate molds appropriately based on your recipe's tendency to generate heat, ensuring consistent temperature throughout curing.
- Adjusting for External Heat Sources – Factor in ambient temperature and adjust water content accordingly to compensate for environmental thermal influences during the saponification process.
Understanding Heat Generation in Saponification
While many soapmakers focus on ingredients and design, understanding the chemistry behind heat generation is essential for controlling your batch's outcome. Saponification creates an exothermic reaction when lye meets oils, generating heat that can escalate quickly from your initial 100°F soap batter temperature.
| Temperature Effect | Soapmaker's Response |
|---|---|
| Gentle warmth | Calming satisfaction |
| Rapid heating | Growing concern |
| Overheating | Rising panic |
| Volcano eruption | Complete devastation |
| Perfect gel phase | Triumphant relief |
Effective thermal management determines whether your soap proceeds smoothly or becomes a disaster. High-water recipes particularly need monitoring as they're prone to overheating. You'll achieve better results by controlling your mixing temperature and employing insulation techniques strategically, rather than letting chemistry take control. Master heat generation, and you'll master saponification.
Signs Your Soap Is Overheating

You'll notice clear visual warning signs when your soap overheats, including "volcanoes" erupting from the mold, pock marks on the surface, or brown specks with certain additives like honey.
Temperature trouble often reveals itself through uneven textures—soft, gooey edges with a firm center indicate inconsistent saponification throughout your batch.
Watch for conical craters (silicone rash) or puffing, which signal your soap has exceeded ideal temperature thresholds during the critical cooking phase.
Visual Warning Signs
How can you tell when your soap is getting dangerously hot? Overheating presents several visible signs that you shouldn't ignore. When your soap batter exceeds 160°F (70°C), its integrity becomes compromised, resulting in noticeable symptoms.
| Warning Sign | What It Means |
|---|---|
| Puffing & Undesirable Texture | Water expansion in high-water formulas |
| Volcanoes or Cracks | Sugar content too high or excessive heat retention |
| Silicone Rash (Conical Craters) | High-viscosity soap blistering from heat |
| Oily Pockets/Separation | Mixture breaking down due to temperature |
Monitoring your batch throughout saponification is essential. If you notice these signs, you're likely dealing with a heat spike that needs immediate attention. Early intervention can save your batch and help you adjust your approach for future soaps.
Temperature Trouble Indicators**
When should you pay attention to your soap's temperature? Keep a close eye when your batch exceeds 160°F (71°C) as this threshold often triggers overheating during saponification.
Monitor both surface and internal temperature—a significant difference between them signals thermal management problems. High-water content recipes are particularly susceptible to temperature spikes, often resulting in visible signs like volcanoes and cracks across your soap's surface.
Be alert for a puffed texture or silicone rash with conical craters—these indicate excessive heat buildup requiring immediate cooling measures.
Similarly, blistering and pock marks suggest your soap got too hot, especially in formulations containing sugars.
Don't wait until your batch is ruined—recognizing these temperature trouble indicators early allows you to intervene before overheating damages your entire soap project.
The Science Behind Temperature Control
When you combine lye with oils during saponification, you're witnessing a powerful exothermic reaction that naturally releases heat as chemical bonds break and reform.
Your soap's temperature can quickly spike above 180°F during this process, especially in high-water formulas or when using certain additives like sugar or milk.
Understanding this scientific principle helps you anticipate potential overheating issues and implement effective temperature control strategies before your batch becomes compromised.
Subheading Discussion Points
Understanding the chemistry of saponification reveals why temperature control isn't merely a suggestion but a critical factor in soap-making success. When you mix your oils and lye, an exothermic reaction begins that generates heat naturally. If your initial mixing temperature exceeds 90°F, you're setting yourself up for trouble.
High-water soaps are particularly vulnerable to overheating, which can trigger volcanic eruptions and cracking during the gel phase. You'll want to maintain temperatures around 85-90°F before pouring to prevent these issues.
While insulation techniques like heating pads can help achieve a consistent gel phase, they must be carefully monitored to avoid excessive thermal management problems.
Remember that water content directly influences how your soap handles heat. Adjusting this variable gives you control over the saponification process and helps prevent unwanted texture changes in your final product.
Exothermic Reaction Basics
At its core, saponification transforms oils and lye into soap through a heat-generating chemical reaction. This exothermic reaction causes your soap mixture's temperature to rise naturally, typically starting around 100°F before climbing higher. Understanding this process helps you control your batch's thermal management.
| Temperature Factor | High-Water Soaps | Low-Water Soaps |
|---|---|---|
| Heat Sensitivity | More reactive | More stable |
| Gel Phase Risk | Higher chance | Better control |
| Cooling Needs | Critical | Less urgent |
Your ingredient ratios directly impact heat generation. High-water soaps contain more liquid for the reaction, intensifying the exothermic response and potentially causing overheating issues. By adjusting water content and monitoring temperature throughout saponification, you'll maintain ideal conditions for a successful gel phase without unwanted cracking or volcanoing effects.
Cooling Methods for Different Batch Sizes
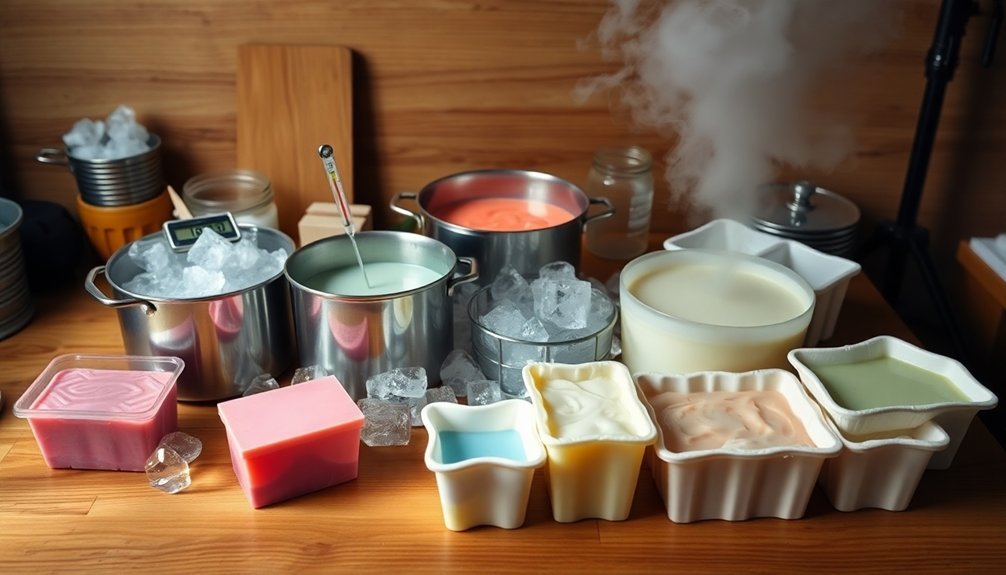
Three distinct approaches to cooling are necessary depending on your batch size.
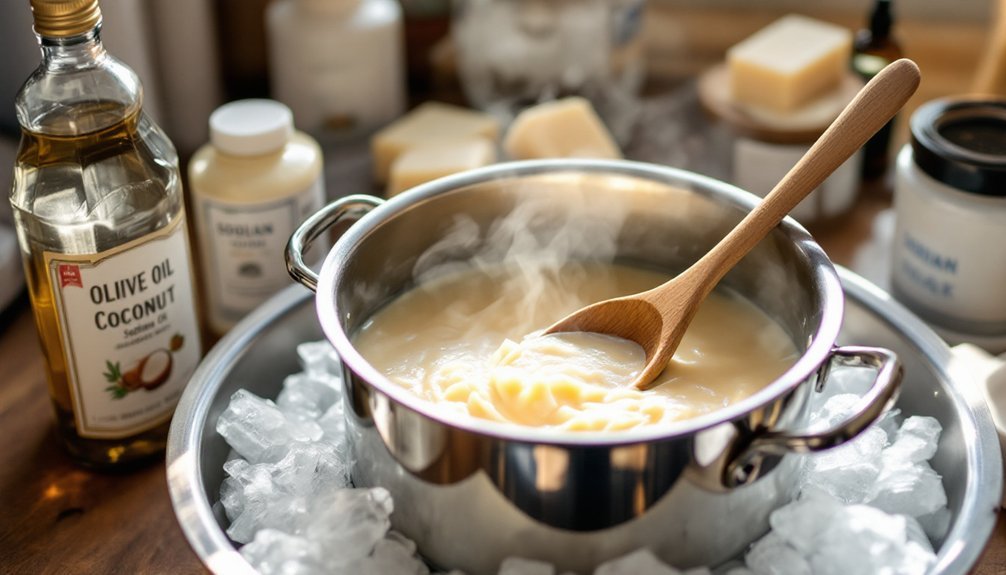
For small batches (1-2 lbs), simply place your soap mold in a cool water bath to effectively prevent overheating during saponification.
Medium batches (3-5 lbs) require a cooling pad or towel under the mold while maintaining controlled insulation on the sides.
When working with large batches (6+ lbs), you'll need more aggressive cooling—consider refrigerating your soap for the first few hours to manage heat spikes effectively.
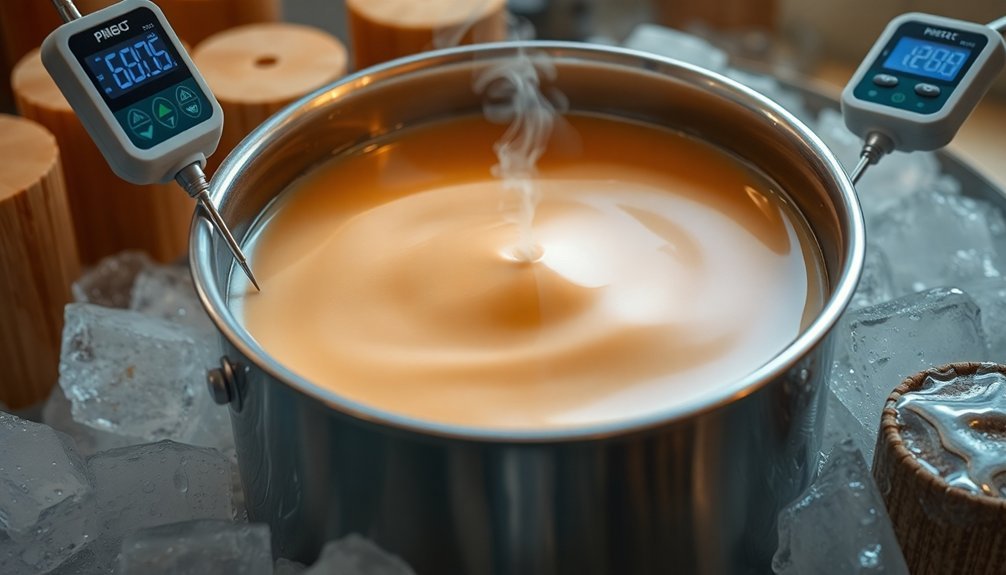
For high-water content recipes, position ice packs around the mold to maintain lower temperatures during initial saponification.
Regardless of batch size, always monitor internal temperature with a digital thermometer, keeping it below 140°F to prevent volcanoes or cracks in your finished soap.
Refrigeration Techniques for Delicate Formulations
Pre-chill your molds for at least two hours before pouring delicate formulations to create a temperature buffer that helps control the saponification process.
Implement a staged cooling protocol by first placing your freshly poured soap in a room-temperature environment for 30 minutes, then transferring it to the refrigerator set at 75-80°F.
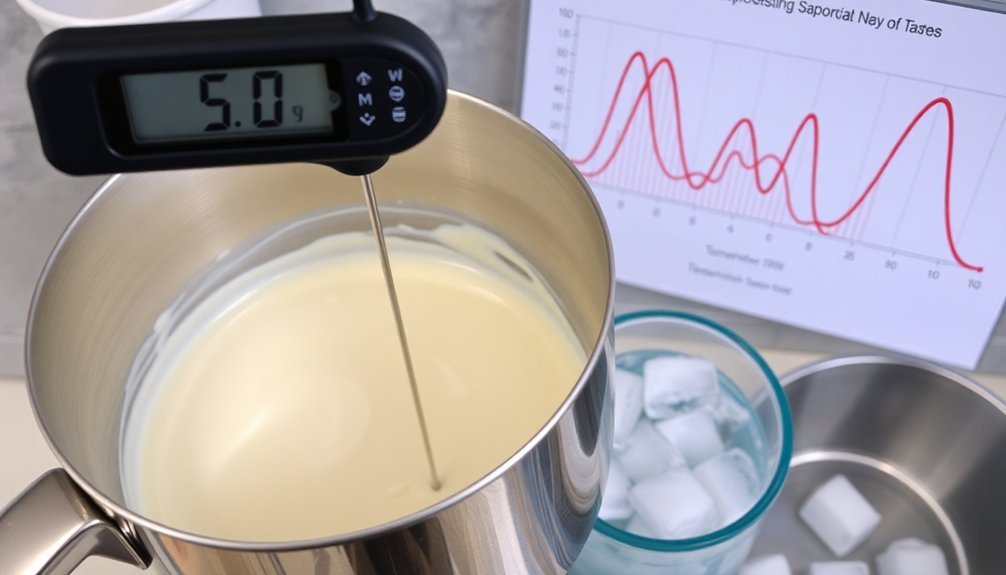
You'll need to monitor internal temperatures with a digital thermometer, removing the soap once it stabilizes below 90°F to prevent overcooling while still avoiding problematic heat spikes.
Pre-Chill Molds Strategically
Strategic refrigeration of your soap molds offers a powerful defense against temperature spikes during saponification. By pre-chilling molds in your refrigerator for 30 minutes before pouring, you'll greatly reduce heat retention that can compromise delicate formulations.
Choose silicone molds whenever possible for their superior thermal conductivity. They'll dissipate heat more effectively during the critical initial mixing phase, especially when kept at 85-90°F.
After pouring, enhance your temperature management by placing molds on a cooling rack in a drafty area. This approach proves particularly valuable when working with heat-sensitive additives that might deteriorate at higher temperatures.
The controlled cooling environment you create promotes proper gel phase development without risking puffing or silicone rash, ultimately yielding smoother, more consistent results in high-water recipes.
Staged Cooling Protocol
When working with heat-sensitive formulations, a properly executed staged cooling protocol becomes essential for maintaining control throughout the saponification process.
Begin by refrigerating your soap batch immediately after mixing to prevent the temperature from climbing too rapidly. This is especially critical for high-water recipes that are prone to dangerous heat spikes.
Monitor your batch's temperature regularly with a digital thermometer, keeping it below 85°F to protect delicate additives like milk or honey from scorching. These ingredients are particularly vulnerable to heat-induced texture changes during saponification.
After the initial refrigeration period, allow your soap to gradually return to room temperature rather than exposing it to sudden changes. This methodical cooling process helps achieve ideal firmness while preventing separation issues that can compromise your final product's quality.
Adjusting Water Ratios to Manage Heat
The water content in your soap recipe serves as one of the most powerful tools for controlling temperature during saponification.
When you're battling heat spikes, consider reducing your water ratio to 30-33% of your total oil weight. This simple adjustment creates a more stable saponification environment, markedly decreasing the risk of soap volcanoes and surface cracks.
High-water soap formulations are particularly vulnerable to overheating, as excess water extends the gel phase and intensifies thermal reactions.
If you're working with heat-amplifying additives like sugar or milk, it's even more essential to adjust your water ratio downward.
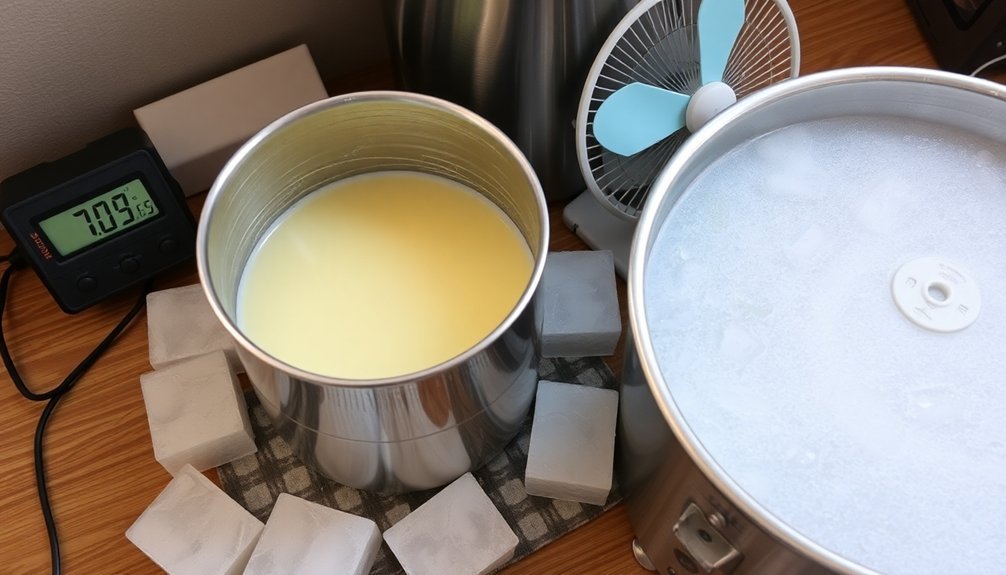
Temperature Monitoring Tools and Equipment
Three essential tools form the foundation of effective temperature management during saponification.
First, a digital food scale like the Escali Primo guarantees precise measurements of your ingredients, directly impacting the heat generated during the process.
Second, a reliable thermometer for liquids, such as the Yacumama Digital Water Thermometer, gives you accurate readings throughout saponification, helping you maintain ideal conditions.
Third, consider adding an infrared thermometer to your toolkit. These devices allow you to quickly check surface temperatures of soap batches without direct contact, instantly identifying potential heat spikes.
When using these temperature monitoring tools, don't overlook the value of insulating materials to maintain consistent heat levels. Keeping a thermometer in your mixture will alert you to sudden temperature increases, allowing you to intervene before your soap overheats.
Preventing Partial Gel Phase Issues
With proper temperature monitoring tools in place, you'll now want to focus on one of soapmaking's most common challenges: the partial gel phase.
Start by maintaining a cooler initial soap batter temperature of 85-90°F before pouring into molds to better control the saponification process.
Reduce your recipe's water content to minimize heat generation during the reaction.
When it comes to insulation techniques, aim for balance—cover molds lightly enough to maintain consistent temperature without triggering excessive heat spikes.
Watch your cold process soap carefully during curing. If you notice the edges hardening while the center remains soft, quickly reduce ambient temperature to stabilize the batch.
For added insurance against partial gel issues, incorporate hard oils and additives like Sodium Lactate to improve firmness and overall consistency throughout your soap.
Mold Selection for Optimal Heat Dissipation
While preparing your soap recipe is critical, selecting the right mold plays an equally important role in controlling temperature spikes during saponification. Individual silicone molds offer superior heat dissipation compared to loaf molds, allowing heat to escape more efficiently during the critical gel phase.
Choose molds with larger surface areas to promote airflow and prevent thermal retention, especially when working with high-water formulations that are prone to overheating. Avoid densely packed configurations that trap heat within your soap. Instead, opt for molds that allow each portion to "breathe," reducing the risk of excessive temperature buildup.
If you're insulating molds, only do so after your soap has reached a stable temperature. This strategic timing guarantees proper saponification without unwanted heat spikes that could compromise your final product's quality.
Working With Heat-Sensitive Additives
Heat-sensitive additives present unique challenges during saponification that require careful temperature management throughout the soap-making process. When working with ingredients like milk or honey, you'll need to reduce your mixing temperature to 85-90°F to prevent scorching and texture problems.
| Additive Type | Temperature | Risk Factor | Solution |
|---|---|---|---|
| Milk/Honey | 85-90°F | Scorching | Low water recipe |
| Sugar-based | Below 90°F | Excess heat | CPOP method |
| Botanicals | 90-100°F | Discoloration | Monitor gel phase |
| Fragrance oils | 100-110°F | Acceleration | Add at trace |
To avoid thermal spikes, consider using low-water soap formulations which are less prone to overheating during saponification. This preventative approach helps avoid gel phase complications like silicone rash, especially when working with high-water recipes that can enter gel phase at lower temperatures.
Seasonal Considerations for Temperature Management
Beyond additives, the time of year you make soap dramatically impacts temperature management during saponification. During warmer seasons, you'll need to work with lower temperatures when mixing ingredients to prevent heat spikes, especially in high-water recipes.
In cooler months, consider using the Cold Process Oven Process (CPOP) to maintain consistent temperatures for proper saponification. Environmental factors like humidity can extend curing time, requiring temperature adjustments accordingly.
Always monitor your soap batter's temperature, aiming for 85-90°F before pouring. This guarantees stable saponification regardless of seasonal variations.
Remember that seasons affect the gel phase differently—cover molds or use heating pads during cold weather to encourage ideal gel formation, while in summer, take extra precautions to prevent overheating that could compromise your final product.
Troubleshooting Common Heat-Related Soap Defects
Despite your best efforts, heat-related soap defects can still occur when temperature management goes awry during saponification. Watch for signs of overheating like puffing, blistering, volcanoes, cracks, and silicone rash—with high-water soaps being particularly vulnerable to these issues.
Combat these problems by adjusting your water content. Low-water soaps maintain better stability during gel phase and show less silicone rash due to their thicker viscosity.
When working with heat-sensitive additives or high sugar ingredients, reduce your temperatures to prevent dangerous heat spikes.
Fine-tune your insulation techniques based on your formulation. Use heating pads for even distribution or lightly cover molds to encourage controlled gelling.
Remember that proper temperature management throughout the saponification process is your best defense against common heat-related defects that compromise your soap's appearance and texture.
Frequently Asked Questions
How to Stop Soap From Overheating?
To stop soap from overheating, you'll need to maintain lower temperatures (85-90°F) when mixing, use less water in your recipe, employ the CPOP method, monitor the gel phase, and add sugary ingredients cautiously.
Does Heat Speed up Saponification?
Yes, heat does speed up saponification by increasing the chemical reaction rate. You'll notice faster trace and gel phase when soap is warmer, but be careful—excessive heat can cause overheating problems in your batch.
What Is the Best Temperature for Saponification?
For ideal saponification, you'll want to combine your oils and lye at 85-90°F. This temperature guarantees proper emulsification while preventing overheating. Keep your batch below 140°F during the process to avoid thermal spikes and texture issues.
What Happens if You Overheat Soap Base?
Overheating your soap base can ruin its texture, causing puffing, cracks, silicone rash, and blistering. You'll also risk incomplete saponification, potentially creating a lye-heavy soap that's unsafe to use on skin.
In Summary
By mastering temperature control during saponification, you'll prevent the frustration of overheated batches. Remember, it's not just about avoiding volcano eruptions—it's about crafting consistent, high-quality soap. Whether you're adjusting your recipe, selecting the right mold, or adapting to seasonal changes, you've now got the tools to keep your batches cool and your results predictable. Your sensitive additives will thank you!


Leave a Reply