To achieve proper gel phase in soapmaking, maintain lye temperatures between 120-130°F. Insulate your molds with towels to retain heat, but monitor for overheating signs like wrinkled textures or soap volcanoes. Use a digital thermometer for precision and adjust your techniques seasonally—less insulation in summer, more in winter. For milk or honey soaps, reduce temperatures to prevent scorching. The right temperature control transforms your soap from ordinary to extraordinary with that signature translucent shine.
Temperature Control Tips For Soap Gel Stage
While many soapmakers debate whether to gel or not, mastering temperature control is vital for achieving successful gel phase in cold process soaps. Keep your lye temperatures between 120-130°F to promote proper gel phase during saponification. This temperature range optimizes the chemical reaction while preventing overheating issues.
Insulating molds plays an important role in heat retention. Wrap your molds with towels or place them in boxes to maintain the necessary warmth. Larger molds naturally retain heat better than smaller cavity molds, making them ideal for achieving gel phase.
If your soap feels cool after 30 minutes, add extra insulation or a heating pad to jumpstart the process. However, carefully monitor for signs of overheating like wrinkled textures or soap rising from the mold.
Proper temperature control throughout soap making guarantees vibrant colors without defects like cracking.
Understanding the Science Behind Gel Phase Temperatures
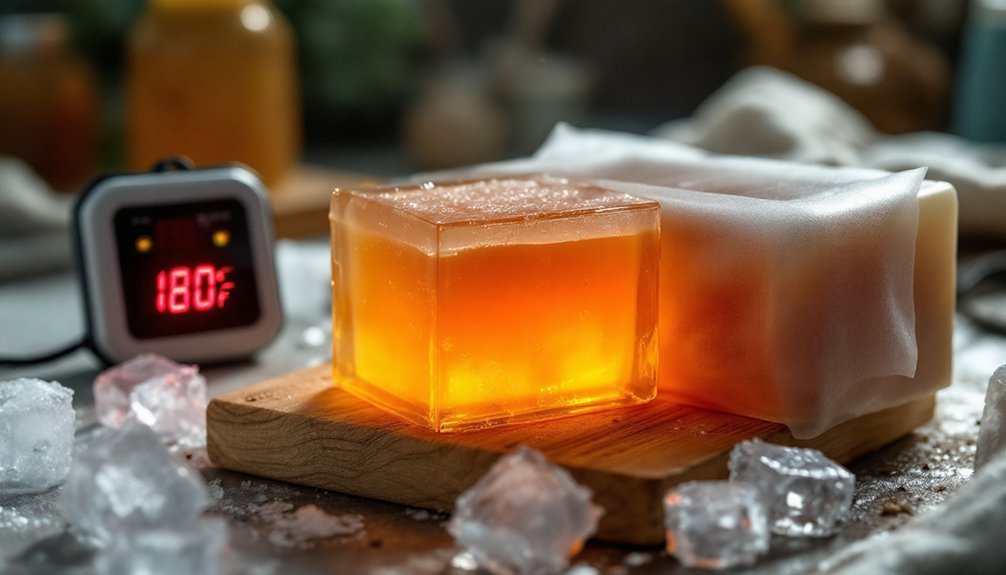
Now that you've grasped temperature control methods, let's examine what actually happens during gel phase at the molecular level. When your soap reaches approximately 180°F during saponification, the mixture transforms into a translucent, shiny state. This chemical reaction accelerates when you maintain an ideal soaping temperature of 120-130°F for both your lye solution and oils.
Several factors influence gel phase intensity:
- High percentages of soft oils or butters generate more heat during saponification
- Increased water content catalyzes the reaction, raising temperature naturally
- Proper insulating techniques maintain necessary heat levels, especially in colder environments
Be vigilant about overheating, which can cause cracking or soap volcanoes. The science behind gel phase isn't just about aesthetics—it's about controlling a complex chemical reaction that directly impacts your final product's quality.
Essential Equipment for Monitoring Soap Temperature
Precision tools make the difference between soap-making success and frustrating failures. A digital thermometer tops the list of must-haves, guaranteeing your lye and oils stay within the vital 120-130°F range for ideal saponification.
For quick checks without contact, infrared thermometers prove invaluable, especially for monitoring soap already in molds. When you need continuous temperature data during gel phase, thermocouples provide real-time readings that allow immediate adjustments to prevent overheating.
While insulating materials like towels help maintain necessary heat, they're most effective when paired with proper temperature control tools.
Don't forget to leverage a reliable soap calculator for formulating recipes that account for temperature variations across batches. This equipment combination guarantees consistent monitoring temperatures and predictable results every time you create.
Ideal Temperature Ranges for Different Oil Blends
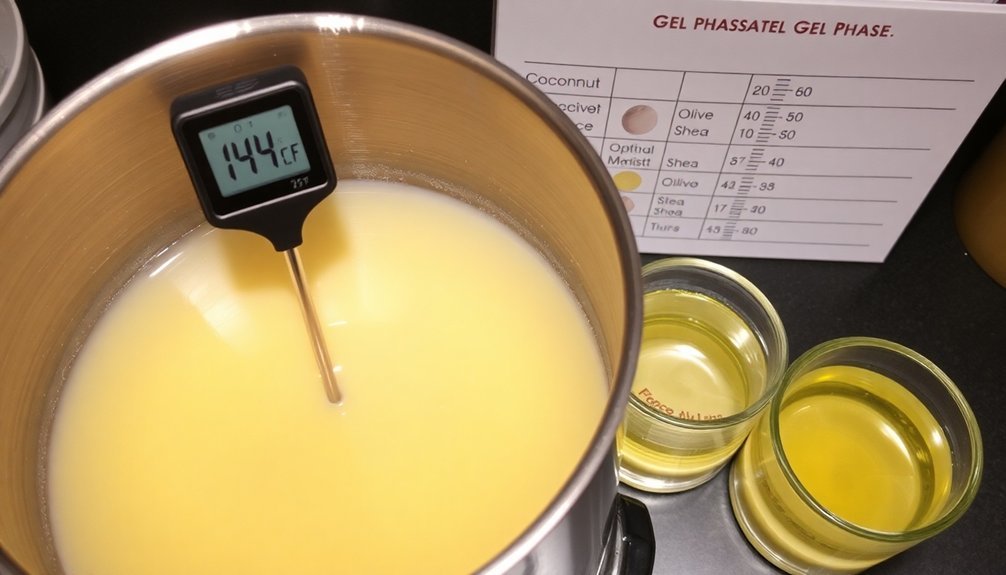
When working with coconut-heavy recipes, you'll want to keep your temperatures between 125-135°F to properly melt these hard oils while encouraging the gel phase.
For specialty butter formulations containing shea, cocoa, or mango butter, maintain a slightly higher temperature of 130-140°F to guarantee these dense butters fully incorporate and shift through gel phase smoothly.
You'll notice that adjusting these temperature ranges based on your specific oil blend markedly impacts your soap's final appearance and cure time.
Coconut-Heavy Recipes
Three distinct temperature ranges distinguish coconut-heavy soap formulations from other recipes. For ideal gel phase, maintain your lye and oil temperature close to 130°F, as coconut oil's saturated fats accelerate saponification.
You'll achieve full gel phase more easily in the 120-130°F range, which enhances color vibrancy in your final product.
Temperature control becomes critical when working with coconut-heavy batches:
- Keep soap molds insulated with towels or blankets, especially in cooler environments
- Monitor the mixture closely to prevent overheating that can cause cracking or soap volcanoes
- Adjust water content downward if you notice excessive gelling time
Remember that coconut oil's tendency to heat quickly requires careful attention. By maintaining proper temperatures and insulation, you'll consistently achieve that desirable gel phase without the quality issues that can plague high-coconut formulations.
Specialty Butter Considerations
Moving beyond coconut-focused recipes, specialty butters introduce their own temperature requirements for achieving perfect gel phase.
When working with shea or cocoa butter, aim for melting temperatures around 120-130°F to guarantee proper blending with your oils and prevent false trace during the saponification process.
While coconut oil performs best at 90-100°F, moisturizing oils like avocado and olive oil work well at slightly cooler temperatures (around 100°F), preserving their beneficial properties while still promoting gel phase.
The key to success is maintaining consistent temperature control across all components of your soap.
For recipes containing high percentages of specialty butters or soft oils, keep your overall soaping temperature between 120-130°F.
This range helps achieve successful gel phase, resulting in vibrant colors and improved texture in your finished bars.
Insulation Techniques to Promote Complete Gel Phase
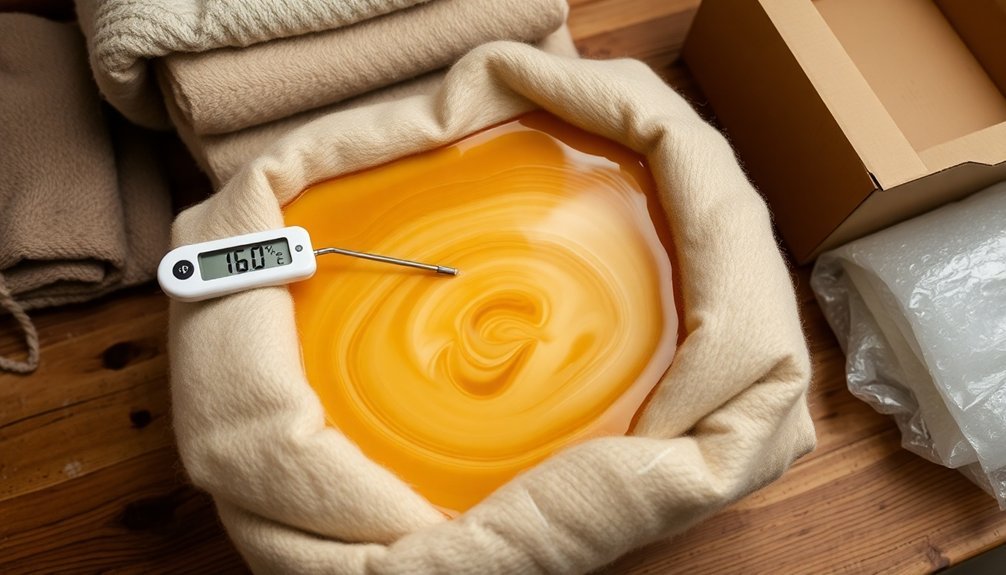
To achieve a complete gel phase in your soap, proper insulation is essential for maintaining the necessary heat throughout the saponification process.
Wrap your molds with towels, blankets, or place them in cardboard boxes to prevent heat loss and promote complete gel. For single cavity molds, which don't retain heat as effectively as larger log molds, consider using a heating pad set to medium to reach the ideal 130°F temperature.
- Monitor your soap's temperature after 30 minutes—if it hasn't started gelling, add more insulation.
- Larger molds naturally retain heat better, but still benefit from proper wrapping techniques.
- Be prepared to quickly cool your soap in a freezer if temperatures rise too high, preventing cracking or volcanic eruptions.
Cooling Methods to Prevent Unwanted Heat Spikes
While achieving gel phase benefits many soap formulations, preventing unwanted heat spikes remains essential for controlling your soap's final appearance and texture.
To maintain lower temperatures during saponification, use individual silicone molds that minimize heat retention compared to wooden or insulated alternatives.
You'll find success by reducing your initial lye and oil temperatures to 90-100°F, especially when working with soap recipes containing sugars.
Consider limiting sugar content to about 1 teaspoon per pound to prevent excessive heat generation.
For immediate temperature control after pouring, place your molds in the freezer or wrap them in cooling towels.
These cooling techniques effectively avert gel phase when you want a more opaque finished product.
Remember that proactive temperature management during the critical first hours of curing guarantees predictable results without unwanted heat spikes.
How Room Temperature Affects Your Soap's Gel Phase
Your ambient room temperature plays a critical role in determining whether your soap successfully reaches the gel phase.
If you're working in a cold environment below 70°F, your soap may struggle to generate enough heat to trigger gelation, resulting in opaque or less vibrant colors.
Conversely, warmer room temperatures above 75°F will accelerate the shift into gel phase, often requiring less insulation and yielding more translucent, vibrant soap bars.
Cold Rooms Slow Gelation
Because ambient temperatures directly impact heat retention in soap making, cold rooms can dramatically slow down or even prevent the gel phase from occurring.
When your workspace is chilly, your soap loses heat faster, making it difficult to reach the temperatures needed for complete gelation. You'll notice recipes with high water content particularly struggle, as the additional water lowers the temperature threshold required for saponification.
If you're working in a cold environment but want your soap to go through gel phase, consider:
- Wrapping your molds in towels or blankets to trap essential heat
- Using insulating soap molds like wooden boxes or silicone with cardboard backing
- Placing heating pads beneath your molds (on low settings)
Without proper insulation, ungelled soap will have a lighter, pastel appearance—which might be desirable depending on your design goals.
Heat Accelerates Phase Transition
In contrast to cold environments, warmer room temperatures actively propel your soap toward gel phase. When your ambient temperatures remain above 70°F, you're already at an advantage for achieving complete gelation in your soap making process.
For ideal temperature control, maintain your lye and oils between 120-130°F before mixing. This guarantees sufficient heat generation during saponification to trigger the phase change.
Larger molds retain this heat more effectively than individual cavity molds, creating favorable conditions for gelation.
Consider that certain fragrance oils—particularly spicy varieties—produce additional heat that can intensify the gel phase.
Even in moderately warm rooms, proper insulation techniques like wrapping your mold in towels can maintain the necessary warmth. This simple step often makes the difference between partial and complete gel phase in your finished soap.
Troubleshooting Partial Gel and Temperature Inconsistencies
While achieving a perfect gel phase might seem elusive at first, recognizing and addressing partial gel issues can dramatically improve your soap's appearance and quality.
When you notice inconsistent coloring or texture, your soap is likely experiencing partial gel phase due to inadequate temperature management during saponification.
To overcome these challenges:
- Confirm proper insulating of molds by wrapping them in towels or using a heating pad if your soap feels cool after 30 minutes
- Monitor temperatures closely, keeping both lye and oils between 120-130°F before mixing
- Watch for warning signs like glycerin rivers or surface cracks that indicate temperature inconsistencies
Working With Fragrance Oils That Generate Additional Heat
Certain fragrance oils can dramatically accelerate your soap's heat profile during saponification, creating unexpected challenges for even experienced soap makers.
Spicy scents and vanilla-rich oils are particularly notorious for heat generation during the gel phase.
To prevent overheating, start with cooler lye and oil temperatures (around 100°F). You'll need to monitor temperature closely throughout the process, watching for signs of excessive heat that could cause soap volcanoes or cracking.
Be cautious with insulating soap mold techniques—what works for standard fragrances might cause problems with heat-intensive oils.
Consider adjusting fragrance amount downward from recommended levels when working with known heat-accelerating scents. This simple modification to your saponification process can help maintain control while still achieving beautiful, fully-gelled soap without the unwanted side effects of overheating.
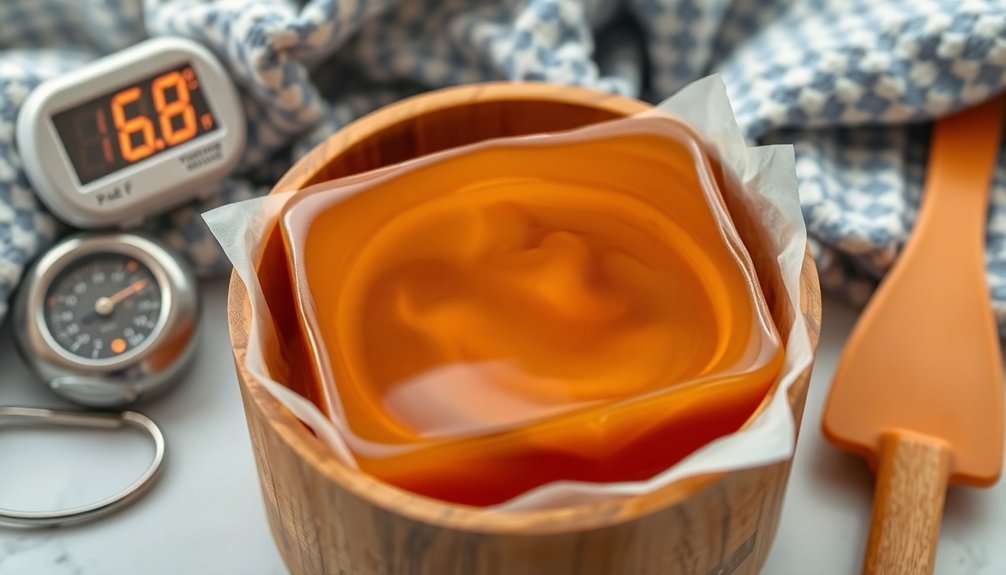
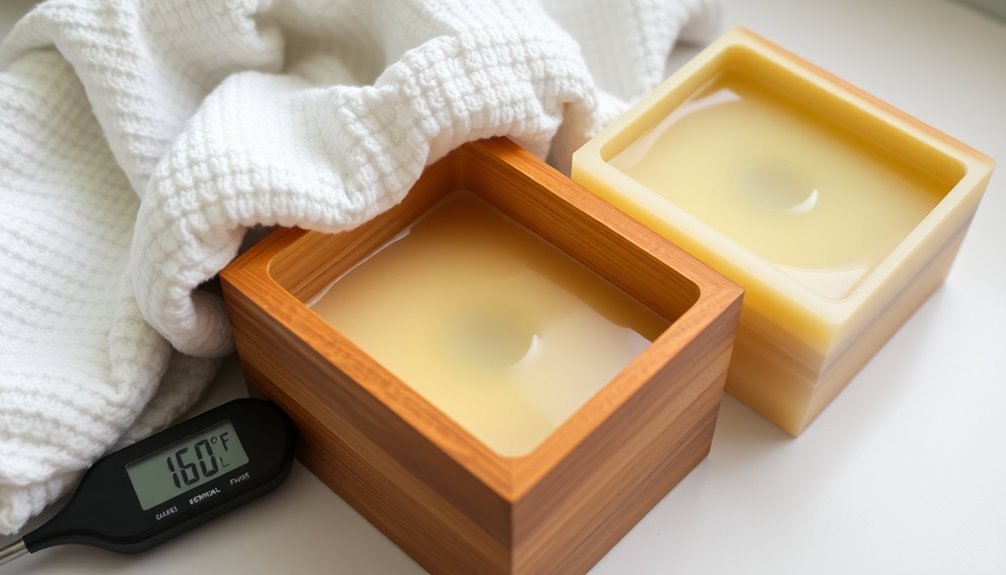
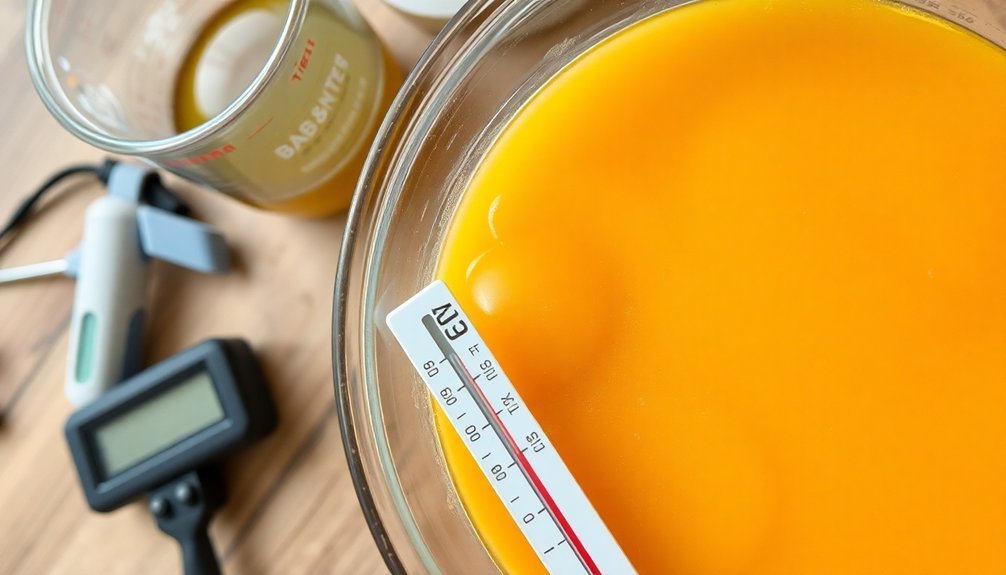
Temperature Considerations for Milk, Honey, and Sugar-Based Soaps
Creating milk, honey, and sugar-based soaps requires special temperature management because these natural ingredients contain sugars that can dramatically intensify the heat during saponification.
To prevent overheating, lower your soaping temperature to 90-100°F when working with these ingredients.
- Milk soaps are susceptible to scorching during gel phase, which can darken your soap and alter its fragrance.
- Honey should be limited to approximately 1 tsp per pound of oils to manage excessive heat generation.
- Sugar-based ingredients benefit from cooling techniques like freezer placement after pouring.
Careful monitoring temperature throughout the process is essential, as these ingredients can quickly accelerate heating.
For best results, consider using the fridge or freezer post-pour to prevent full gel phase, especially when working with milk soap recipes that you want to keep light-colored.
Seasonal Adjustments for Year-Round Consistent Results
Adjusting your soaping process to match seasonal fluctuations helps maintain consistent gel phase results throughout the year.
In summer, you'll need to lower your soaping temperatures and possibly refrigerate molds to prevent overheating, while winter calls for additional insulation methods like towel wrapping or using heating pads on low settings.
Don't overlook humidity levels, which can affect trace development and curing times, requiring recipe modifications or workspace dehumidifier use during particularly muggy periods.
Summer Heat Adaptation Methods
When summer temperatures soar, your soap making process requires strategic adjustments to prevent unwanted gel phase and maintain quality. Start by cooling your lye water and oils to 90-100°F, considerably lower than standard temperatures. This simple step gives you control over the saponification reaction in higher temperatures.
Choose your equipment and techniques strategically:
- Select individual silicone molds that dissipate heat faster than wooden molds.
- Implement immediate cooling techniques by placing your soap molds in the refrigerator after pouring.
- Reduce sugar content to about 1 tsp. per pound of oils to minimize excessive heat generation.
Avoid traditional insulation methods unless you're deliberately forcing gel phase.
In summer, your soap doesn't need towel wrapping – ambient temperatures already provide sufficient warmth for the saponification process.
Winter Cold Compensation Techniques
Just as summer requires cooling methods, winter temperatures demand the opposite approach for successful soap gel phase. You'll need to focus on insulating handmade soap to combat the ambient chill that can prevent proper gel formation.
| Technique | Temperature Control Method |
|---|---|
| Insulation | Wrap soap molds with towels or blankets |
| Heat Application | Use heating pads set to 130°F |
| Oil Preparation | Try preheating oils to 120-130°F before lye addition |
For best results, choose larger molds that naturally retain heat better than small cavity options. Add a touch of sodium lactate to speed hardening while maintaining visual appeal. If your soap still struggles to reach full gel phase, place wrapped molds in a warm oven (140°F) or surround them with insulated materials. These adjustments guarantee consistent results despite winter's challenges.
Humidity Impact Management
Humidity levels can considerably impact your soap's gel phase success, regardless of the ambient temperature in your workspace. High humidity slows down the cooling process, making gel phase more difficult to achieve and potentially causing soda ash formation during winter months.
To combat these challenges, maintain a consistent environment by monitoring both temperature and humidity.
- Adjust your water content seasonally—lower amounts promote quicker gelling in humid conditions
- Combat humidity by using a dehumidifier in your workspace during particularly damp periods
- Insulate your molds with towels or boxes to prevent soda ash formation, especially important during winter's increased humidity
Consider timing adjustments too—preparing lye earlier allows adequate cooling in high humidity.
These strategic modifications will help you achieve predictable gel phase results throughout changing seasons without frustration.
Frequently Asked Questions
What Temperature Is Gel Phase Soap?
Gel phase occurs when your soap reaches around a temperature of 180°F. You'll notice it becoming translucent and shiny. To achieve this, you should ideally heat your lye and oils to 120-130°F before mixing.
What Causes Gel Phase in Soap Making?
Gel phase occurs when your soap's exothermic saponification reaction generates significant heat. You'll trigger it through high temperatures, using soft oils/butters, adding spicy fragrance oils, insulating your molds, or using larger loaf molds that retain heat well.
How to Fix Partially Gelled Soap?
You can fix partially gelled soap by placing it in a low-temperature oven (170°F) for 30 minutes or wrapping the mold in towels to retain heat. A heating pad underneath can also help complete the gelling process.
How Do You Force Gel Phase in the Oven?
To force gel phase in your oven, preheat to 140°F, place your soap mold inside for 30 minutes, and guarantee your soap mixture is 120-130°F beforehand. Monitor regularly to prevent overheating, then let it cool gradually.
In Summary
By mastering temperature control during the gel stage, you'll achieve more consistent, vibrant soap with proper curing times. Remember to adjust your techniques seasonally and for specialty ingredients. Don't underestimate the value of good thermometers and insulation methods. With practice, you'll recognize when to encourage or prevent gel phase, ensuring your handcrafted soaps meet your exact specifications every time you create.


Leave a Reply