To keep soap warm during curing, maintain temperatures between 72-84°F for ideal saponification. Create an insulated environment using preheated ovens (turned off after warming), insulated boxes with towels, or low-setting heating pads beneath soap molds. You can also use oven lights for gentle warmth in larger batches. Monitor temperature regularly with a reliable thermometer and guarantee good airflow to prevent moisture issues. These techniques will transform your soap quality with proper temperature management.
How to Keep Soap Warm During Curing
Why does temperature matter so much when curing soap? Maintaining a consistent temperature between 72°F to 84°F guarantees ideal curing, which directly affects your soap's quality and performance.
For small batches, preheat your oven to 170°F, place your soap inside, then immediately turn it off to provide gentle warmth.
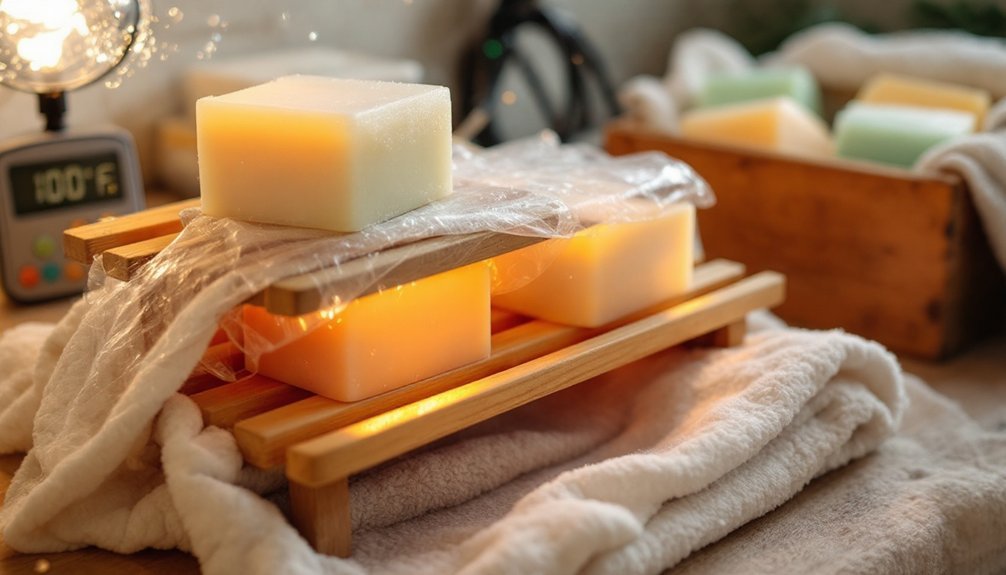
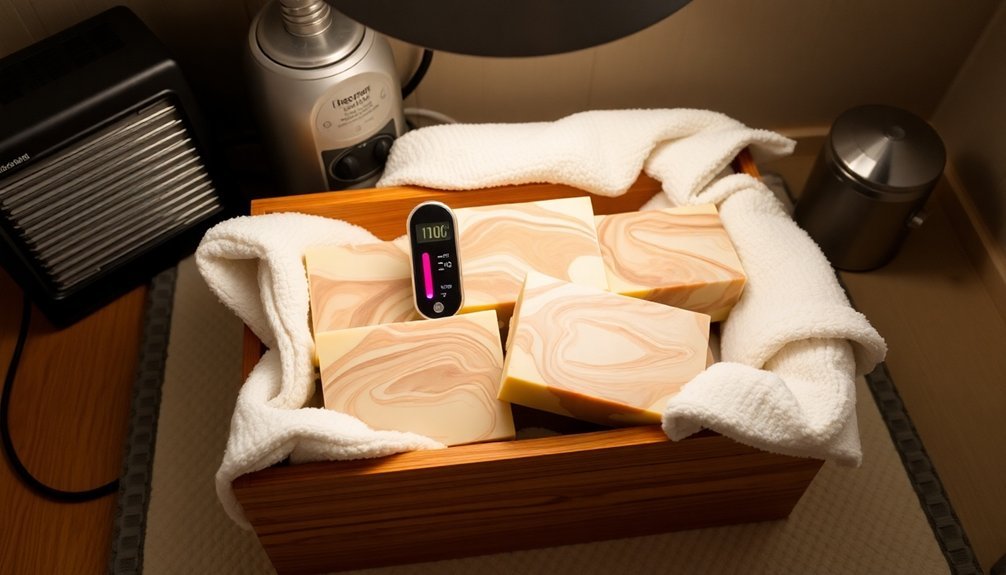
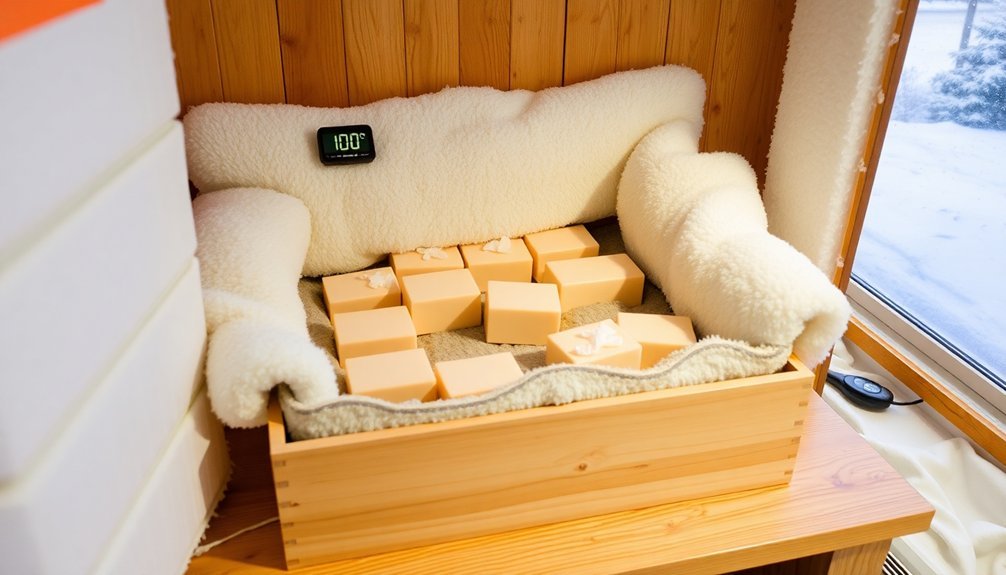
Alternatively, create an insulated curing box by wrapping your soap in towels to retain heat, especially helpful for keeping soap warm in cooler environments.
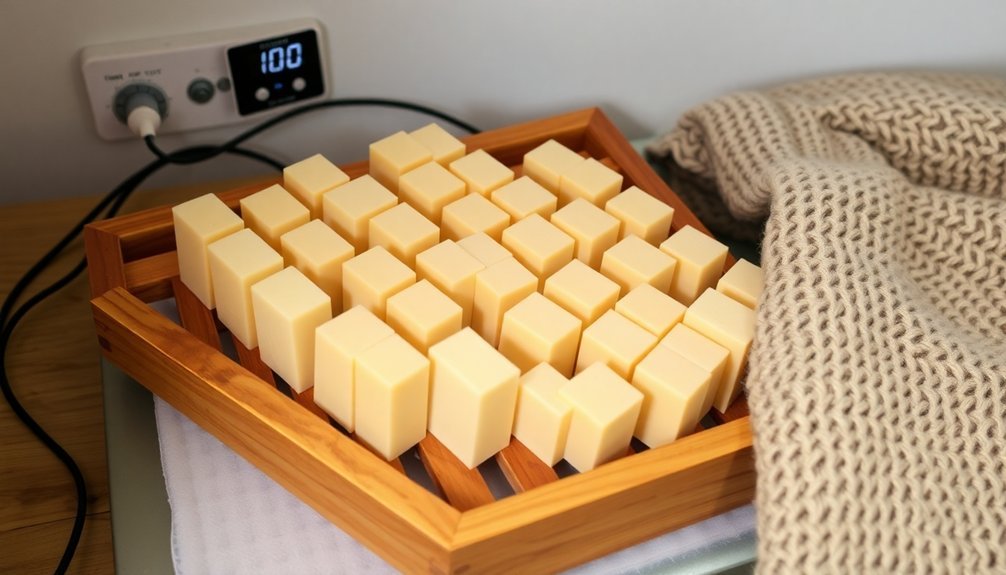
For a more controlled approach, place a heating pad set to low beneath your soap to maintain steady warmth throughout the curing process.
If you're working with larger batches, using just the oven light can create enough warmth without damaging your soap.
Always monitor regularly to guarantee even heat distribution.
Understanding the Importance of Warmth in Soap Curing
Maintaining proper warmth during soap curing accelerates the chemical saponification process, turning your oils and lye into smooth, fully-formed soap more quickly.
Consistent heat prevents partial gelling, which can otherwise leave your soap with uneven textures and cloudy spots throughout.
You'll also notice more vibrant, even color development when your soap cures in a warm environment, as pigments distribute more uniformly during the complete gel phase.
Chemical Reactions Accelerate
When soap cures in warmer conditions, the chemical process of saponification dramatically speeds up. At temperatures between 72°F and 84°F, your soap undergoes gel phase formation more efficiently, transforming raw ingredients into finished soap faster than at room temperature.
The accelerated chemical reactions can reduce your cure time from the traditional 4-6 weeks to potentially unmolding within 24 hours. This happens because warmth enhances molecular movement, allowing lye to interact with oils more rapidly throughout your curing soap.
Using a warm oven (turned off but retaining heat) provides an ideal environment for these reactions to flourish.
In soap making, this temperature-controlled approach not only speeds up the process but also improves your final product's quality by encouraging proper moisture evaporation, resulting in firmer bars with superior lather.
Prevents Partial Gelling
Proper warmth during the soap curing process doesn't just speed up chemical reactions—it also prevents the dreaded partial gelling effect. When your soap experiences inconsistent temperatures, you'll notice unattractive rings or spots where only portions reached the gel phase.
| Temperature Condition | Effect on Soap |
|---|---|
| 72°F-84°F | Ideal gel phase throughout |
| Below 72°F | Slow saponification process |
| Fluctuating temps | "Alien brain" appearance |
| Above 84°F | Risk of overheating/blistering |
Maintaining consistent temperature during curing time guarantees your entire soap batch reaches the gel phase uniformly. Consider using a well-insulated area like an old oven with the door slightly ajar or a heating pad to provide the steady warmth needed. This temperature stability is essential—it's the difference between professional-looking bars and those with partial gelling imperfections.
Even Color Development
Because temperature directly affects pigment distribution, consistent warmth during curing is crucial for achieving even, vibrant colors in your soap.
Maintaining temperatures between 72°F and 84°F encourages uniform saponification, resulting in consistent color development throughout your bars.
The gel phase—enhanced by proper warmth—allows colors to become richer and more vibrant as ingredients and pigments mix thoroughly.
Without adequate heat, you'll risk uneven coloration and possibly develop Dreaded Orange Spots (DOS) that ruin your soap's appearance.
Consider using the CPOP method (placing soap in a warm oven) to maintain steady temperatures during the critical initial curing period.
This technique helps guarantee your colorants distribute evenly, enhancing the aesthetic appeal of your final product while supporting complete chemical reactions within the soap.
Creating an Optimal Temperature Environment for Soap
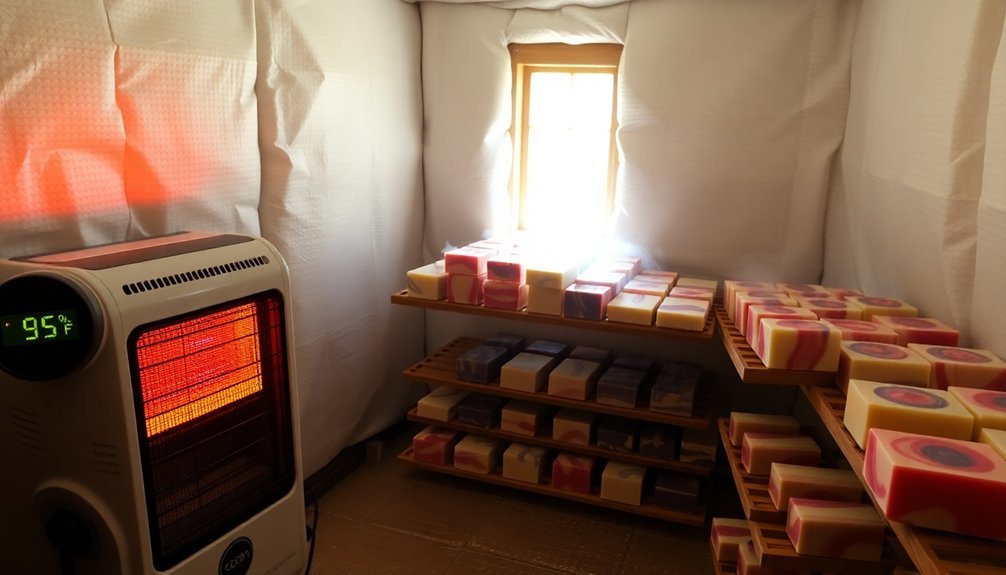
Since successful soap curing depends heavily on environmental conditions, maintaining the right temperature range of 72°F to 84°F becomes crucial for proper saponification. To cure my soaps effectively, place them in a well-ventilated area with good air circulation, possibly using small fans to distribute warm air evenly.
| Environment Factor | Effect on Soap |
|---|---|
| Warm Oven Light | Creates gentle, consistent heat |
| Direct Sunlight | Causes unwanted overheating |
| Small Fans | Promotes even curing |
| Stable Humidity | Prevents moisture issues |
| Regular Monitoring | Guarantees ideal conditions |
For smaller batches, try the oven method—preheat to 170°F, then turn off before placing your soap inside. Remember to check humidity levels regularly and make adjustments as needed to maintain the perfect curing environment.
Insulation Techniques for Cold Weather Soap Making
When temperatures drop, your soap curing process faces new challenges that require specialized insulation methods. Proper insulation maintains the ideal curing temperature between 60°F and 80°F while still allowing essential air circulation.
Try these effective cold-weather insulation techniques:
- Create a microenvironment using insulated containers like coolers or styrofoam boxes that retain warmth while allowing soap to breathe.
- Cover your soap with breathable fabrics such as muslin to lock in heat without trapping moisture.
- Place soap on a wire rack above a low-setting heating pad for gentle, consistent warmth.
- Surround your curing area with blankets or foam boards to block cold drafts.
These methods provide the protective barrier your soap needs during curing without compromising the air circulation necessary for proper moisture evaporation and successful saponification.
DIY Heating Solutions for Your Curing Area
Creating an insulated box from a simple cardboard container lined with aluminum foil can trap heat effectively while protecting your soap from temperature fluctuations.
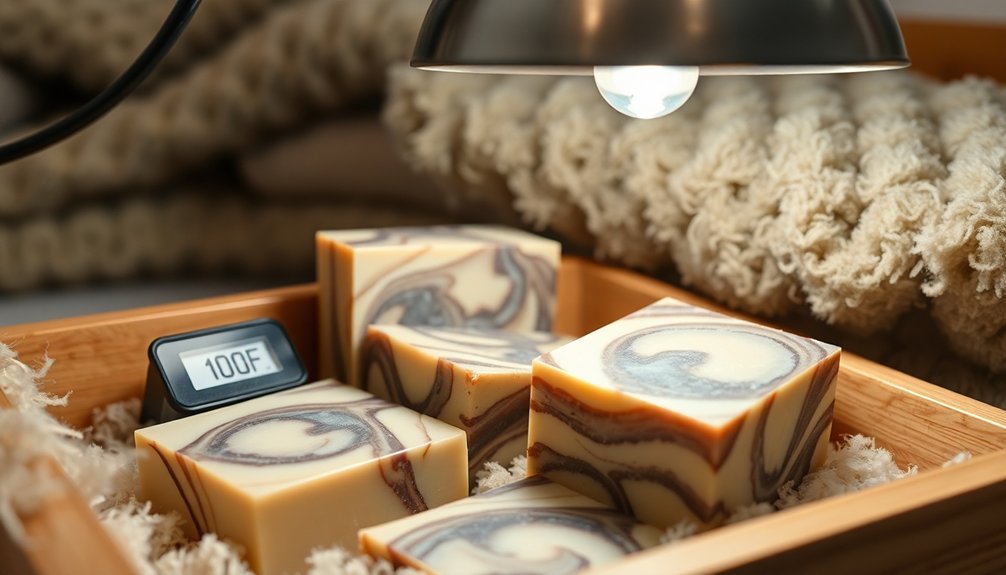
Heat lamps positioned at least 18 inches above your curing racks provide gentle, consistent warmth without directly contacting your soap bars.
You'll want to use low-wattage bulbs (25-40 watts) and regularly check temperatures to make certain you're maintaining the ideal 60-80°F range for proper curing.
Insulated Box Method
Three simple materials—a cardboard box, insulation, and a heat source—can transform your soap curing experience into a controlled process.
Creating an insulated box provides your soap with the best environment for proper saponification. Line your cardboard box with bubble wrap or foam insulation to retain heat, then add a small space heater or heat mat to maintain a consistent temperature between 72°F and 84°F.
Don't forget to create ventilation holes for proper airflow—this prevents moisture buildup while keeping your soap warm.
- Monitor internal temperature regularly to prevent overheating and blistering
- Install a thermometer with humidity gauge to track both temperature and humidity levels
- Position ventilation holes strategically for balanced air circulation
- Check soap daily for the first week to guarantee ideal curing conditions
Heat Lamps Safely
Heat lamps offer a reliable solution for maintaining ideal temperature during soap curing, provided you follow essential safety protocols.
Position your lamp 12-18 inches above the soap to prevent overheating and blistering issues that can ruin your batch.
Choose a heat lamp with appropriate wattage—typically 100-250 watts depending on your curing area size—and always guarantee it includes a protective guard to prevent accidental contact with your soap or nearby materials.
You'll want to monitor the temperature regularly, aiming for 72-84°F for best curing conditions.
Adjust the lamp's distance as needed to maintain this range. For convenience and added safety, connect your heat lamp to a timer or smart plug that can automate heating cycles, preventing excessive exposure while guaranteeing consistent warmth throughout the curing process.
Monitoring Temperature Fluctuations During the Curing Process
While your soap bars may appear to be simply sitting on a rack, they're undergoing critical chemical reactions that depend heavily on consistent temperature conditions.
Monitoring temperature throughout the curing process is essential for peak soap quality.
- Keep your curing area between 60°F to 80°F—this sweet spot enhances hardness and prevents sweating or rancidity issues.
- Check temperatures regularly with a reliable thermometer, especially during seasonal changes when fluctuations are common.
- Consider using a small fan or dehumidifier to maintain stable temperatures and control humidity levels.
- For warmer climates, aim for 72°F to 84°F while keeping soap away from direct sunlight to prevent Dreaded Orange Spots (DOS).
Temperature variations outside these ranges can greatly impact your soap's final texture, lather quality, and effectiveness.
Common Problems With Cold-Cured Soap and How to Prevent Them
Despite your best efforts, cold-cured soap can develop frustrating issues that affect both appearance and quality. The dreaded DOS (orange spots) often appears when cold process soap experiences excessive humidity absorption during lengthy curing periods.
To prevent these problems, maintain temperatures between 60°F and 80°F throughout curing. Consider using a heating pad during initial curing phases to encourage proper gel phase development.
Position your soap on a proper curing rack that allows ideal airflow around each bar. Good air circulation is essential—stagnant air traps moisture that can compromise your soap's integrity.
After the soap has cured, wrap it in breathable materials that protect against excess humidity while still permitting airflow. This balanced approach prevents sweating while ensuring your cold process soap completes its curing journey successfully.
Frequently Asked Questions
How to Store Soap While It's Curing?
To store curing soap, place it on wire racks in a cool, dry area with good airflow. Don't wrap it in plastic; instead, use breathable materials. Keep soaps separated and check humidity levels regularly.
Should I Cover My Soap While It Cures?
You shouldn't fully cover soap while curing. Use breathable materials like towels if you want to insulate it, but guarantee air circulation. Complete coverage traps moisture, potentially causing mold. Airflow is essential for proper curing.
What Temperature Should Soap Cure At?
Cure your soap at 60°F to 80°F, ideally between 72°F to 84°F in warmer climates. You'll want to maintain consistent temperatures throughout the curing process. Avoid temperature fluctuations, direct sunlight, and high humidity for best results.
What Happens if Cold Process Soap Gets Too Hot?
If your cold process soap gets too hot, you'll see blistering on the surface and possibly an "alien brain" texture. These air pockets form when excessive heat disrupts curing. You can plane off damaged layers afterward.
In Summary
You've now mastered the art of keeping your soap warm during curing! By maintaining ideal temperatures, using proper insulation techniques, and monitoring the environment, you'll avoid common cold-curing issues. Remember, consistent warmth accelerates saponification and enhances your soap's quality. Whether you're using DIY heating solutions or simple insulation methods, your attention to temperature control will reward you with perfectly cured, high-quality soap every time.


Leave a Reply