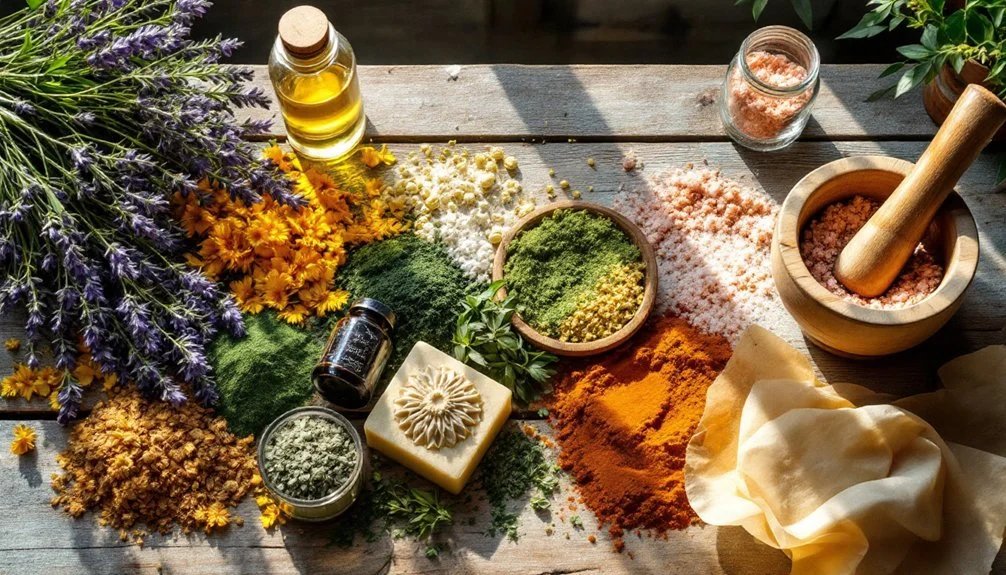
Natural cold process soap making lets you create custom bars using pure, plant-based ingredients. You'll need protective gear and precise measurements when working with lye. Start with skin-nourishing base oils like olive, coconut, and shea butter, then enhance with natural additives such as herbs, clays, and essential oils. Add botanical colorants like turmeric or madder root for vibrant hues, and incorporate hardeners like beeswax or sodium lactate for firmness. Discover how these elements work together to craft your perfect artisanal soap.
Essential Safety Precautions for Cold Process Soap Making
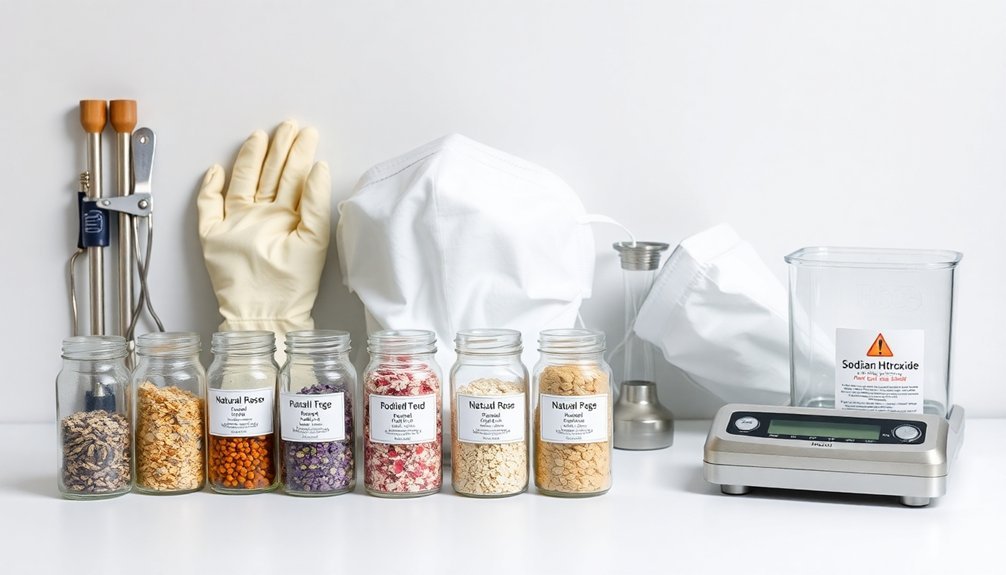
When making cold process soap, following proper safety precautions is essential due to the caustic nature of lye and other potentially harmful ingredients.
Always wear protective goggles, rubber gloves, and clothing that covers your skin completely. Tie back your hair and avoid loose clothing or jewelry that could interfere with the process.
You'll need to work in a well-ventilated area to avoid inhaling lye fumes, fragrance oils, and colorant particles. Keep a Safety Data Sheet for all ingredients readily accessible for reference.
Mix lye outdoors or under an exhaust hood, being mindful of wind direction. Add lye to water slowly, never the reverse, and use stainless steel containers instead of aluminum, which can react with caustic chemicals.
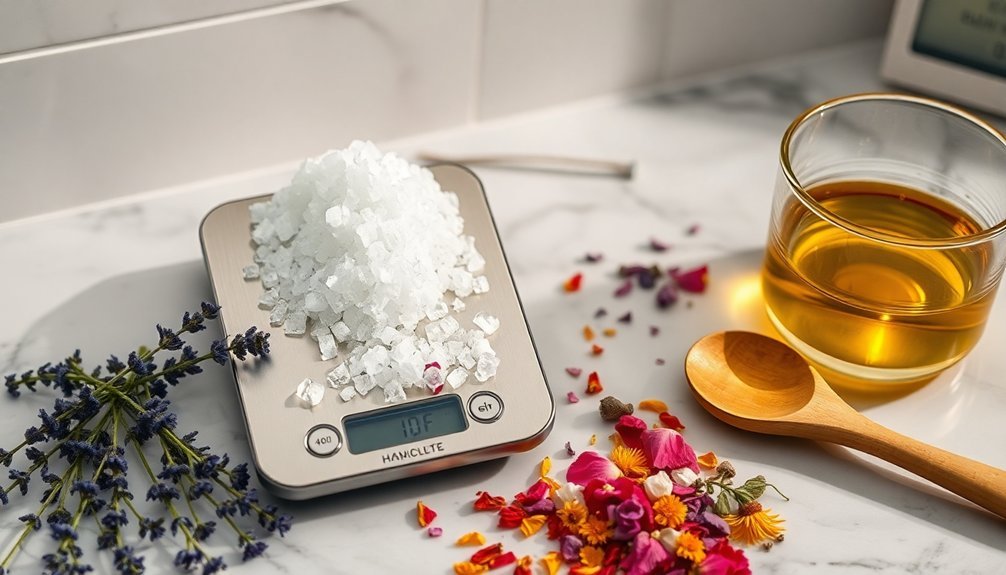
Keep your workspace organized, measure ingredients carefully, and maintain temperatures around 100°F.
Have emergency supplies ready and a plan for handling spills.
Understanding Base Oils and Their Properties
Because each base oil contributes unique properties to soap making, understanding their characteristics is essential for creating effective products.
You'll find that coconut and palm oils create harder, longer-lasting bars with rich lather, while olive oil provides gentler cleansing with a creamy consistency.
For skin-nourishing benefits, consider incorporating avocado oil, shea butter, or jojoba oil, which help maintain moisture and protect the skin's barrier.
You don't need to stick to just one oil – combining different types allows you to balance their properties.
For example, you can pair coconut oil's excellent cleansing abilities with olive oil's conditioning effects.
For optimal results, select a mix of saturated and unsaturated oils to achieve the desired soap qualities.
The Role of Lye in Natural Soap Making
When you're making natural soap, you'll need to handle lye with extreme caution by using protective equipment and following strict safety protocols.
You must calculate precise lye ratios using a saponification calculator to guarantee your soap will be both effective and gentle on the skin.
Understanding how lye transforms oils through saponification will help you create balanced, properly cured soaps that are completely free of any remaining caustic compounds. During the traditional soap-making process, combining wood ash and water creates the necessary lye solution needed for saponification.
Safety Handling Best Practices
Safe handling of lye stands as the most critical aspect of natural soap making.
You'll need to wear proper protective equipment, including thick gloves, goggles, a respirator, and full-coverage clothing. Always tie back long hair to prevent contamination.
Work in a well-ventilated area, preferably outdoors or near an open window. Protect your workspace with paper or plastic sheeting, and confirm you're using lye-resistant surfaces. Keep children and pets away from your work area.
When mixing lye, always add it to water – never the reverse. Monitor the solution's temperature and stir carefully to avoid splashes. The mixture will become very hot as chemical reactions occur, releasing significant heat during dissolution.
Keep aluminum materials away, as they can create dangerous hydrogen gas. Have emergency plans ready, including quick access to water for flushing, and keep a phone nearby for immediate help if needed.
Calculating Proper Lye Ratios
Proper lye calculations serve as the foundation for creating balanced, safe natural soaps. You'll need to determine the exact amount of lye required by multiplying each oil's weight by its SAP value. For best results, apply a superfatting discount of 2-10% to guarantee no excess lye remains in your final product.
| Oil Type | SAP Value | Lye Needed per 100g |
|---|---|---|
| Olive | 0.134 | 13.4g |
| Coconut | 0.190 | 19.0g |
| Palm | 0.141 | 14.1g |
Your lye solution strength typically ranges from 25% to 40% concentration. You can calculate water amounts using either a percentage of total ingredients (30-35%) or a water-to-lye ratio (2.5:1 or 2:1). Remember, higher lye concentrations speed up trace time but require careful handling. A 33% lye solution provides an optimal balance between workability and curing speed for most natural soap recipes.
Understanding Saponification Process
The fascinating process of saponification lies at the heart of all natural soap making. When you combine fats or oils with lye (sodium hydroxide), they undergo a chemical reaction that transforms them into soap and glycerin. This exothermic reaction releases heat as the lye neutralizes the fats.
You'll need to handle lye with extreme care, as it's a corrosive substance that requires proper safety equipment.
Once you've mixed your lye solution with oils, the saponification process takes 24-48 hours to complete. However, you're not done yet – your soap needs at least 4 weeks to cure properly. During this time, excess water evaporates, and your soap becomes milder and more effective.
The oils you choose will determine your soap's final properties, including its hardness, lather quality, and moisturizing abilities.
Plant-Based Colorants and Natural Pigments
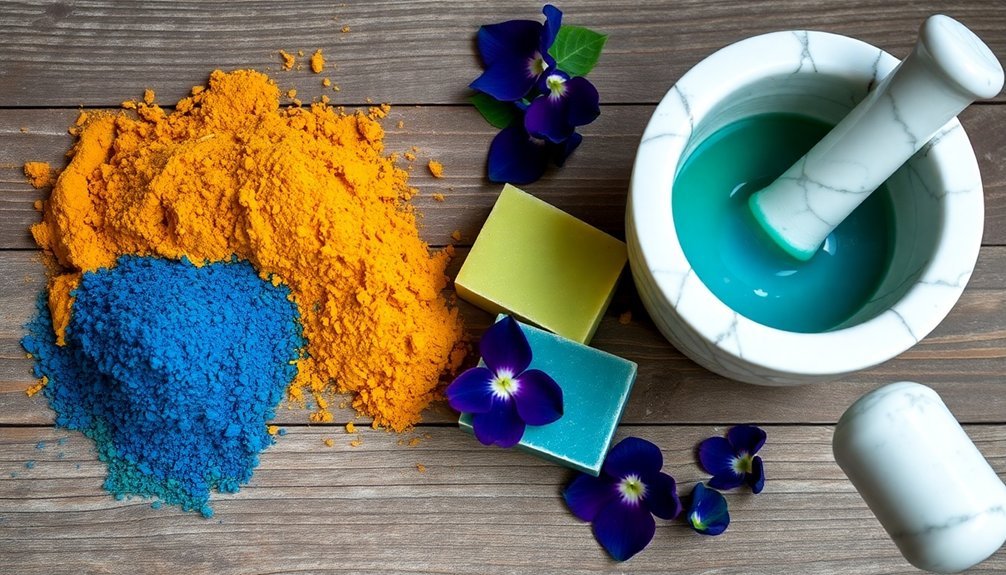
Natural soap makers seeking vibrant colors can harness an array of plant-based colorants and mineral pigments to create visually appealing products.
You'll find that turmeric delivers yellow to orange hues, while madder root offers pink to red shades. For purple tones, try alkanet root infused in olive oil.
Clay-based options provide reliable coloring alternatives. Rose kaolin and Moroccan red clay produce various pink shades, while French green clay adds earthy green tones.
You can add these directly to your lye solution or mix them with distilled water at trace.
To maximize color intensity, consider infusing dried materials in liquid oils for several weeks.
While clays and oxides maintain their color consistently, some natural additives like hibiscus may fade over time.
It's best to test small batches first to guarantee your desired results.
Essential Oils and Natural Fragrance Options
Adding scent to your beautifully colored soap brings another sensory dimension to your handcrafted creations.
You'll find two main natural options: essential oils and natural fragrance oils. Essential oils, used at 3% of your recipe weight, offer pure plant-derived scents but may fade without proper fixatives. Natural fragrance oils, typically used at 0.5-1 ounce per pound of soap, provide more variety but can be less stable during saponification.
To extend your soap's fragrance, you can incorporate fixatives like clay, orris root powder, or benzoin resin.
When choosing scents, start with beginner-friendly options like lavender, vanilla, or citrus. You'll want to test small batches first and consider blending different oils to create unique combinations.
Remember to check IFRA guidelines for skin safety, especially with potentially irritating oils like cinnamon or peppermint.
Exfoliating Ingredients for Textured Soaps
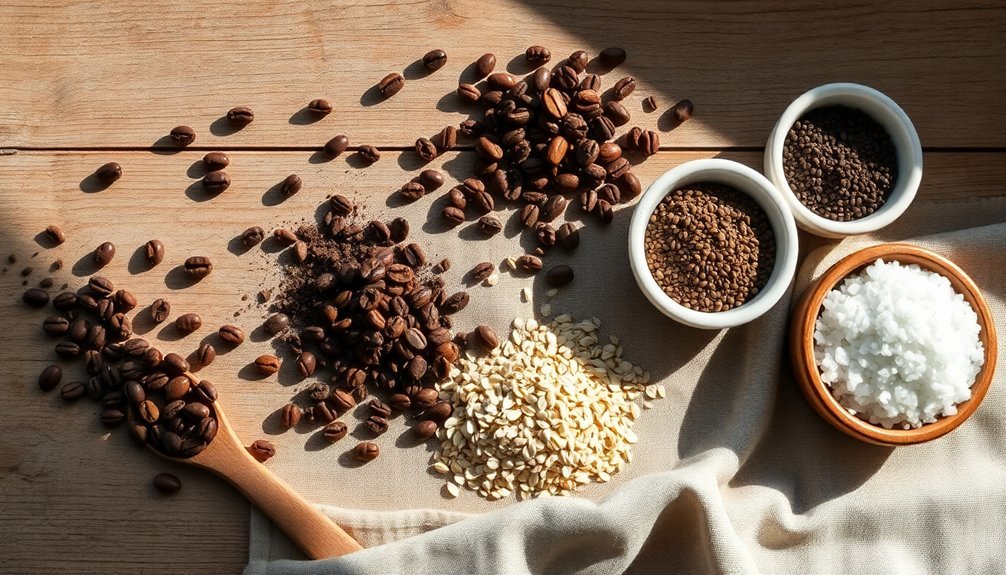
When choosing exfoliants for your natural soaps, you'll find a range from gentle colloidal oatmeal to coarse pumice sand, each offering different levels of scrubbing action for specific skin needs.
To maintain the quality of your natural exfoliants, store them in airtight containers away from moisture and direct sunlight, replacing them if you notice any changes in color or scent.
For the perfect texture in your soap, start with a 1-2% ratio of fine exfoliants for facial soaps, increasing to 5-7% for body bars that need more scrubbing power.
Gentle vs. Coarse Scrubs
Selecting the right exfoliating ingredients for your soap can make the difference between a luxurious, skin-nourishing experience and an irritating scrub that causes damage. You'll want to match your exfoliant's coarseness to your skin type and intended use.
| Exfoliant Type | Best For |
|---|---|
| Gentle (Oatmeal, Kaolin) | Sensitive skin, daily use |
| Medium (Sea Salt, Coffee) | Normal skin, weekly use |
| Coarse (Volcanic Rock) | Tough jobs, mechanics |
| Ultra-Gentle (Jojoba) | Face soaps, delicate areas |
For facial soaps, you'll never want to go coarser than medium-grade exfoliants. If you're making mechanics' or gardeners' soap, coarse options like volcanic rock or sand will effectively remove stubborn dirt. Remember that gentler exfoliants like oatmeal and kaolin clay can still provide effective cleansing while maintaining skin health.
Natural Exfoliants Storage Tips
Proper storage of natural exfoliants is essential for maintaining their effectiveness in your soap-making process.
You'll need to protect these delicate ingredients from moisture, heat, and contamination to preserve their exfoliating properties.
Keep your natural exfoliants fresh and ready for soap making with these critical storage practices:
- Store all ingredients in airtight containers away from humid areas like bathrooms and kitchens, using silica gel packets to maintain dryness.
- Grind botanicals like eucalyptus leaves and lavender buds finely before storage to guarantee even distribution in your soaps.
- Label containers with dates and rotate stock to use older ingredients first.
- Keep sensitive materials like rose petals and clays in cool, dark places to maintain their color and texture.
Mixing Ratios for Textures
Creating the perfect texture in your handmade soap depends on carefully balanced mixing ratios of exfoliating ingredients. For a gentle scrub, start with 1-2 tablespoons of finely ground oatmeal or poppy seeds per pound of soap base.
If you're seeking medium exfoliation, use coffee grounds or coconut flakes at the same ratio. For intense scrubbing power, incorporate pumice or coarse cornmeal.
You'll want to adjust these amounts based on your desired outcome. Mix clays at 1 tablespoon per pound for mild exfoliation while adding natural color.
When using jojoba beads or fruit seeds, keep temperatures below 160 degrees to maintain their integrity.
Whether you're working with melt-and-pour or cold process methods, always distribute your exfoliants evenly throughout the mixture before pouring into molds.
Moisturizing Additives for Nourishing Bars
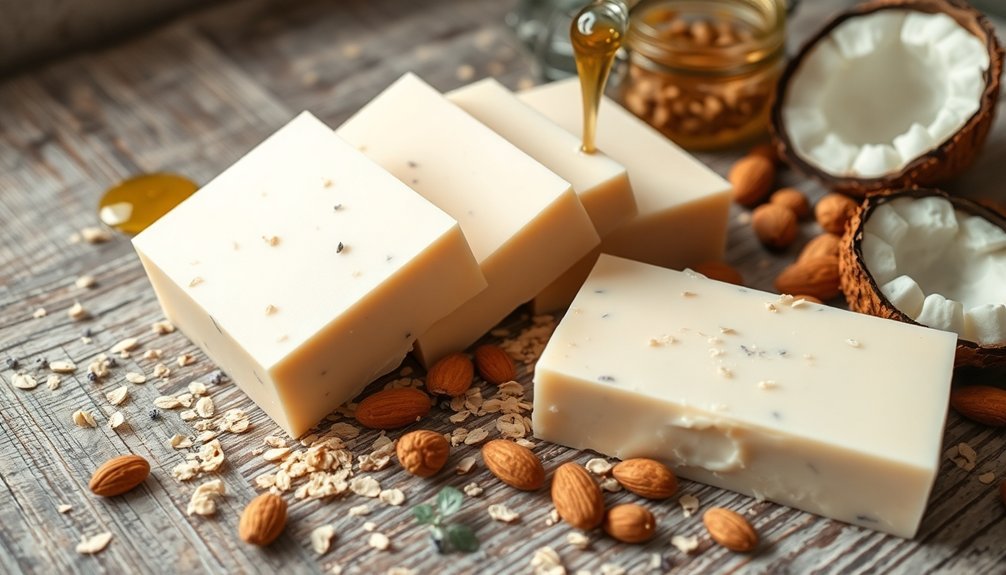
When it comes to making luxurious soap bars, moisturizing additives play a crucial role in transforming an ordinary cleanser into a nourishing skincare experience.
You'll find that combining different moisturizing elements creates a deeply nourishing bar that pampers your skin.
- Start with penetrating oils like apricot kernel or sweet almond oil as your base moisturizers.
- Add nutrient-rich ingredients such as vitamin E and rosehip oil to boost anti-aging properties.
- Replace water with goat's milk or aloe vera juice for enhanced hydration.
- Include natural boosters like honey or calendula petals for extra nourishment.
For maximum moisturizing benefits, consider incorporating shea or cocoa butter into your base.
These ingredients work together with natural oils like argan and avocado to create a bar that not only cleanses but deeply hydrates your skin.
Temperature Control and Mixing Techniques
When making natural soap, you'll need to monitor temperatures closely during mixing, typically keeping both your lye solution and oils between 100-130°F for ideal results.
You can prevent common temperature-related problems by maintaining your lye solution and oils within 10 degrees of each other, and using an accurate thermometer throughout the process.
If you're new to soap making, start with temperatures around 100°F to avoid issues like false trace and guarantee a smooth, successful batch.
Monitoring Heat During Mixing
Since temperature control can make or break your soap-making success, monitoring heat during the mixing process requires careful attention and precision.
You'll need a reliable thermometer, either digital or infrared, to keep track of temperatures throughout the process.
For ideal results when mixing your soap ingredients:
- Keep your lye solution and oils within 10 degrees of each other, ideally around 100°F (38°C)
- Monitor temperatures closely if using the heat transfer method, as lye water can reach 200°F (93°C)
- Use a sieve when adding lye solution to catch any undissolved particles
- Check temperatures frequently while mixing with an immersion blender, alternating between pulsing and hand stirring
Remember that temperatures between room temperature and 120°F (49°C) are generally acceptable, depending on your specific recipe and batch size.
Preventing Temperature Related Problems
Because temperature-related issues can ruin even the most carefully planned soap batch, mastering proper temperature control and mixing techniques is essential for consistent results.
To prevent problems, you'll want to keep your lye and oil temperatures between 120-130°F for standard recipes, or lower them to 100-110°F when working with delicate additives like milk or tea.
Monitor your temperatures carefully using a reliable thermometer, and prepare your lye solution 1-3 hours before soaping to achieve the ideal temperature range.
If you're creating intricate designs or swirls, aim for cooler temperatures around 85-95°F to slow down trace.
For recipes containing butters or waxes, adjust your temperatures accordingly to guarantee proper melting while avoiding overheating that could cause glycerin rivers or accelerated saponification.
Natural Preservatives and Shelf Life Enhancers
Although natural soaps have inherent preservative qualities due to their high pH levels, certain additives can enhance their longevity and skin benefits.
Rosemary extract and Vitamin E oil stand out as powerful natural preservatives that fight oxidation while offering additional skincare advantages.
- Rosemary extract prevents brown spots and remains stable throughout the saponification process, making it ideal for both soap bars and lotions.
- Vitamin E oil works as an antioxidant while providing exceptional moisturizing properties for aging skin.
- These natural preservatives, while not as potent as synthetic options, are gentler on your skin.
- When combined with proper storage techniques, these additives can help your soap maintain its quality for up to two years.
Remember that natural preservatives work best when you store your soaps in a cool, dry place away from direct sunlight.
Therapeutic Herbs and Botanical Elements
While natural soap making offers countless creative possibilities, therapeutic herbs and botanicals stand out as powerful additives that can transform an ordinary bar into a healing skincare solution.
You'll find neem oil and pine tar particularly effective for treating conditions like eczema and psoriasis, while aloe vera and cucumber create gentle, soothing bars.
You can incorporate these botanicals in various ways: infuse herbs like calendula into oils, add them as teas, or use them in whole or ground form.
Popular choices include lavender for its calming effects, chamomile for soothing properties, and marshmallow root for skin benefits.
For natural coloring, try calendula petals for yellow tints, lemongrass for subtle yellow-green hues, or alkanet powder for purple shades.
Combine these botanicals with essential oils to enhance both therapeutic benefits and fragrance.
Stabilizers and Hardening Agents
Creating long-lasting soap bars requires careful consideration of stabilizers and hardening agents. You'll find several natural options to strengthen your soap and increase its longevity.
Stearic acid, derived from plant or animal sources, creates firm bars when added at 0.5-1% of your total oils, while also enhancing lather stability.
For vegan alternatives, consider these proven hardeners:
- Sodium lactate – Add 1/2 teaspoon per pound of oils to your cool lye solution
- Salt – Use 1/4 to 1/2 teaspoon per pound of oils, especially effective in high liquid oil recipes
- Beeswax – Requires higher soaping temperatures but adds significant hardness
- Hard oils and butters – Incorporate coconut oil, palm oil, or shea butter to create a solid structure
Remember that overusing hardeners can make your soap crumbly or reduce lather, so stick to recommended ratios.
Advanced Techniques for Swirling and Layering
When you're ready to elevate your soap-making skills, mastering swirling and layering techniques will transform your basic bars into stunning works of art.
You can start with simple drop swirls by pouring different colored mixtures from varying heights – the higher the pour, the more dramatic the swirl.
For more complex designs, try the in-the-pot swirl method by separating your soap into colored portions and combining them in the main pot before pouring.
If you're feeling adventurous, experiment with hanger swirls by layering colors and pulling a wire hanger through them, or attempt spin swirls for intricate patterns.
Don't forget layering basics: spritz rubbing alcohol between layers to prevent separation, maintain level surfaces, and use slow-moving oils for better control.
You can even combine techniques for unique, personalized designs.
Frequently Asked Questions
Can Soap Ingredients From Different Brands Be Mixed Together Safely?
You can mix soap ingredients from different brands, but you'll need to check compatibility and test small batches first. Always review Safety Data Sheets and watch for unexpected reactions when combining fragrances.
How Do Seasonal Temperature Changes Affect Natural Soap Curing Times?
You'll notice longer curing times in humid summers and cold winters, as moisture slows the process. Warm, dry conditions speed up curing, while high humidity can double your typical 4-week curing period.
Why Do Some Natural Additives Disappear Completely During the Curing Process?
You'll find additives disappear during curing due to evaporation, pH sensitivity, and chemical reactions with lye. Heat and moisture loss can break down natural ingredients, while saponification can destroy their therapeutic properties.
When Should Ingredients Be Added to Avoid Them Sinking to Bottom?
You'll want to add ingredients at trace – when the soap batter has thickened. Mix heavier additives like exfoliants thoroughly at this stage to prevent them from sinking to the bottom during setting.
Can Natural Soaps Be Made Without Using Any Oils at All?
No, you can't make natural soap without oils. You'll always need some form of fat (oils, butters, or waxes) to create soap, as it's chemically impossible for saponification to occur without these ingredients.
In Summary
Now you're equipped with thorough knowledge of natural soap additives for cold process soapmaking. From essential safety measures to advanced swirling techniques, you've learned how to create unique, wholesome soaps using plant-based ingredients. Whether you're adding therapeutic herbs, natural colorants, or essential oils, you'll create beautiful, skin-nourishing bars that align with your commitment to natural products. It's time to start crafting your signature soaps.


Leave a Reply