
Transform your workspace into a professional curing station with three straightforward methods. You can create a basic setup using an empty paint tin lined with UV LED strips and a rotating display stand. For better results, add proper ventilation with exhaust fans and temperature monitoring between 20-25°C. Finally, optimize your space with adjustable shelving and organized storage solutions. These foundational steps will open your path to flawless resin prints.
Essential Materials and Box Construction
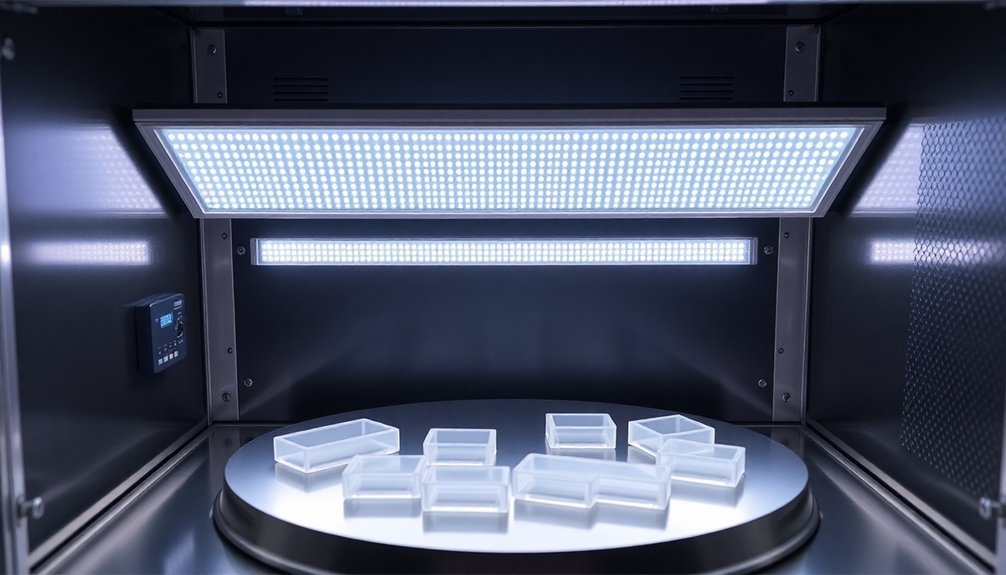
Three key materials form the foundation of your DIY curing station: an empty paint tin, UV LED strips, and a rotating display stand. Your paint tin's reflective interior will maximize UV light distribution, ensuring your resin prints cure evenly throughout the process.
Transform an empty paint tin into a DIY curing chamber – its reflective surface perfectly distributes UV light for even resin curing.
When setting up your curing station, you'll need a 5-meter UV LED light strip to provide sufficient intensity for effective curing. Mount these strips inside the tin, and drill a strategic hole for power cable management to keep your workspace tidy.
Don't forget to use UV safety glasses during operation – they're essential for protecting your eyes from harmful rays.
The rotating display stand completes your setup, allowing your prints to turn steadily under the UV light for consistent, uniform curing results.
Ventilation and Temperature Control Setup
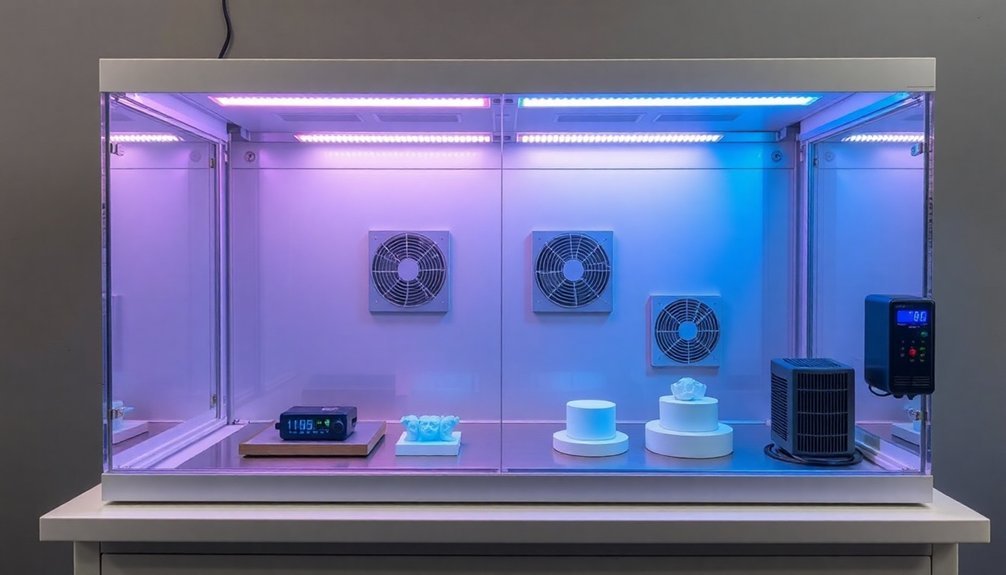
While building your curing station, proper ventilation and temperature control are essential for both safety and print quality.
You'll need to set up exhaust fans or keep windows open to prevent harmful resin fumes from accumulating during the curing process.
Keep your workspace temperature between 20-25°C (68-77°F) to guarantee the best resin printing results.
Use a thermometer to monitor these conditions, as temperature fluctuations can affect how your prints cure under UV lights.
If you're dealing with seasonal changes, add a small heater or air conditioner to maintain consistent temperatures.
Installing a simple circulation fan will improve airflow and help distribute UV light more evenly across your prints.
This combination of ventilation and temperature control will create the ideal environment for successful resin curing.
Shelf Arrangement and Storage Optimization
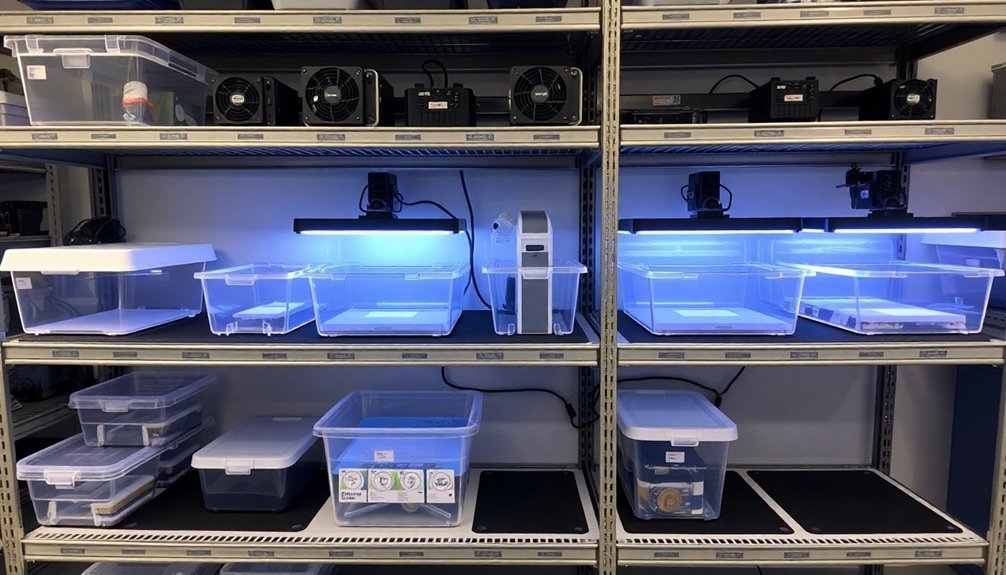
Once you've established proper airflow and temperature control, efficient shelf arrangement becomes your next priority. You'll want to maximize your workspace by installing vertical shelving units that accommodate multiple tiers of curing projects. Incorporate adjustable shelving to handle different model sizes and equipment configurations.
| Storage Type | Contents | Organization Tip |
|---|---|---|
| Top Shelf | UV Light | Easy access height |
| Middle Shelf | Curing Models | Install turntable |
| Lower Shelf | Large Projects | Adjustable height |
| Drawer Unit | Safety Gear | Labeled sections |
| Bins | Curing Supplies | Clear containers |
For storage optimization, use transparent containers with clear labels to quickly locate your curing supplies. Adding a turntable to your middle shelf lets you rotate models effortlessly during the curing process. This arrangement creates an efficient workflow while maintaining easy access to all your essential materials.
Frequently Asked Questions
How to Cure Resin Without a Curing Station?
You can cure resin by placing prints in direct sunlight or using UV flashlights. Cover them with clear containers on reflective surfaces like foil, and don't forget to wear UV protection glasses.
How Powerful Does an UV Light Need to Be to Cure Resin?
You'll need UV lights with at least 30-60 watts of power operating at 355-410nm wavelengths for effective resin curing. Higher wattage can speed up the process, but don't exceed manufacturer recommendations.
What Can I Use Instead of UV Curing?
You can use natural sunlight, UV torches from COVID test kits, regular UV fluorescent lamps, or create a DIY setup with reflective surfaces. Just remember these alternatives may take longer than dedicated curing stations.
How Long Does It Take to Cure in a Curing Station?
You'll need to cure your resin prints for 30-60 minutes per side in a UV curing station. The exact time depends on your print's thickness and resin type. Remember to rotate larger models for even curing.
In Summary
You'll find setting up your curing station doesn't need to be complicated. By starting with a solid box construction, adding proper ventilation, and organizing your shelving system efficiently, you've created an effective space for curing your products. Remember to monitor temperature and humidity levels regularly, and you'll soon master the art of curing with your new setup.


Leave a Reply