To guarantee your handmade soap bars last longer, cure cold process soaps for 4-6 weeks on wire racks with 1-inch spacing between bars. Keep your curing area's temperature between 60-80°F and humidity below 60%. Don't expose bars to direct sunlight, and use proper ventilation with fans. Store cured soaps in a cool, dark place using breathable packaging like muslin or parchment. Follow these essential rules, and you'll discover the secrets to perfectly preserved handmade soap.
Essential Curing Time Requirements for Different Soap Types
When crafting handmade soaps, understanding the correct curing time for each type is vital for achieving the best quality and longevity.
If you're making cold process soap, you'll need to allow 4 to 6 weeks for the curing process. This waiting period guarantees your handmade soap is fully cured and the lye has completely neutralized.
Melt and pour soap offers a different approach to soap storage, as it doesn't require a cure time. However, you'll want to wrap it right after it cools to prevent moisture absorption.
The shelf life of your fully cured soap will depend on proper storage conditions. While cold process soaps need extensive curing periods, they'll reward your patience with harder, longer-lasting bars that perform better than their uncured counterparts.
Optimal Environmental Conditions During the Curing Process
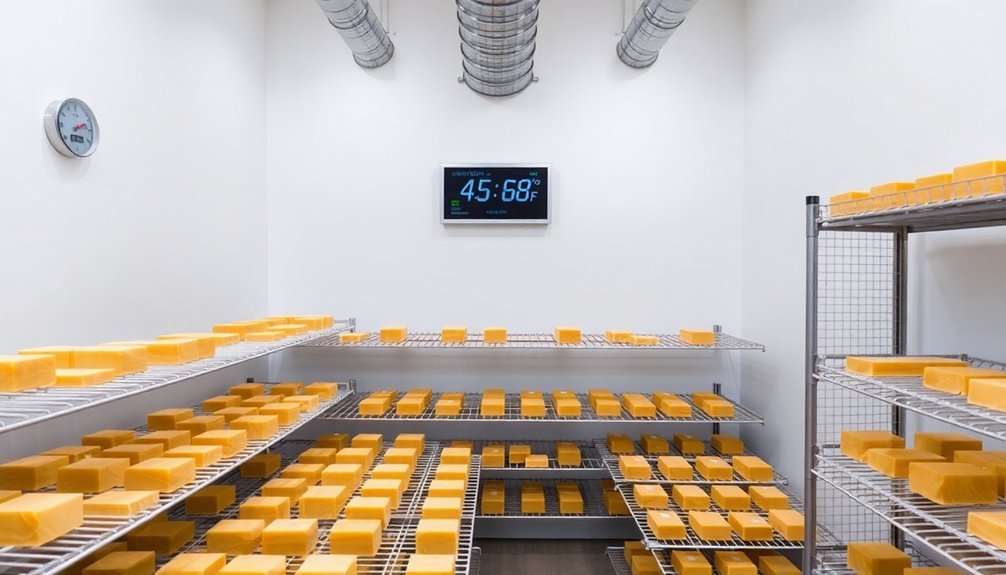
Since proper environmental conditions play a crucial role in soap curing, you'll need to maintain specific parameters throughout the process. Keep your soap bars at temperatures between 60°F to 80°F to guarantee proper hardening. You'll want to maintain low humidity and good airflow by using baker's racks or wire trays, preventing moisture-related issues like mold and DOS.
| Condition | What to Do |
|---|---|
| Temperature | Keep at 60-80°F |
| Humidity | Maintain low levels |
| Airflow | Use wire racks |
| Light | Avoid direct sunlight |
For proper storage during curing, don't wrap your soap bars – this allows moisture to evaporate effectively. Remember to keep them away from direct sunlight, as UV exposure can deteriorate colors and fragrances. Following these guidelines will help you achieve maximum results in your soap-making journey.
Proper Air Circulation and Ventilation Methods
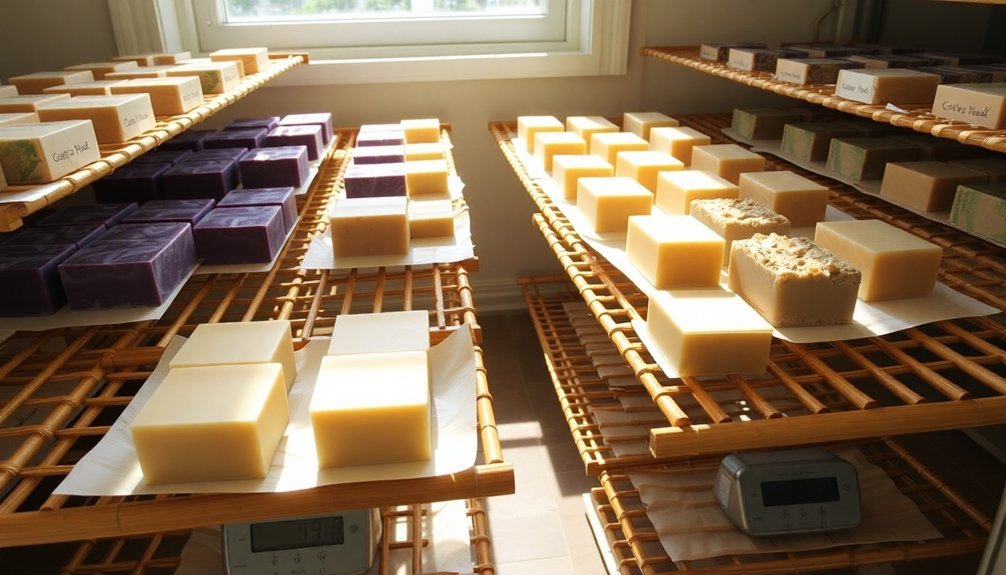
You'll need to position your soap bars at least an inch apart on wire racks or baker's shelves to guarantee ideal air circulation during the curing process.
Strategic placement of your curing racks in a well-ventilated area, away from direct sunlight and moisture-prone spaces, will promote even drying and prevent DOS formation.
Keep a small fan running nearby and use stackable mesh racks to maximize your curing space while maintaining proper airflow around each bar.
Spacing For Maximum Airflow
Proper airflow stands as a critical factor in successfully curing handmade soap bars. To achieve ideal circulation, you'll need to space your bars at least 1 inch apart on wire racks or slatted trays. This spacing prevents moisture buildup and helps avoid Dreaded Orange Spots (DOS) that can develop when bars are placed too close together.
Key practices for maximum airflow during the curing process:
- Never stack soap bars directly on top of each other
- Turn bars weekly if you're working with limited space
- Use breathable wrapping materials for storage
Remember that proper air circulation doesn't end after curing. When storing your finished bars, choose bins with unsecured lids to maintain adequate airflow while protecting them from dust.
This balance between protection and ventilation guarantees your soaps maintain their quality long-term.
Strategic Rack Positioning Tips
After selecting an ideal curing space, strategic rack positioning becomes essential for achieving professional-quality soap bars.
Place your metal racks in a well-ventilated area, making sure each bar has at least 1 inch of space on all sides for optimal airflow. You'll want to keep the temperature range between 60°F and 80°F while avoiding direct sunlight and heat sources.
If you're dealing with high humidity levels, introduce fans or dehumidifiers to maintain consistent airflow and prevent mold formation during the curing process.
Your racks should be made of coated metal to resist rust and promote proper air circulation.
Don't forget to rotate your soap bars weekly to guarantee even curing on all surfaces. This attention to rack positioning and environmental control will greatly enhance your final product's quality.
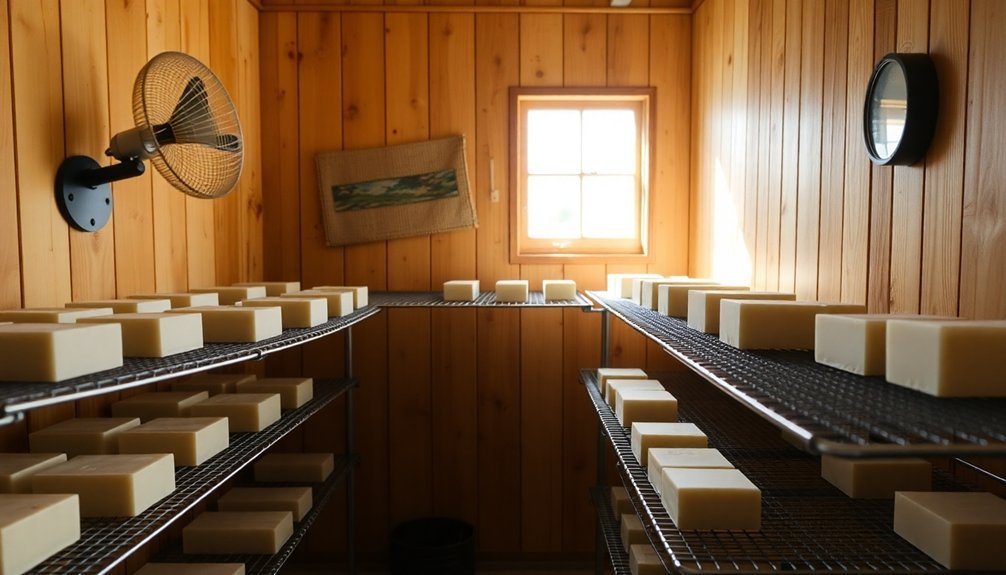
Ventilation Equipment Must-Haves
Creating an ideal curing environment requires essential ventilation equipment that works together to maintain consistent air circulation. You'll need to guarantee optimal airflow around your handmade bars while monitoring airflow conditions regularly.
Key ventilation equipment for your curing space should include:
- A reliable dehumidifier to combat excess moisture and maintain low humidity levels
- A steady-running fan to promote adequate air circulation throughout your curing area
- Well-positioned curing racks or wire shelving to maximize airflow around each bar
Position your bars at least one inch apart on the racks to allow proper drying.
Keep the temperature between 60°F and 80°F while using your ventilation equipment.
Remember to adjust your setup based on seasonal changes and local climate conditions to maintain the ideal curing environment for your handmade bars.
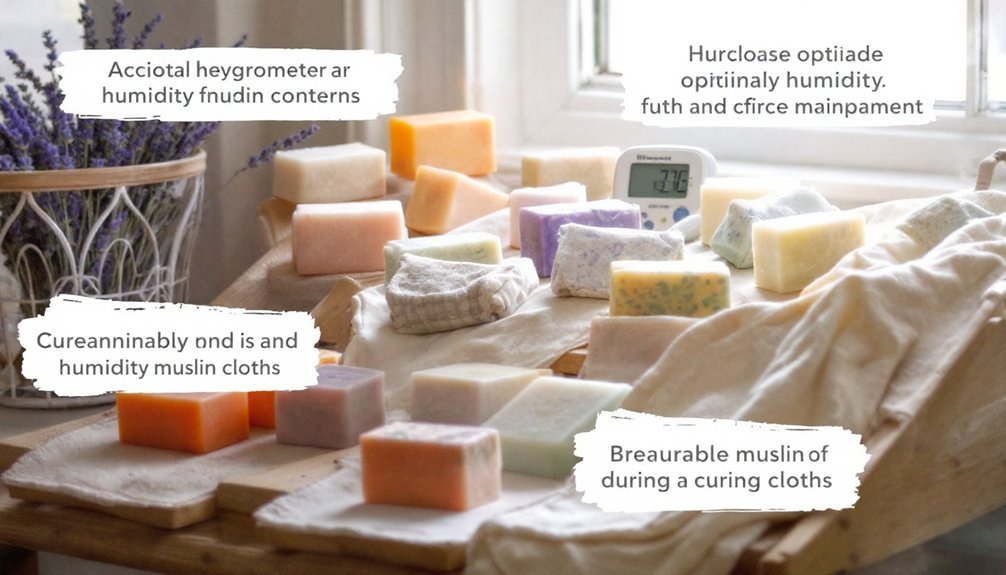
Temperature and Humidity Control Guidelines
You'll need to check your soap curing room's temperature and humidity levels at least once daily, using a reliable thermometer and hygrometer to maintain the ideal 60-80°F range.
To prevent texture and quality issues, protect your curing soaps from sudden temperature swings by keeping them away from drafty windows, heating vents, and direct sunlight.
When humidity rises above comfortable levels, it's crucial to run a dehumidifier and guarantee proper ventilation to safeguard your soaps from moisture-related problems like DOS and glycerin dew.
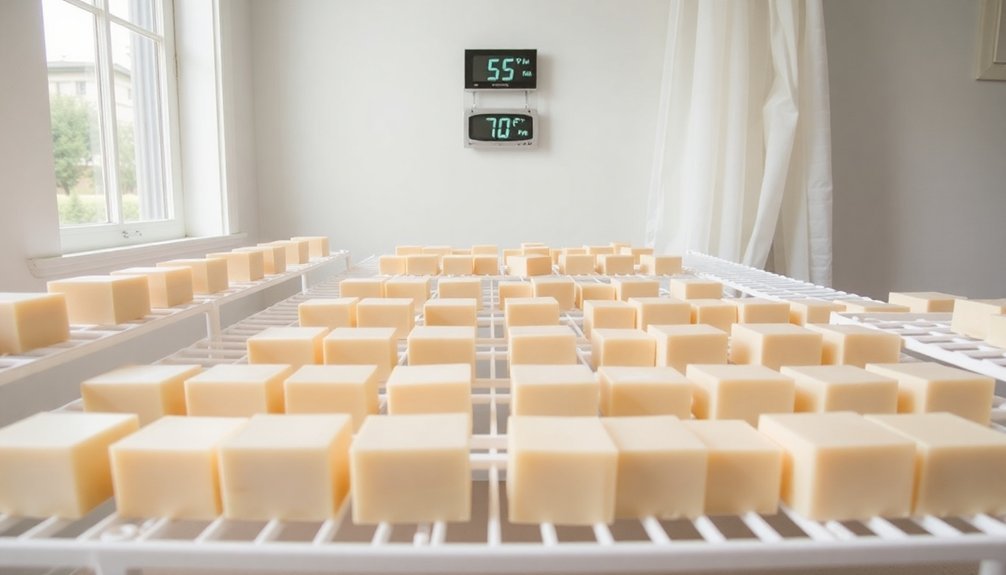
Monitor Daily Room Conditions
The successful curing of handmade soap bars depends heavily on maintaining proper room conditions throughout the process.
You'll need to monitor temperature and humidity levels daily to guarantee ideal curing. Keep your soap in an environment between 60°F to 80°F, and use a hygrometer to track humidity, which should stay below 60%.
To maintain ideal curing conditions:
- Check temperature and humidity readings at least once daily using reliable monitoring tools
- Run a dehumidifier or fan to improve airflow if your readings show high moisture levels
- Relocate your soap if you notice significant fluctuations in room conditions
If you're in a humid climate, it's crucial to take extra precautions.
Avoid areas prone to moisture, like bathrooms or kitchens, and consider using additional equipment to maintain stable conditions for your curing soap.
Avoid Temperature Fluctuations Daily
After establishing a proper monitoring routine, preventing temperature fluctuations becomes your next major focus.
You'll need to maintain your soap's temperature between 60°F to 80°F during both the cure and storage periods to preserve its quality. Keep your bars away from heat sources and direct sunlight to prevent melting and degradation.
In areas with high humidity, you'll want to use a dehumidifier to control moisture levels that could affect your soap's curing process.
Guarantee proper airflow by storing your bars in well-ventilated spaces, as this helps prevent moisture buildup and potential spoilage.
When you monitor your storage area daily, watch for sudden temperature changes that might impact your soap's texture.
Control Moisture With Equipment
Managing moisture levels effectively requires specialized equipment to maintain ideal curing conditions for your handmade soap. A dehumidifier is vital in your storage area to keep humidity low, preventing issues like orange spots and premature product deterioration.
You'll want to monitor moisture levels regularly to protect your soap during the cure process.
To guarantee proper air circulation and prevent mold growth, implement these key equipment strategies:
- Set up wire racks or baker's trays to elevate your soap bars and promote consistent airflow
- Position fans strategically to improve air movement throughout your storage space
- Install a reliable dehumidifier to maintain optimal moisture conditions
Remember to check your equipment settings daily, as consistent humidity control is essential for successful soap curing.
This setup will help you achieve professional-quality results while extending your products' shelf life.
Best Storage Solutions for Long-Term Preservation
Proper storage techniques can make the difference between soap that lasts for months versus years. To guarantee long-term preservation, you'll want to focus on promoting airflow and controlling humidity.
Don't use airtight containers, as they trap moisture that can cause rancidity and orange spots. Instead, opt for open air shelving, coated wire racks, or cardboard boxes with ventilation holes.
Keep your soaps in a cool, dry place away from direct sunlight and heat sources. You'll find that cardboard boxes are particularly useful – they're economical, easy to label, and maintain good air circulation.
Remember to check stored soaps regularly for any signs of deterioration. If you're in a humid climate, consider using fans or dehumidifiers to maintain ideal storage conditions for your handmade bars.
Signs of Properly Cured Soap Bars
When you're evaluating your handmade soap bars, several physical indicators will tell you if they've cured completely. A properly cured soap should feel hard and firm to the touch, with no excess moisture or sticky residue on its surface.
You'll notice the fragrance becomes more distinct as the soap develops, and the color may deepen during the curing process.
Key signs of curing that indicate your soap is fully cured include:
- A rich and creamy lather when you test the bar with water
- Firm texture throughout the entire bar with no soft spots
- Enhanced aromatic properties without any harsh chemical scents
These physical changes are essential indicators of soap development, helping you determine when your bars are ready for use or storage.
Watch for these signs to guarantee peak quality in your handmade soaps.
Common Storage Mistakes to Avoid
To maintain the quality of your handmade soaps, you'll need to steer clear of several critical storage mistakes that can compromise their integrity.
Don't store your soaps in high humidity areas like bathrooms, which can trigger premature fizzing in bath bombs and affect soap quality.
Avoid tightly wrapping cold process soaps before they've fully cured for 4-6 weeks, as this prevents proper air circulation and moisture evaporation.
While you should wrap melt and pour soaps immediately after cooling to prevent glycerin dew, other handmade soaps need breathing room.
Keep all soaps away from direct sunlight and extreme temperatures to protect their colors and textures.
These common storage mistakes can lead to issues like Dreaded Orange Spots (DOS) or sweating, so proper storage conditions are essential for maintaining your soap's quality and effectiveness.
Protective Packaging Materials and Methods
Choosing the right packaging materials can make the difference between well-preserved handmade bath products and damaged goods.
You'll need to select protective packaging based on your product type to maintain quality and prevent moisture absorption.
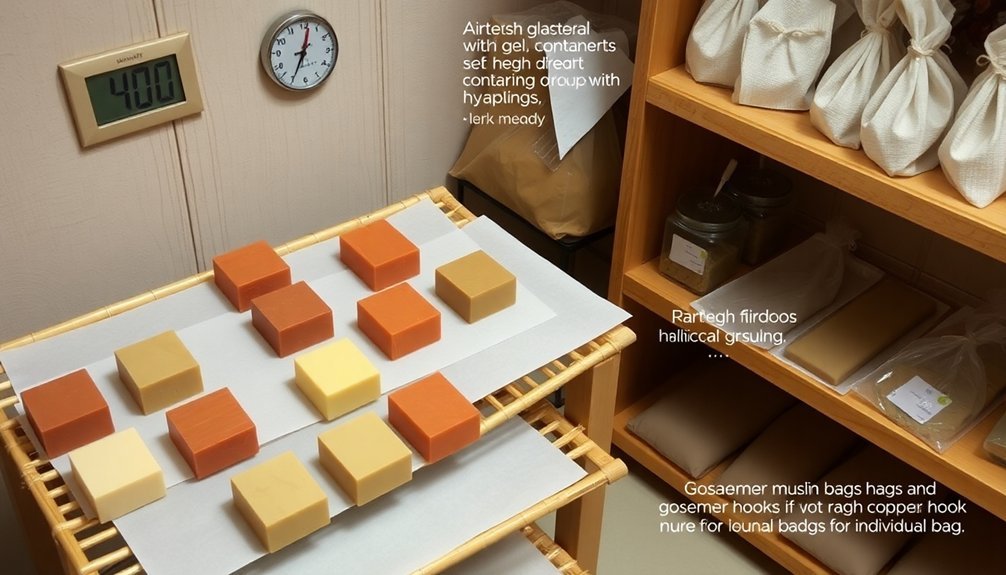
- For cold process soaps, use breathable materials like muslin or parchment paper to guarantee proper air circulation while protecting the bars.
- When packaging melt and pour soaps, opt for heat shrink wrap to create an airtight container that keeps humidity out.
- Store bath bombs and sugar scrubs in sealed candy bags to prevent premature activation.
Don't forget about decorative packaging options like organza bags and ribbons for gift presentation, but always prioritize proper care through appropriate labeling packaging.
Clear instructions help customers understand how to store and handle their products correctly, guaranteeing they stay fresh longer.
Shelf Life Extension Techniques
You'll maximize your handmade soap's shelf life by maintaining temperatures between 60-75°F and using moisture-resistant containers that still allow airflow.
To protect against humidity damage, consider placing silica gel packets near your stored soaps while ensuring proper ventilation through breathable packaging materials like muslin bags.
Proper Temperature Control Methods
Since temperature plays a vital role in soap longevity, maintaining precise control during curing and storage becomes essential for quality preservation.
Make sure you store your soap in a cool place with good airflow, keeping temperatures between 60°F and 80°F. In areas with high humidity, you'll need to protect your bars from excess moisture from the air by using a dehumidifier during the curing process.
Regular monitoring of storage conditions helps prevent quality issues.
To maintain ideal temperature control, you should:
- Set up your storage area away from direct sunlight and heat sources
- Use insulated containers to minimize temperature fluctuations
- Install a thermometer for consistent temperature tracking
These measures will help safeguard your handmade soap's quality and extend its shelf life considerably.
Airtight Packaging Solutions
The proper selection of airtight packaging can dramatically extend your handmade soap's shelf life while preserving its quality.
You'll want to use heat shrink wrap for your melt and pour soaps, creating a moisture-proof barrier that prevents sweating and maintains freshness, especially in humid conditions.
For your cold process soaps, opt for breathable materials like muslin or parchment paper after they're fully cured.
This approach allows necessary air circulation while protecting against dust and contaminants that could compromise quality.
To prevent moisture absorption and Dreaded Orange Spots, store your soaps in containers with ventilation holes, striking the perfect balance between protection and airflow.
Don't forget to properly label your packaging with creation dates and ingredients – this simple step helps you track shelf life and maintain consistent quality control.
Humidity Management Techniques
Proper packaging alone won't guarantee your handmade soaps' longevity – managing humidity plays a key role in preserving their quality. Your soap needs to cure in a cool, dry place with adequate air circulation, ideally at temperatures between 60°F to 80°F. This allows excess water to evaporate while preventing moisture buildup that can trigger premature fizzing or DOS (Dreaded Orange Spots).
Essential humidity management techniques include:
- Running a dehumidifier to maintain low moisture levels in your storage area
- Installing fans to improve airflow around your curing and stored products
- Using a hygrometer to monitor humidity levels regularly
When storing soap, avoid bathrooms and kitchens where humidity fluctuates greatly. Instead, choose a well-ventilated space with consistent cool temperatures to maximize your products' shelf life and performance.
Quality Maintenance During Storage Periods
Maintaining your handmade soap's quality during storage requires careful attention to environmental conditions and regular monitoring.
You'll need good airflow to guarantee your soap doesn't retain excess moisture, which can affect its durability and effectiveness. Don't try to make your soap cure faster by exposing it to extreme temperatures – instead, keep it at room temperature in a dry location.
Check your stored soap regularly for signs of discoloration or unusual smells.
Use breathable materials like muslin or ventilated cardboard boxes rather than airtight containers, as proper airflow is essential for quality maintenance.
Monitor humidity levels in your storage area, as high moisture can compromise your soap's texture and appearance.
When stored correctly, your handmade soap should feel firm and dry, with no sticky residue or dampness.
Frequently Asked Questions
How to Store Handmade Soap After Curing?
Store your handmade soap in a cool, dry place between 60-80°F. You'll want to wrap it in breathable materials like muslin, keep it in ventilated containers, and avoid direct sunlight to maintain quality.
How to Keep Homemade Soap From Going Rancid?
Store your soap in a cool, dry place away from sunlight. You'll want to use airtight containers and fresh ingredients. Don't forget to add vitamin E as a natural preservative to prevent oils from spoiling.
What Is the Shelf Life of Homemade Soap?
Your homemade soap will typically last 1-3 years, depending on your ingredients and preparation method. You'll get longer shelf life from cold process soaps, while melt and pour varieties won't last quite as long.
Do You Cut Soap Before or After Curing?
You'll need to cut your soap into bars before curing begins, typically 24-48 hours after pouring into molds. This allows better airflow around each bar and guarantees proper moisture evaporation during the curing process.
In Summary
You'll get the most out of your handmade soap bars by following proper curing and storage guidelines. Remember to give your soaps adequate curing time, maintain ideal temperature and humidity levels, and use appropriate packaging materials. Don't skip proper ventilation or make common storage mistakes. With these practices in place, you can extend your soaps' shelf life and preserve their quality for months to come.


Leave a Reply