For precise and professional soap cutting, you'll need a combination of essential tools and methods. Start with a basic kitchen knife or DIY wire cutter, then upgrade to a multi-bar cutter for uniform bars. Temperature control (120-130°F) and proper timing (17-24 hours) are vital for clean cuts. Don't forget safety gear like goggles and chemical-resistant gloves. Advanced tools like air cutting systems and decorative techniques will help you master the art of soap crafting.
Multi-Bar Cutters: The Professional's Choice
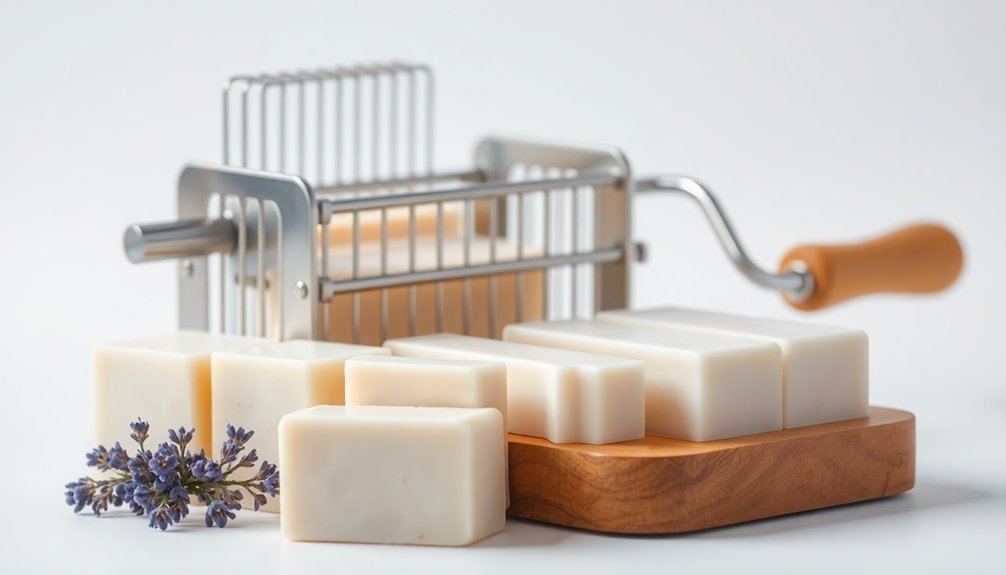
When scaling up your soap-making business, a multi-bar cutter becomes an essential tool for achieving professional results.
These precision instruments, crafted from recycled plywood or hardwood like Tasmanian Oak, feature nine cutting wires that slice through freshly unmolded soap to create 10 uniform bars at once.
You'll appreciate the built-in wire guides that guarantee perfect alignment and the food-grade timber oil coating that protects the wood.
The standard size accommodates loaves measuring 26.3cm x 12cm x 7.5cm, producing 2.5cm thick bars.
While you'll need to maintain wire tension and clean with rubbing alcohol, the time saved and consistency achieved make it worthwhile. For professional soap makers, the EZ Glide Multi Cutter offers premium cutting capabilities at AU$400.
The durable construction, with glued and screwed joints, assures long-term reliability.
Just remember, it's designed for cold and hot process soaps only, not melt-and-pour varieties.
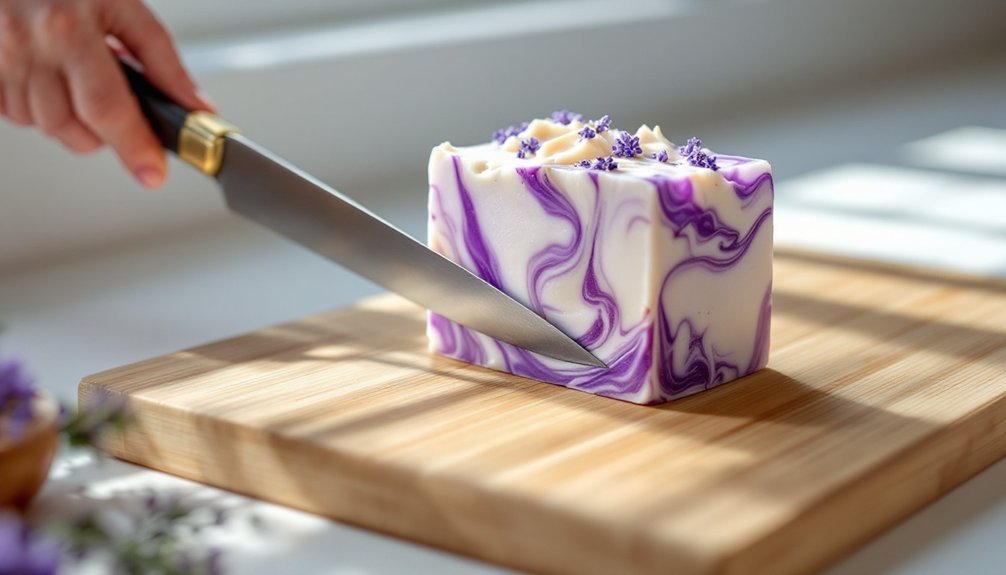
Essential Hand-Cutting Tools for Beginners
While multi-bar cutters offer professional-grade efficiency, beginners can achieve excellent results with simple hand-cutting tools. Your basic kitchen knife can get you started, though you'll find it challenging to maintain straight lines and uniform sizes.
For better precision, consider using a wire cutter made from a hacksaw frame and guitar string. This DIY option reduces drag and crumbling while allowing for thin, clean cuts. Guitar wire replacements provide more durability than standard wires when cutting through soap blocks.
You can enhance accuracy by pairing it with a miter box, which guides your cuts and guarantees consistent angles.
A guided cheese cutter offers another budget-friendly solution. By adding measurement guidelines, you'll create more uniform bars.
For the best results, combine these tools with a simple shoebox mold lined with freezer paper to create properly sized soap logs.
Advanced Air Cutting Systems

Advanced air cutting systems revolutionize the soap-making process with their pneumatic-powered precision and high-volume capabilities.
You'll find these systems are custom-made to fit your specific needs, handling both loaves and bars with a single piece of equipment.
These efficient machines can process blocks between 85-130 lbs, with a maximum size of 21" x 12.5".
You'll appreciate the ergonomic design featuring a low cutting table and two-hand safety operation. The powerful system delivers 600 pounds of power while cutting through soap blocks.
The system's quick-interchange cutting frames let you switch between different bar sizes effortlessly.
Maintenance is minimal – you'll only need to check for water in the air regulator bowl and occasionally brush wires and oil cylinder rods.
With a compact footprint of 32" x 40" x 43", these systems require just a small air compressor to help you produce thousands of perfect bars daily.
Temperature and Timing in Soap Cutting
Getting the temperature and timing right for cutting cold process soap is essential for achieving clean, professional-looking bars.
You'll want to soap at 120-130°F for both your lye solution and oils, keeping them within 10 degrees of each other. If you're working with milk-based soaps, aim for slightly cooler temperatures around 100-110°F. The saponification process continues even after pouring into molds, making temperature monitoring crucial throughout the entire curing phase.
For ideal cutting results, timing is vital. Here's what you need to know:
- Wait 17-24 hours before unmolding standard cold process soaps
- Extend waiting time to several days for 100% olive oil soaps
- Check salt bars frequently between 3-14 hours
- Consider your trace level and pouring temperature
- Factor in any additives like sodium lactate that affect hardening
Temperature control during saponification directly impacts your soap's hardness and cuttability, so monitor these factors carefully for the best results.
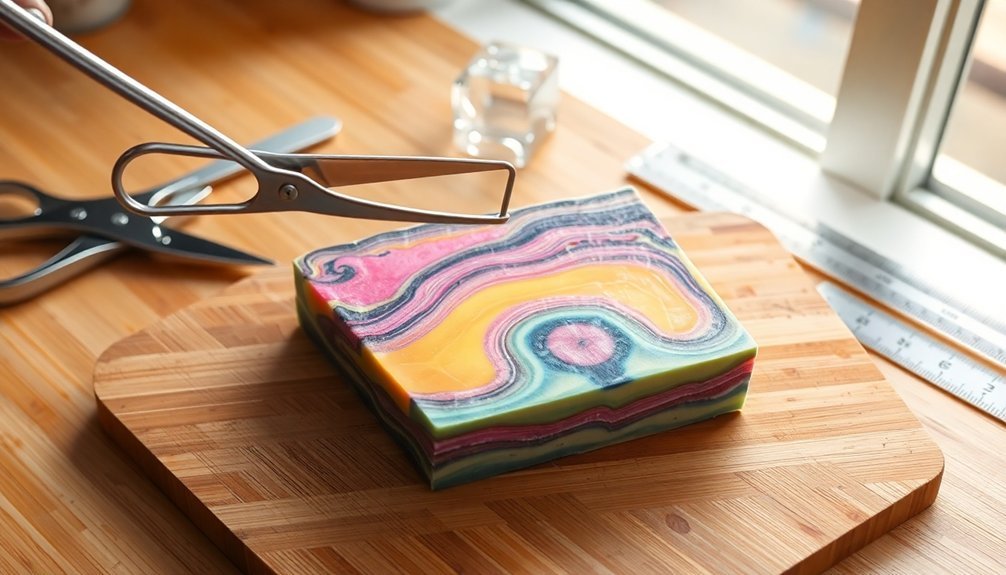
Decorative Cutting Techniques and Tools
Four essential decorative cutting techniques can transform your cold process soap from basic bars into artistic creations. You'll find layering and embedding particularly useful for creating intricate designs with different colored soaps, while wavy and textured cuts add both visual appeal and practical grip. Custom and branded cuts let you personalize your soaps with unique patterns or logos, though they require more investment. For large-scale production, multi-bar and wire cutting tools guarantee consistency and efficiency. The popularity of secret swirl techniques adds an element of surprise when cutting soap bars, as the internal patterns remain hidden until the final cut.
| Technique | Main Benefit | Best Use Case |
|---|---|---|
| Layering | Visual depth | Multi-color designs |
| Wavy Cuts | Texture & grip | Artisanal soaps |
| Custom Cuts | Branding | Professional sales |
Choose your cutting technique based on your production needs, design goals, and budget constraints. Each method offers distinct advantages for creating professional-looking soap bars.
Precision Cutting With Log Splitters
Professional soapmakers rely on log splitters to transform large soap logs into perfectly uniform bars with minimal effort.
These efficient tools save time by cutting multiple bars simultaneously while ensuring consistency in size and appearance. You'll find various types available, from wire cutters to customizable splitters that accommodate specific mold dimensions.
When selecting a log splitter, consider these essential features:
- Adjustable wire spacing for different bar thicknesses
- Multi-purpose handles for enhanced control
- Precise cutting areas for accurate results
- Durable materials for long-term use
- Storage-friendly design for convenience
The right log splitter will streamline your soap-cutting process while minimizing waste and maintaining professional-quality results.
Whether you choose a commercial model or a custom-made option, you'll find that investing in a quality log splitter pays off in consistency and efficiency.
Multi-Pour Tools for Complex Designs
Artisans seeking intricate soap designs will find multi-pour tools indispensable for their craft. These specialized dividers create 2-4 vertical sections in your molds, enabling you to achieve professional-looking patterns like the Circling Taiwan Swirl or striking stripes.
While you can use cardboard dividers, investing in proper multi-pour tools offers better consistency and reusability. They're particularly effective with 10" silicone molds, where you'll place the dividers before pouring your soap batter.
Once you've poured the different sections, simply pull the dividers up to reveal your sectioned design.
You'll appreciate how these tools streamline the creation of complex patterns when combined with other soap-making equipment. Though they're considered a luxury item, the professional results and time-saving benefits make them worth considering for your soap-making arsenal.
Safe Handling and Tool Maintenance
Before you begin cutting soap, you'll need proper protective gear including rubber gloves to shield your hands from caustic materials and potential irritants.
Your daily cleaning routine should involve wiping down cutting tools after each use, removing soap residue, and storing them in a dry place to prevent rust.
When wires show signs of wear or breakage, replace them promptly by loosening the frame screws, removing the old wire, and installing new wire with proper tension.
Protective Gear Requirements
Working safely with cold process soap cutting tools requires extensive protective gear to shield yourself from caustic materials and potential hazards.
You'll need proper eye protection with safety goggles or a full face shield, as regular glasses won't provide adequate coverage. Protect your skin with elbow-length nitrile or chemical-resistant gloves, and wear long sleeves that you can quickly remove if needed.
Essential protective gear includes:
- Safety goggles or full face shield for complete eye protection
- Elbow-length chemical-resistant gloves
- Long-sleeve shirts and pants that are easily removable
- Waterproof apron or lab coat
- Respirator with appropriate filters for both particles and fumes
Don't forget to wear closed-toe shoes and consider using a hair net to keep your workspace clean and safe while cutting soap.
Daily Tool Cleaning Steps
Just as proper protective gear safeguards the soap maker, maintaining clean tools guarantees both safety and quality in cold process soap making.
You'll need to start cleaning immediately after use by scraping excess soap batter from your tools before it hardens.
Clean your equipment using hot, soapy water, wearing protective gloves to shield your skin from any caustic residues.
For metal cutters, use a spatula between cuts to remove stuck soap instead of your fingers, and always rinse thoroughly.
You can either hand wash or use the dishwasher, but be careful to avoid splashing water on your face or arms.
Don't forget to dry your tools completely before storing them in a clean, dry area.
Regular inspection for wear and damage will guarantee your tools remain safe and effective.
Wire Replacement Guide
Maintaining sharp and reliable cutting wires guarantees consistent, professional-looking soap bars. When replacing worn or broken wires, you'll need to remove the old wire first by taking out the pin, unwinding it, and clearing any fragments from the cutter.
Choose a replacement wire that's specifically designed for soap cutting. You'll want stainless steel or jewelry wire that's corrosion-resistant and the right thickness for your cutter.
Here's what to check during installation:
- Thread the wire from the back, securing it with the pin
- Guide it through the front of the cutter
- Wrap it around the peg and tighten
- Trim excess wire to prevent tangling
- Test tension by listening for similar sounds across all wires
For best results, cut your soap while it's still slightly soft and regularly inspect wires for wear.
Efficient Batch Production Methods
To maximize your soap-making productivity, efficient batch production methods combine strategic timing, proper temperature control, and streamlined processes.
You'll want to keep temperatures around 100°F while applying gentle heat to speed up saponification without compromising the soap's natural benefits.
Start by measuring your ingredients precisely and having them ready before you begin.
Mix the lye and oils just until they reach trace, then pour immediately into your molds to prevent thickening.
You can boost efficiency by preparing multiple batches simultaneously and using easy-to-clean molds.
Don't forget to maintain quality control by monitoring pH levels and following consistent recipes.
While the soap cures for 4-6 weeks, regularly inspect batches for any issues and use this time to prepare your next production run.
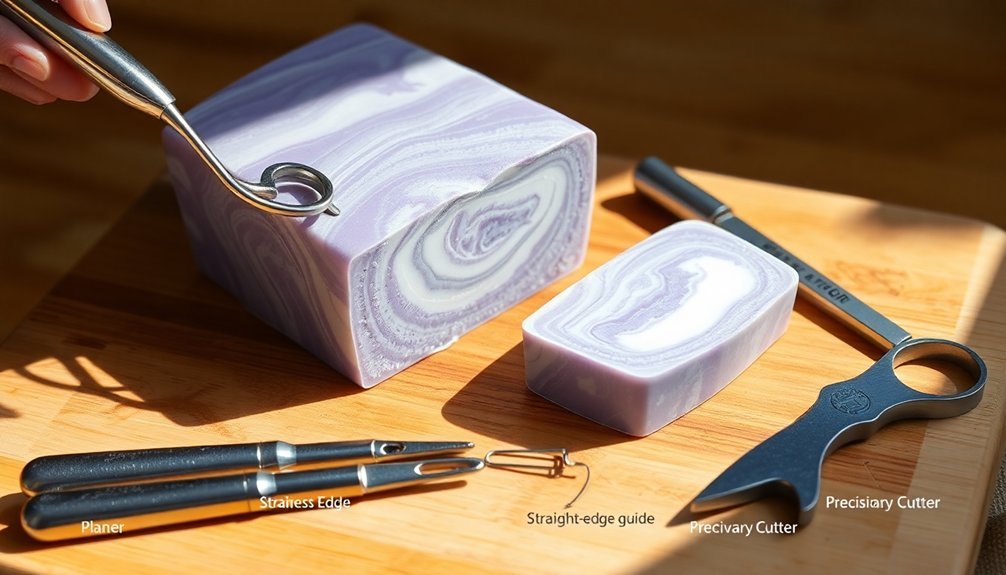
Specialized Tools for Artistic Patterns
When creating artistic soap designs, specialized cutting tools open up a world of creative possibilities. You'll find wavy cutters perfect for decorative patterns, wire cutters for precise slices, and custom cutters for unique branded designs. Each tool serves a specific purpose in achieving your desired artistic vision.
Combining these tools with swirling techniques enhances your creative potential. You can execute complex designs like Taiwan swirls using horizontal cutting methods, while different mold types affect how your patterns appear.
- Wire cutters offer smooth, precise cuts for both small and large batches
- Wavy cutters create textured, visually appealing surfaces
- Custom cutters enable branded or specialty designs
- Multi-wire cutters handle multiple cuts simultaneously
- Different tools complement specific swirling techniques
These specialized tools require proper maintenance and care, but they're essential for crafting professional-looking artistic soaps.
Frequently Asked Questions
How Long Do Soap Cutting Wires Typically Last Before Needing Replacement?
You won't need to replace your soap cutting wires often. With proper maintenance, they can last indefinitely through hundreds of batches. You'll only need replacement if they break or show visible wear signs.
Can I Use Kitchen Knives Instead of Specialized Soap Cutting Tools?
While you can use kitchen knives to cut soap, they're not ideal. You'll struggle with precision, risk metal contamination, and damage your knives. It's worth investing in proper soap cutting tools instead.
What's the Best Way to Clean Soap Residue From Cutting Tools?
Soak your cutting tools in a vinegar-water solution, then scrub with a baking soda paste using an old toothbrush. You'll want to rinse thoroughly with hot water and dry completely to prevent residue buildup.
Are Electric Soap Cutters Worth the Investment for Small-Batch Production?
If you're making less than 100 bars weekly, an electric soap cutter isn't worth your investment. You'll get better value from manual cutters until your production grows beyond small-batch levels.
How Do You Prevent Soap Bars From Sticking to Cutting Tools?
You'll prevent soap from sticking by keeping your tools clean and dry, using a rocking motion when cutting, and working with properly cured soap. A light dusting of powder on tools helps too.
In Summary
You'll find that investing in quality soap cutting tools transforms your cold process soap making from a basic craft into a professional operation. Whether you're using simple wire cutters or advanced multi-bar systems, proper technique and timing are essential. Keep your tools clean and sharp, experiment with different cutting methods, and you'll create consistently beautiful bars that reflect your unique soapmaking style.


Leave a Reply