Your homemade soap needs 4-6 weeks to transform from soft to firm through proper curing. You'll want to store bars in a cool, dry area (60-75°F) with good air circulation, rotating them every few days. Success depends on using at least 30% hard oils, maintaining 5% superfat, and keeping water content around 22%. Watch out for high humidity and excess soft oils that can delay hardening. Discover the essential techniques to achieve rock-solid bars faster.
Understanding the Soap Curing Timeline
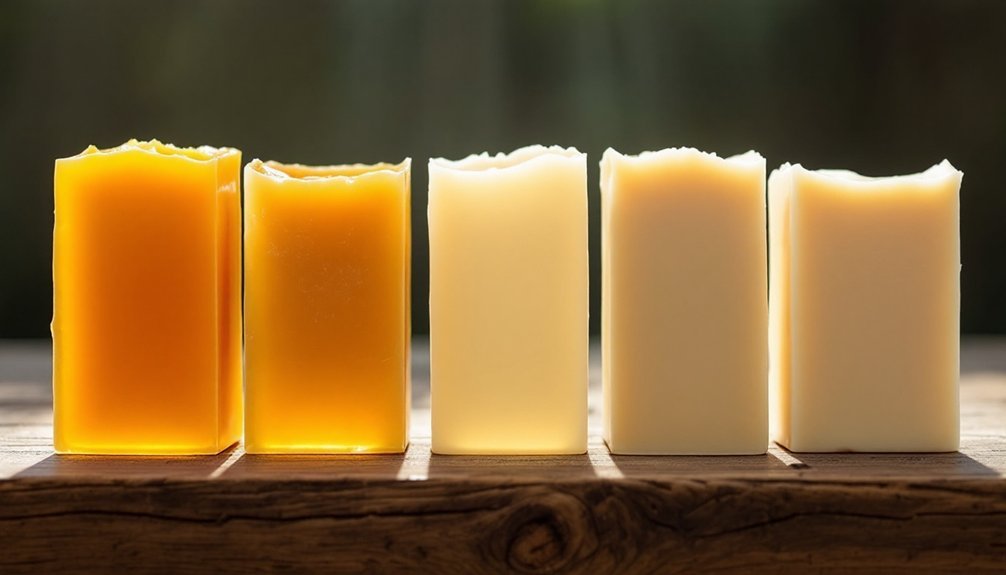
When making cold process soap, understanding the curing timeline is essential for achieving high-quality bars. Your soap will need 4 to 6 weeks to fully cure, allowing excess moisture to evaporate and the mixture to completely saponify.
In the first few days, you'll notice your soap feels soft, but it'll gradually firm up throughout the curing process.
The timeline for hardening can vary based on several factors. The oils you've chosen, your superfat percentage, and whether your soap reaches the gel phase will all impact how quickly it firms up.
You'll want to check your bars daily to spot any issues like excess moisture or floating oils. If your soap hasn't gelled, expect it to take longer to achieve the ideal texture and hardness.
Essential Factors That Influence Hardening
You'll need to carefully balance your oil ratios, ensuring at least 30% hard oils like coconut or palm to create a firm bar of soap.
Your water content plays an essential role in the hardening process, so it's best to keep it around 22% of your total oils and consider water discounting for best results.
While soft oils like olive and sweet almond contribute beneficial properties, you'll want to limit their percentages to avoid creating an overly soft soap that takes longer to harden.
Oil Composition Ratios
The composition and ratio of oils in your soap recipe directly determine its hardening properties. To achieve a firm soap, you'll want to include at least 30% hard oils, such as coconut oil, in your soap formulation.
While soft oils like olive oil contribute to moisturizing properties, they'll considerably extend your harden process.
Your superfat percentage plays an essential role too. Keep it around 5% to maintain ideal firmness, as higher percentages can make your soap too soft.
When working with liquid content, stick to a 22% distilled water ratio to avoid prolonging the hardening time. If you're using primarily soft oils, expect a longer cure time – up to two weeks for 100% olive oil soaps.
Water Content Control
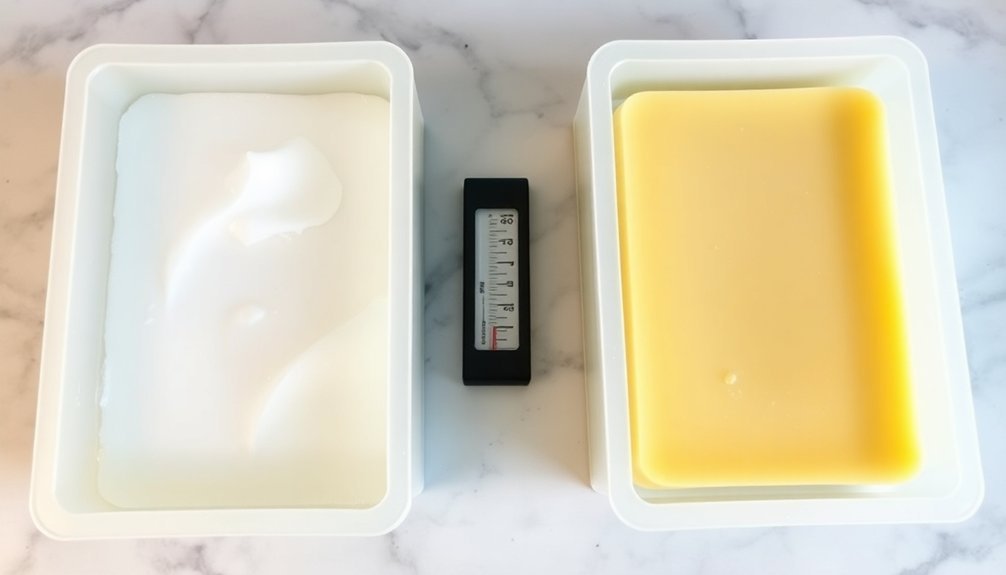
Beyond oil selection, proper water content stands as a fundamental factor in soap hardening. You'll need to carefully balance your water-to-lye ratio, typically using 2 times the lye weight, though some recipes may extend to 4 times.
However, higher water content leads to longer curing times and potentially soft soap. To accelerate the hardening process, consider implementing a water discount in your soap recipe. This reduction in total liquid volume helps your soap firm up faster and unmold sooner.
Remember that additives like milk or purees contribute to your liquid content, so adjust accordingly. You'll also want to monitor temperature control during production, as proper insulation guarantees complete gel phase and ideal hardening.
Don't forget to watch humidity levels during curing, as excess moisture can greatly impact your soap's final consistency.
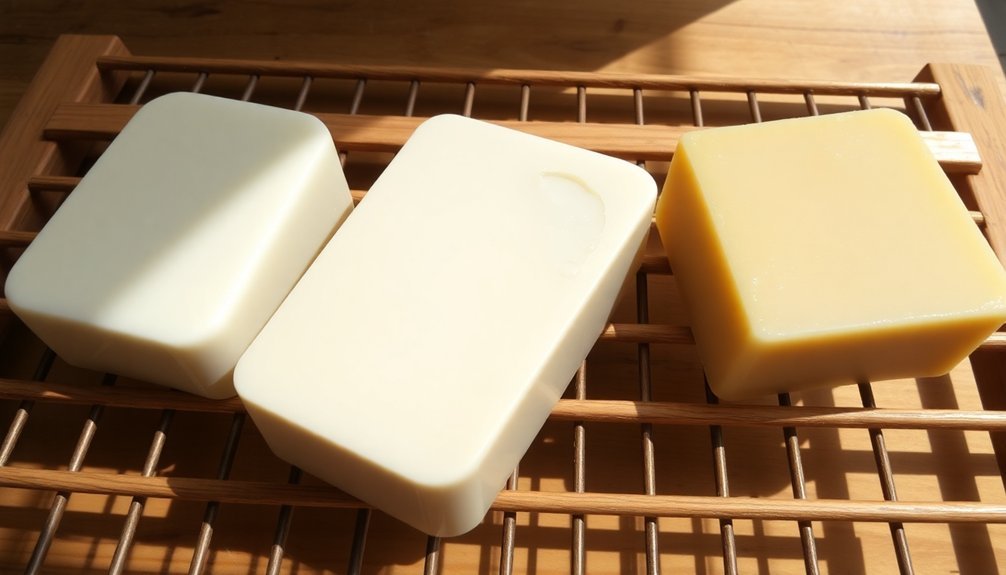
Optimal Storage Conditions for Proper Curing
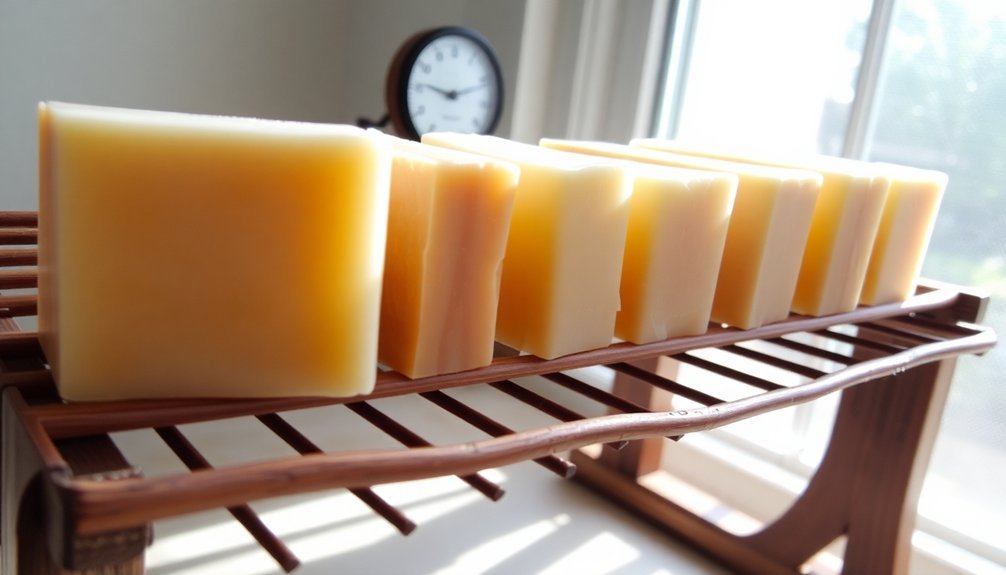
Proper storage conditions play an essential role in achieving perfectly hardened soap bars. The best storage conditions require good airflow and consistent temperature control to guarantee proper curing.
You'll want to store your soap in a cool, dry space where temperatures remain between 60°F and 75°F to promote ideal hardening.
- Place your soap bars on a dedicated curing rack that allows air circulation on all sides.
- Keep them away from direct sunlight to prevent UV damage and texture changes.
- Store in a well-ventilated area to minimize moisture retention.
- Rotate soap bars every few days for even curing.
Common Mistakes That Delay Hardening
Several common mistakes can considerably slow down your soap's hardening process, potentially compromising its final quality.
If you're using too many soft oils like olive oil without balancing them with hard oils like coconut oil, you'll end up with a softer bar.
Watch your superfat levels – anything above 7% will leave excess oils that prevent proper hardening.
You're also likely to encounter problems if you've added too much liquid content or chosen the wrong mold.
While silicone molds are convenient, they can impede hardening by restricting airflow.
Opt for wooden molds instead, as they'll promote better gel phase during saponification.
Remember that failing to achieve complete gel phase during the curing phase is another vital mistake.
Guarantee proper insulation or apply heat to encourage thorough gelling.
Oil Selection and Its Impact on Firmness
While creating the perfect soap recipe requires careful consideration of many factors, selecting the right combination of oils stands as the cornerstone of achieving ideal firmness. Your oil selection directly impacts how quickly your soap will harden and its final texture.
For maximum stability, you'll want at least 30% hard oils in your soap formulation.
- Hard oils like coconut oil promote rapid hardening and can be unmolded within 24 hours.
- Soft oils like olive oil need up to two weeks for unmolding and longer curing time.
- A balanced blend of both hard and soft oils yields the best results for texture.
- Excessive soft oils require extended curing time of 4-6 weeks for proper firmness.
Measuring Success: Testing Soap Hardness
Testing your soap's hardness marks a critical milestone in the soapmaking process, especially since proper firmness indicates readiness for use.
You'll want to check your soap's hardness after 24-48 hours in the mold, but remember that full curing time of 4-6 weeks guarantees peak performance.
To achieve firm soap, maintain at least 30% hard oils in your recipe and keep superfatting percentages around 5%.
If your soap stays soft after two weeks, excessive liquid content might be the culprit. You'll need to either allow more curing time or consider rebatching.
Watch for the gel phase during saponification, as it typically leads to harder bars.
If you're experiencing persistent softness despite following these guidelines, examine your oil ratios and adjust accordingly in future batches.
Environmental Effects on Curing Time
Your soap's hardening timeline depends heavily on the temperature during curing, where warmer conditions promote faster saponification and better gel phase development.
You'll notice that controlling humidity levels is essential, as excess moisture in the air can dramatically slow down the curing process and prevent your soap from reaching ideal hardness.
Proper airflow around your curing soaps will help maintain consistent drying conditions and speed up the hardening process, especially if you're working in a humid environment.
Temperature Impact During Cure
Temperature plays a decisive role in how quickly and effectively your soap hardens during the curing process. When you maintain proper ambient temperature, you'll accelerate the gel phase and achieve firmer bars sooner.
Keep your soap molds insulated to promote ideal hardening conditions while managing environmental moisture levels.
- Higher temperatures (70°F-90°F) speed up your soap's curing time and promote a successful gel phase.
- Lower temperatures slow down hardening and may prevent complete gel phase.
- Proper insulation of soap molds helps maintain necessary warmth for optimal curing.
- High humidity levels can interfere with water evaporation and delay hardening.
For best results, you'll want to cure your soap in a controlled environment where you can regulate both temperature and humidity.
This guarantees consistent hardening and helps you achieve the perfect firmness in your finished bars.
Humidity Levels Matter
While temperature plays a crucial role in soap curing, humidity levels can make or break your final product's firmness and quality.
When you're making cold process soap in high humidity conditions, you'll notice the curing process takes considerably longer than usual. This environmental moisture can interfere with your soap's ability to properly saponify, preventing it from achieving that desirable firm texture you're aiming for.
To combat these effects on your soap texture, you'll need to make some adjustments.
Consider using a dehumidifier in your curing area to create a drier environment. As an experienced soap maker, you should also think about reducing the liquid amount in your recipe to compensate for the added environmental moisture.
Airflow Affects Hardening Speed
Proper airflow serves as a critical factor in determining how quickly your handmade soap will harden.
When you're working with soap molds, choosing wood over silicone or plastic can profoundly impact the curing process. Wood molds promote better airflow, which helps achieve the gel phase and accelerates hardening by allowing moisture to escape effectively.
To optimize your soap's hardening process:
- Place your soap in a well-ventilated area to enhance moisture evaporation
- Consider wooden molds for better air circulation during initial curing
- Monitor humidity levels, as high moisture content can slow down hardening
- Balance insulation needs with airflow requirements, especially in humid conditions
Remember that proper air circulation isn't just about speed – it also affects your soap's final texture.
When you combine good airflow with appropriate environmental conditions, you'll achieve firmer soap in less time.
Adjusting Recipes for Faster Results
Making soap that hardens quickly requires strategic adjustments to your basic recipe formulation.
You'll want to include at least 30% hard oils, like coconut oil, in your soap recipe to speed up the hardening process. Keep your superfat percentage around 5% to prevent excess oils from leaving your bars too soft.
Control your liquid content by using just 22% distilled water in your recipe. This reduction helps your soap harden faster and shortens the overall curing time.
Switch to wood molds instead of silicone ones, as they promote better airflow and encourage the gel phase. For an extra boost in firmness, add sodium lactate to your lye solution.
These simple adjustments will transform your recipe from producing soft, lengthy-curing bars to creating firm bars that harden efficiently.
Shelf Life After Complete Hardening
Once your soap has completed its 4-6 week curing time, you can expect it to maintain its quality for up to 2 years when stored correctly.
The shelf life of your handmade soap largely depends on its hardness and storage conditions. You'll want to monitor the pH level, keeping it below 10 to guarantee both longevity and prevent skin irritation.
To maximize your soap's lifespan:
- Store bars in a cool, dry area away from direct sunlight
- Keep them elevated on a well-ventilated soap dish
- Check regularly for changes in fragrance intensity
- Maintain proper airflow without exposing to excessive moisture
Remember that even with perfect storage, you'll notice some natural changes over time, such as fading fragrance or slight color variations.
The soap's cleansing properties will remain effective as long as you've followed proper curing and storage practices.
Frequently Asked Questions
Why Did My Soap Harden so Fast?
Your soap's quick hardening likely comes from your high hard oil content, low water ratio, wooden mold usage, proper superfat levels, or warm curing conditions. These factors all speed up the firming process.
How Long Does It Take for Soap to Fully Harden?
Your soap will take 4-6 weeks to fully harden during the curing process, even if it feels firm after 24-48 hours. Don't rush it – proper curing guarantees you'll get the best quality and longevity.
How Long Does It Take for Soap Base to Harden?
You'll find that melt and pour soap base typically hardens within 1-2 hours at room temperature. If you're using cold process soap base, you'll need 3-5 days for initial hardening.
Will My Soft Soap Ever Harden?
If your soap's still soft after 7-14 days, it's unlikely to harden considerably. You'll need to adjust your recipe next time with less liquid, more hard oils, or sodium lactate for better results.
In Summary
You'll find soap making success depends heavily on your patience during the curing process. By selecting the right oils, maintaining proper storage conditions, and avoiding common pitfalls, you're able to achieve the perfect firmness in your handmade soaps. Remember, while there are ways to speed up hardening, quality curing can't be rushed. Follow these guidelines, and you'll create long-lasting, properly hardened soap every time.


Leave a Reply