Your cold process soap is likely failing due to a few common mistakes you're making. Inaccurate measurements, especially when weighing lye and oils, can throw off your entire batch. Temperature control is equally essential – your lye solution and oils need to be between 120-130°F for best results. Poor mixing techniques or incorrect water-to-lye ratios can also doom your soap. Understanding these fundamental factors will help transform your failed batches into successful bars.
Common Measurement Mistakes to Watch Out For
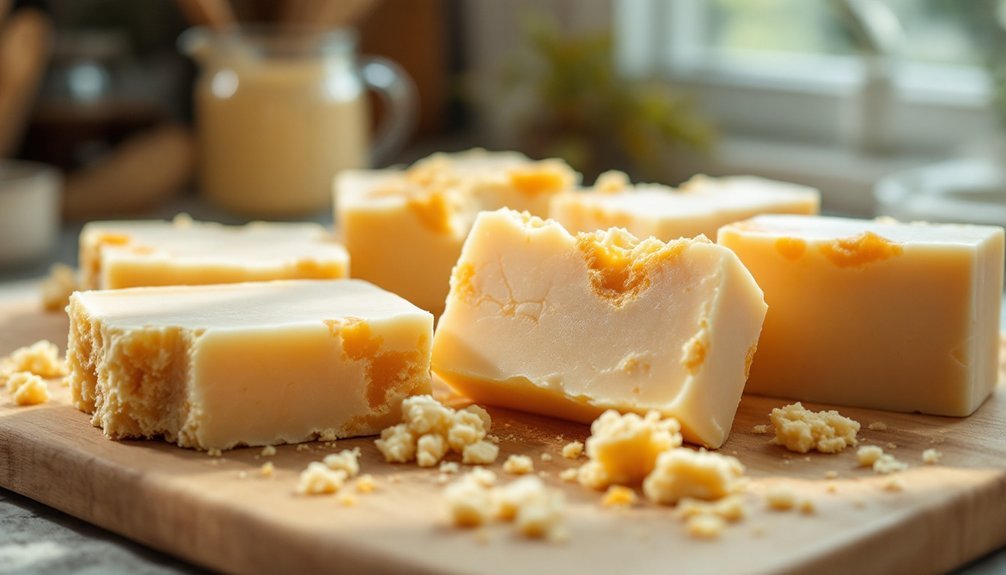
When making cold process soap, accurate measurements can mean the difference between a successful batch and a potentially dangerous product.
Using volume measurements instead of weight, converting units incorrectly, or eyeballing ingredients can lead to serious problems with your final product.
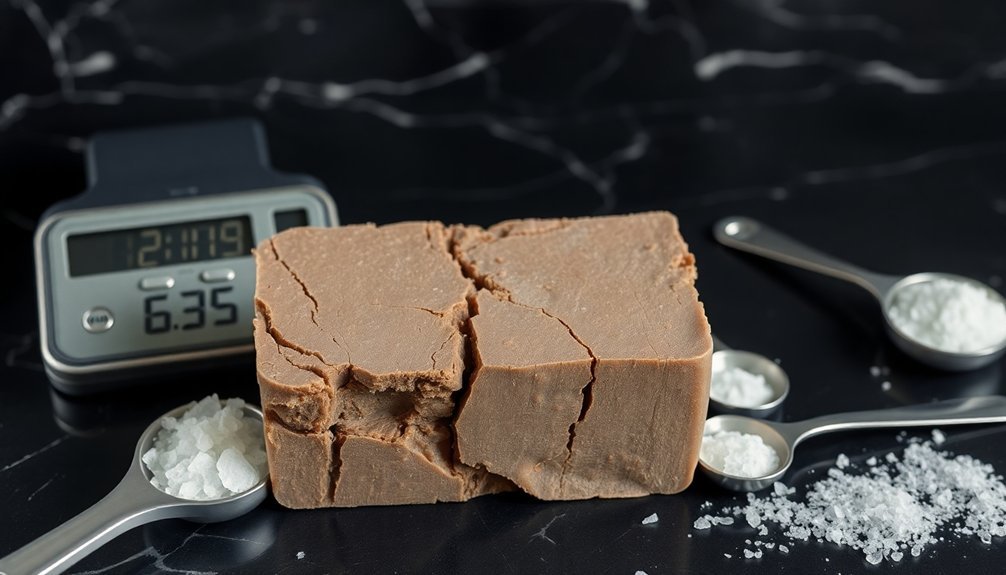
You'll need to weigh lye separately and precisely, as even small variations can make your soap harsh or ineffective.
Don't rely on measuring cups or estimate amounts – invest in a digital scale that measures in grams for the highest accuracy.
Always weigh each ingredient multiple times before adding it to your mixture, and double-check your recipe calculations.
Consistent results depend on maintaining precise measurements throughout the entire soap-making process.
The Critical Role of Temperature Control
Temperature control rivals measurement accuracy in determining soap-making success. When your temperatures are off, you'll encounter issues like false trace, premature thickening, or overheating – all of which can ruin your batch. Lye solutions reach 200°F initially when mixed with water.
For most recipes, you'll want to keep both your lye solution and oils between 120-130°F (49-54°C). However, if you're working with milk-based soaps or creating intricate designs, you'll need cooler temperatures around 100-110°F (38-43°C).
For recipes containing beeswax, you'll need higher temperatures up to 160°F (71°C).
Don't forget that room temperature affects your soap too. A cold room can slow saponification and cause false trace, while a hot environment might trigger premature gel phase or cracking.
Monitor your temperatures consistently and adjust your process accordingly.
How Mixing Techniques Impact Your Soap
Proper mixing techniques serve as the foundation for successful cold process soap making.
Your immersion blender should be used in short bursts while keeping it firmly against the bottom of your container. Between bursts, switch to hand mixing to maintain control over the process. Always remember to tap the blender bottom to release any trapped air bubbles.
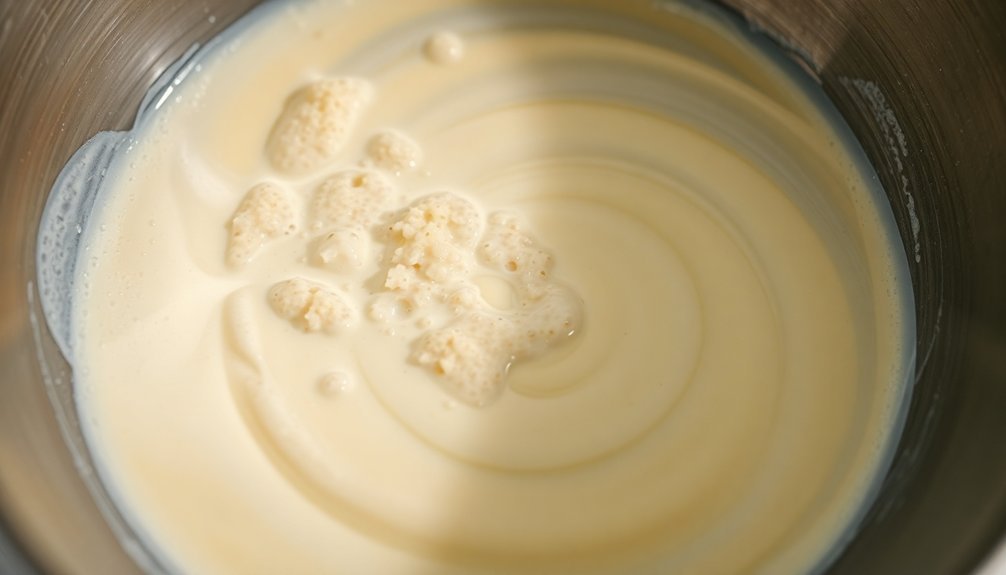
Watch carefully for trace, which occurs when the mixture leaves a visible trail when dripped onto itself.
You'll want to stop blending as soon as you achieve trace to prevent the mixture from becoming too thick. Continuing to blend past this point can result in "soap-on-a-stick," making it impossible to pour your soap properly.
Understanding Water Ratios and Their Effects
Understanding water ratios stands as one of the most critical factors in cold process soap making success. If you're experiencing soap failures, your water-to-lye ratio might be the culprit.
You'll want to maintain a safe ratio of around 40% lye to 60% water, as going too concentrated can create dangerous heat levels and prevent proper lye dissolution.
Water discounting offers several benefits, including faster cure times and improved mold release, but you'll need to balance these advantages carefully.
Too little water disrupts saponification, while too much can trigger aesthetic issues like glycerin rivers and soda ash. Different oils require varying amounts of lye for proper saponification, which affects your overall water needs.
You'll notice your soap batter thickens more quickly with discounted water, so you'll need to work faster.
For consistency in your results, stick to one soap calculator's recommendations, as different resources use varying standards for water content.
Managing Fragrance Oil Challenges
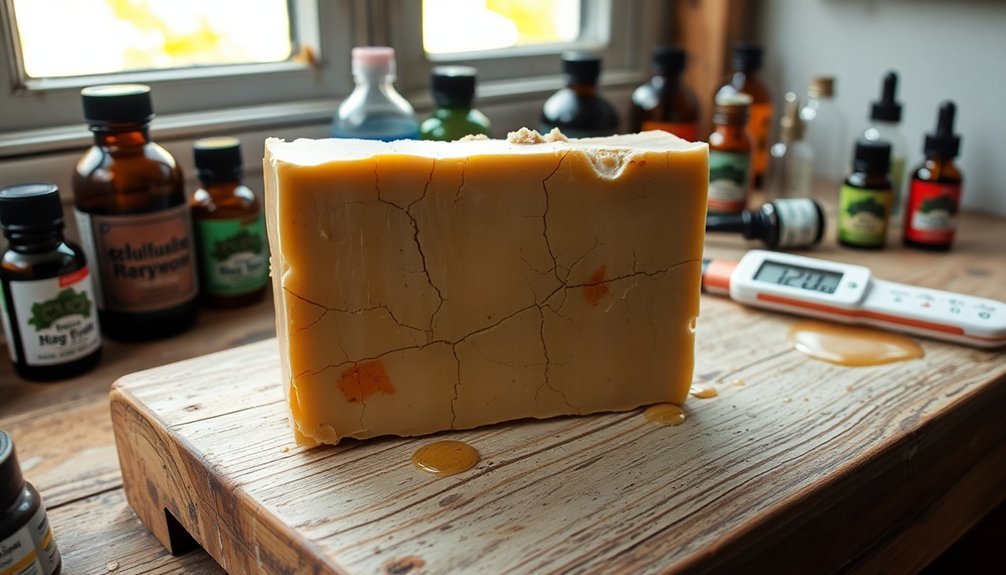
Beyond water ratios, fragrance oil challenges can make or break your soap batch. Each fragrance oil has a unique formulation that can impact your soap-making process in different ways, from accelerating trace to causing discoloration.
You'll need to carefully select and test your fragrances to avoid common issues that can ruin your batch. Scent retention tests are essential for ensuring your finished soap maintains its fragrance after curing.
Here's what you need to watch out for with fragrance oils:
- Ricing and separation that create unwanted textures
- Acceleration that rushes your process
- Discoloration that affects your desired design
To minimize these problems, add your fragrance to warmed oils before introducing the lye solution, or blend it at light trace.
When using potentially troublesome fragrances, opt for simpler designs and use a hand whisk instead of an immersion blender.
Always follow IFRA guidelines for safe usage rates.
Essential Lye Considerations for Success
Your lye's quality directly impacts your soap's success, so it's essential to start with fresh sodium hydroxide that hasn't absorbed moisture from the air.
You'll get the best results by storing your lye in an airtight container away from humidity and checking for any hardened crystals before use.
If you notice your lye has become clumpy or discolored, it's time to replace it with fresh stock to guarantee proper saponification.
Fresh Lye Maintains Quality
While experienced soap makers may take lye quality for granted, maintaining fresh lye is essential for successful cold process soap making. Your lye's condition directly impacts the saponification process and your soap's final quality.
Using precise measurements with fresh lye beads or flakes guarantees proper chemical reactions and helps prevent failed batches.
- Store lye in a moisture-proof container, as it's highly water-soluble and can degrade when exposed to humidity.
- Mix lye solution in a polypropylene container, adding lye to water (never reverse) to prevent dangerous reactions.
- Work in a well-ventilated area and wear appropriate PPE to protect yourself from fumes and potential splashes.
Proper Storage Prevents Degradation
Proper storage practices complement the use of fresh lye in maintaining soap quality throughout its lifecycle. To protect your soap from degradation, you'll need to focus on four key storage principles.
Store your soap in a cool, dry place away from direct sunlight to prevent ingredient breakdown. Use soap dishes with drainage holes and airtight containers for unused bars, making sure to label them with dates.
Don't let your soap sit in water or areas with high moisture, as this can cause melting and deterioration. Instead, use a well-ventilated soap saver that allows water to escape.
Finally, keep your soap away from strong odors, chemicals, and areas with high humidity or air pollution. Using clean, dry storage materials will prevent mold growth and maintain your soap's quality.
Frequently Asked Questions
Can I Rescue a Batch of Soap That Has Already Failed?
You can rescue failed soap by rebatching it. Grate the soap, heat it in a crockpot until it's transparent, add a little water, and remold it. The process may alter texture but saves your batch.
Why Does My Soap Have Dark Spots or Streaks Throughout?
Your soap's dark spots or streaks likely come from rancid oils, uneven gel phase, or temperature issues. You'll want to check your oil quality, manage temperatures better, and guarantee proper mixing during production.
How Long Should I Cure My Soap Before Testing It?
You should cure your soap for at least 4-6 weeks before testing. Don't rush this process, as it's essential for safety and quality. For olive oil-based soaps, you'll want even longer, up to 6 months.
What Causes Soap to Develop Orange Spots Over Time?
Your soap can develop orange spots (DOS) when you use rancid oils, hard tap water, or store it in humid conditions. Improper storage on rusty metal and exposure to high temperatures also trigger these spots.
Why Does My Soap Develop a White, Powdery Coating After Curing?
Your soap's white, powdery coating is soda ash, formed when lye reacts with air's carbon dioxide. You'll notice it most when using tap water or working in cooler temperatures below 95°F.
In Summary
Don't let failed batches discourage you from making cold process soap. If you're struggling, revisit your measurements, double-check your temperatures, and perfect your mixing technique. Pay special attention to your water ratios and fragrance oil amounts, and always handle your lye with precision. With careful attention to these fundamentals, you'll be creating successful, beautiful soap batches in no time.


Leave a Reply